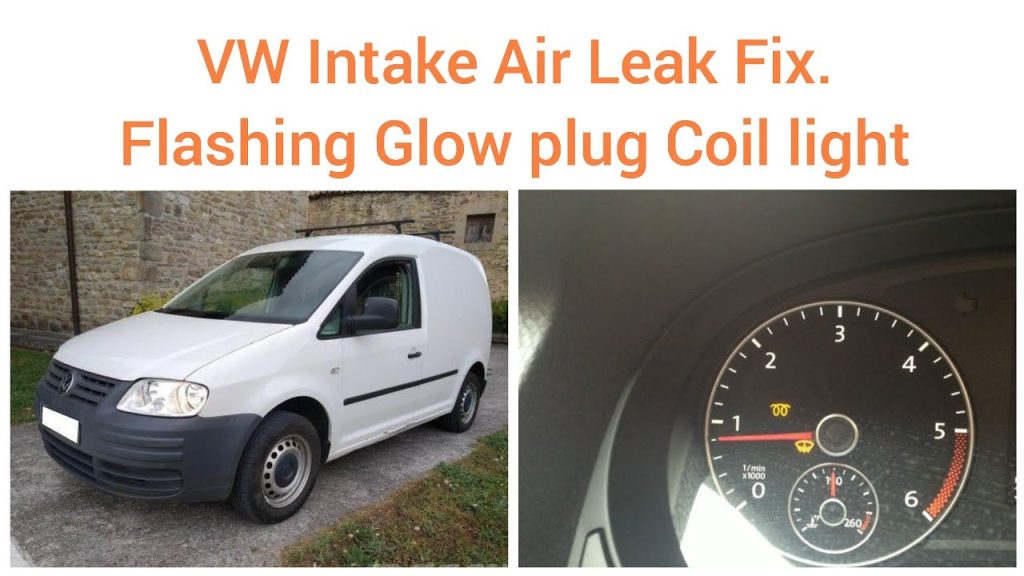

Fixing an intake air leak means locating an unintended opening, repairing the affected component correctly and checking that the system now seals as required. A lean code or rough idle alone does not locate that opening. A split duct, loose connection, failed seal or another connected circuit may be involved, and a turbocharged charge-air leak presents a different test situation from a low-pressure intake check. Begin with the engine identification, symptom history and a careful engine-off inspection.
Do not spray flammable cleaner around a running engine to hunt for a speed change. Do not feed unrestricted shop air into an unknown intake. A controlled test must match both the vehicle system and the equipment instructions. This guide explains the workflow and its limits, not a universal pressure setting or disassembly sequence.
A diagnostic and repair sequence that answers the cause
-
First, preserve the complaint and diagnostic data. Record whether the problem occurs at idle, during acceleration, when cold or after recent work. Save codes and freeze-frame information before clearing them. A code describing a mixture condition is a starting point for tests, not a command to buy a sensor. Also note modifications to the intake, ventilation or boost plumbing. Those changes can alter which connections and procedures apply.
- Second, identify the section being investigated. A leak after an airflow measurement point may introduce air that the system did not account for in the expected way. A leak in pressurized charge-air plumbing has another operating context. Connected ventilation or vacuum circuits may also matter. Use the correct diagram so normal openings and valves are not mistaken for failed seals. The phrase intake leak is too broad to select a single test setup without this information.
- Third, perform a safe visual inspection with the engine off and the necessary precautions observed. Look for disconnected hoses, damaged ducts, insecure clamps and connections disturbed during recent service. Check the underside of flexible ducting where a split may be less visible. Do not force brittle fittings to prove they are damaged. A visible defect is useful evidence, but it may not be the only leak. Record its location before replacing or adjusting anything.
-
Fourth, use an appropriate controlled leak test when visual inspection is insufficient. Bosch describes smoke-based diagnosis for closed systems. Such equipment can help locate an escape path, but its operating instructions and the vehicle procedure determine how it should be connected and controlled. Different systems and tools do not share one universal test pressure. A hose adapter that fits is not proof the chosen setting is safe. Fifth, interpret where the smoke or test medium exits.
- A system may include normal passages or components that must be positioned or isolated according to the procedure. Escaping smoke is not automatically evidence that the nearest expensive assembly needs replacement. Confirm whether the path is unintended under the specified test conditions. Avoid sealing every visible opening with an improvised plug and assuming the resulting pressure test represents normal operation. Sixth, select the repair for the confirmed defect. A split hose generally needs the correct replacement, while a disturbed connection may need proper seating and a serviceable seal or retainer.
- A gasket repair can require a defined tightening sequence and specified replacement parts. Do not smear general-purpose sealant around an unknown leak. It may be incompatible, enter the system or hide a defect without producing a durable repair. Seventh, verify part compatibility and routing. Intake hoses can incorporate branches, resonators, sensors and reinforced sections that a generic substitute lacks. A replacement should tolerate the operating conditions and preserve the original connections.
- Do not use a similar diameter alone as the selection criterion. Ensure the part is not stretched, kinked or rubbing against a sharp or hot component after installation. Eighth, reassemble everything disturbed during access. Check connectors, clamps and supports against the procedure. Remove test adapters and temporary closures. Account for tools and protective caps before starting.
-
An unremoved plug can create a new restriction, while an unsecured connector can introduce an unrelated fault. These checks are part of completing the repair, not optional housekeeping. Ninth, repeat the relevant leak check under the correct conditions. A newly fitted hose does not prove every connection now seals. Confirm that the original escape path has been corrected and assess any other finding. If the test still indicates leakage, do not compensate by overtightening beyond specification.
- Identify whether the seal, mating surface, part or setup is responsible. Tenth, compare operation with the original complaint after the system checks pass. Review the relevant scan data using the vehicle’s diagnostic strategy. A short idle may not reproduce a complaint that appeared only under load. Any further verification must be safe and appropriate for the vehicle.
- Do not perform hard acceleration on public roads simply to demonstrate that a warning has disappeared. Finally, document what was found and repaired. Keep the original code record, defect location, parts and verification result. If a symptom remains, distinguish it from the leak that was corrected. Another fault may coexist, or the original explanation may have been incomplete.
- This record makes the next diagnostic step more productive than repeating the same test with no history. For a turbocharged vehicle, Garrett’s diagnostic guidance includes checking intake and charge-air components when investigating relevant complaints. That does not mean every low-power condition is a boost leak. Fuel, exhaust, control and mechanical issues may also require consideration. A confirmed leak can be one useful finding without being the entire diagnosis.
Avoid repeat leaks and misleading shortcuts
-
Follow the equipment’s operating manual. Use only the specified test medium and accessories. Keep the test within the relevant system limits. Do not improvise smoke from burning material. Do not use flammable spray around hot or running components.
- Do not treat a household air pump as a pressure-controlled diagnostic tool. Do not leave a connected circuit permanently blocked. Do not tighten clamps until plastic housings distort. Do not clear evidence before recording it. Do not assume a sensor is defective merely because it reports an unexpected mixture condition.
- Redline Detection provides separate manuals for its leak-testing equipment. That separation is useful context: capability and setup depend on the tool, so an instruction for one machine is not automatically valid for another. The vehicle information still controls which circuit can be tested and under what conditions. A professional smoke test is a controlled diagnostic process, not simply filling the engine with visible vapor. Prevent recurrence by investigating why the failed component deteriorated.
- A hose rubbing against another part may fail again if only the hose is replaced. An unsupported assembly may strain a connection. An incorrect clamp or missing retainer can allow repeated separation. Oil contamination or heat exposure may also need assessment depending on the material and location. Address the supported cause rather than declaring every aged hose defective.
-
If oil is present in the duct, keep that observation separate from the leak finding. A light trace and pooled oil require different interpretation, and location matters. See the intake-hose oil guide. Cleaning residue from a hose does not establish that its seal is sound, and replacing a leaking hose does not automatically explain the source of the oil.
- Track each question to its own evidence. Recent service is useful context without being automatic blame. If the symptom started after an air-filter change, inspect the parts and connections that were disturbed. If it started after a manifold repair, review the relevant sealing and routing work.

Credit: www.carparts.com
A coincidental fault remains possible. The purpose of the timeline is to choose efficient checks, not to conclude that the most recent mechanic caused every problem. Ask for a repair estimate that names the leak location and the test used to confirm it. Request an explanation if several parts are proposed when only one defect has been shown.
Equally, do not insist that a visible hose split must be the only issue if the follow-up test finds another leak. The correct scope follows the evidence. A clear report is more valuable than a package labeled complete intake restoration. Two hypothetical results illustrate the difference.
A smoke test may reveal an unintended opening at a damaged hose, supporting hose replacement and a repeat test. Another test may show smoke leaving through a normal path because the setup was incomplete, requiring correction of the test rather than replacement of the nearest component. The visible smoke looks similar to an observer, but the conclusions are different. Understanding the system is what makes the test meaningful.
The repair can be considered complete when the identified defect is corrected, the relevant checks pass and the original complaint has been assessed again. If a code returns, preserve its exact definition and conditions before assuming the same leak is back. If the vehicle runs poorly or stalls, arrange further diagnosis instead of adding sealant or disconnecting sensors. A properly verified repair should reduce uncertainty rather than merely erase the warning lamp for a short time. Keep any temporary test closures clearly accounted for, and confirm their removal before the vehicle is returned to use.


Automotive reference information. Confirm specifications in the manual for your exact vehicle. Original replacement guides link to their research sources. About us