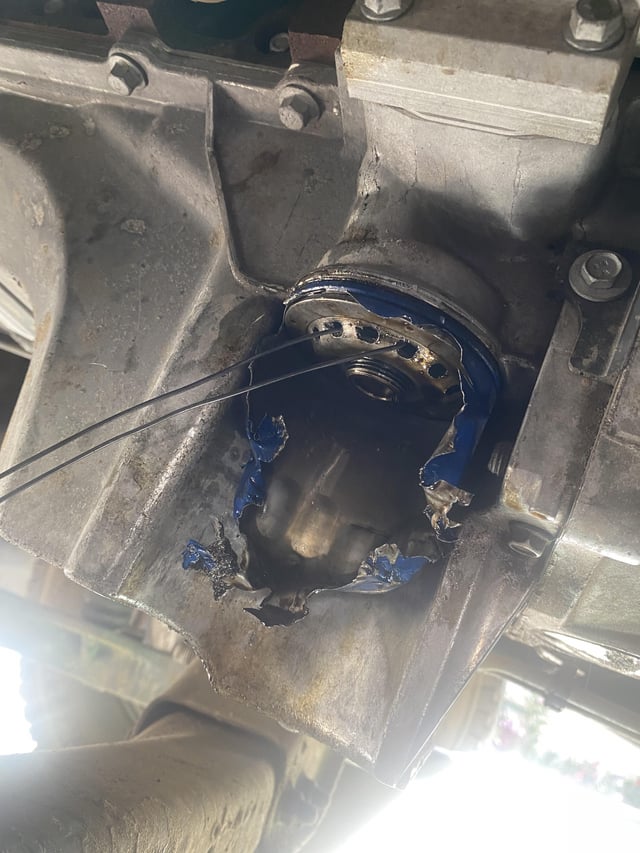

Most conventional spin-on engine oil filters use right-hand threads: they loosen counterclockwise and tighten clockwise when viewed from the exposed end of the filter toward its mounting point. They are not normally reverse threaded. However, identify the component and check its application instructions before applying force. A reusable cartridge-housing cap is a different part from a spin-on filter, and resistance does not prove a reverse thread. An awkward viewing angle, an unsuitable tool, a stuck gasket or damaged threads can all make the job confusing. Establish the direction first; do not discover it by escalating force in both directions.
What clockwise means underneath the vehicle
Imagine a clock face on the exposed end of the filter, with your view directed along its axis toward the engine connection. For a normal right-hand thread, the top of that imagined face moves left during loosening and right during tightening. This viewpoint is more precise than telling someone to pull a wrench toward the front of the car. Filter orientation and tool position vary, so the same vehicle-relative hand movement can produce a different rotation. If access makes the direction hard to picture, pause and use the correct service illustration before loading the tool.
A ratchet setting is not proof of thread direction
Check which way the socket actually drives before fitting it to the filter tool. A selector position that felt familiar during a different job can be misleading after you reverse your working position. Likewise, watching the far side of an assembly can make its rotation appear reversed. State the viewing direction whenever you ask someone to help. Two people may both say left while imagining opposite ends of the same threaded connection. Confirm the intended rotation on the tool without applying force to the vehicle.
Right-hand and left-hand threads are mechanical descriptions
A right-hand threaded connection advances as it turns clockwise from the working end; a left-hand connection advances counterclockwise. Reverse threaded generally means the latter. It does not mean that a filter is mounted upside down, behind the engine or facing the rear of the car. Changing the installation location does not change the handedness of its thread. Nor does the engine's direction of rotation identify the filter connection. The relevant evidence is the part's documented connection and servicing instruction, not a general theory about which components rotate nearby.
What the manufacturer guidance actually supports
FRAM’s general stuck-filter guidance specifies counterclockwise removal, which supports the normal spin-on rule. Treat it as general guidance for the type of filter being discussed, not as an exhaustive catalog of every filter assembly ever manufactured. An unusual machine or unfamiliar cap needs its own instructions. If a reliable application-specific instruction indicates a different attachment method, follow that evidence instead of forcing the common rule. This article does not identify a verified universal list of exceptions and does not invent one to make the answer sound more comprehensive.
Credit: www.ducati.ms
First distinguish a spin-on filter from a cartridge housing
With a spin-on assembly, the disposable can and its enclosed element are removed together. With a cartridge arrangement, the replacement element sits in a reusable housing; the part being unscrewed may be its cap. Those differences affect tool selection, sealing and tightening instructions. MAHLE’s oil-filter overview also explains that filters which look alike can differ in their connections and internal specifications. Identify the serviceable component from a diagram, especially when a nearby plug, sensor or housing fastener could be mistaken for the filter attachment.
A direction-check routine before you start
Use this preparation sequence to resolve uncertainty before loosening anything. It is a decision checklist, not a complete oil-change procedure. The correct vehicle service instructions still govern access, lifting, draining, protective equipment and reassembly. Never work underneath a vehicle supported only by a jack. If you cannot safely identify and reach the correct component with the specified equipment, have a qualified workshop perform the service.
- Confirm the exact year, engine and filter arrangement, then obtain the applicable servicing instructions and correct replacement part.
- Identify what rotates: a disposable can, a reusable cap or another specifically described attachment. Match the illustration to the actual assembly.
- Read the prescribed removal direction and tool requirements. For an ordinary right-hand spin-on connection, establish counterclockwise from the exposed end toward its mount.
- Check the tool's driven direction and fit before applying load. Make sure access does not require a slipping, angled or improvised engagement.
- If the assembly will not move as expected, stop to investigate the reason. Do not convert uncertainty into a longer lever or a destructive experiment.
Resistance is a reason to inspect, not reverse the rule
MAHLE’s filter assembly fault guide identifies angled engagement, overtightening and damaged mounting threads among causes of installation or removal problems. These are different faults, and changing direction is not a diagnosis. Note whether the tool slips, the can distorts, the cap flexes or the whole housing moves. Those observations help a technician choose the next step. Stop if damage appears or the connection cannot be identified. A crushed or punctured filter creates a new problem even if the original issue was merely an inadequate tool.
Mistakes that make the direction question worse
Avoid shortcuts that replace identification with guesswork. The following checks are useful even if you have changed oil on other vehicles, because previous experience with a different arrangement does not establish this one.
- Do not equate stuck with left-hand threaded. Find the application instruction before trying to tighten a connection that should loosen.
- Do not choose a socket only because it nearly fits. A poor engagement can damage the working feature and make later removal harder.
- Do not copy an internet torque number to another cap. The thread, cap and seal form an application-specific assembly.
- Do not force a new filter that binds immediately. Recheck the part and alignment before assuming the thread needs to be worked in.
- Do not use the vehicle as a test bench for a damaged filter. Resolve a compromised can, cap or connection before restarting the engine.
If you are seeking help, report the vehicle, engine, filter part number, component type and the direction attempted. A photograph of the undisturbed assembly and tool can be more useful than saying it is impossibly tight. Do not continue damaging the part merely to create a more dramatic photograph.
Correct direction does not establish correct fitment
A replacement that starts on the mounting thread is not automatically suitable. Thread diameter, pitch and engagement are only part of filter selection; the seal and internal specification also need to match. Use the current catalog for the exact engine and any applicable production notes. Our oil-filter interchangeability guide addresses the complete selection question. Here the practical point is narrower: clockwise installation does not prove you bought the right filter, and a wrong part should never be forced into place to complete a scheduled service.
Tightening a spin-on filter is a separate instruction
FRAM’s Drive installation instructions tell the installer to ensure the old sealing ring has not remained on the mounting base, prepare the new seal as directed, and tighten according to the instructions printed on the filter after gasket contact. That is more specific than simply turning until it feels very tight. Read the exact product instructions rather than adopting a universal extra-turn count. The aim is a correctly installed seal, not the greatest force your hand or wrench can produce. Keep removal tools and installation instructions conceptually separate.
A reusable cap may require a specified torque
MAHLE’s OX 388D Eco technical bulletin describes housing leakage in the covered 1.6 and 2.0 TDI applications when excessive tightening damages threads or distorts the cap. It calls for compliance with the manufacturer's torque specification. The lesson is not to copy that bulletin's number onto an unrelated engine. Read the marking and current procedure for the actual housing, use the correct torque tool where specified, and replace seals as instructed. A hand-tight rule for a disposable spin-on can does not automatically apply to a reusable cartridge cap.
Three situations that need different decisions
The direction question often appears at one of three points: before removal, during installation or after the engine has been restarted. Keep those situations separate so that the next action addresses the actual problem.
- The old filter will not loosen: verify the component, viewing direction and specified tool. Stop if the filter or housing is being damaged, and arrange professional removal when the reason remains unclear.
- The new filter will not start smoothly: compare the exact part with the catalog and inspect alignment and the connection. Do not use a wrench to overcome immediate binding.
- A leak or oil warning appears after service: follow the vehicle's warning instructions and stop the engine when required. Do not continue driving to see whether a leaking seal settles into place; the installation needs checking.
For warning identification, see our engine-oil warning guide. Pressure warnings and service reminders are not equivalent. After any interrupted DIY job, keep a clear record of what was removed, whether oil was drained, and which parts remain incomplete so nobody unknowingly starts the vehicle.

Credit: www.pinterest.com
Confirm the connection before adding force
For a conventional right-hand spin-on filter, removal is counterclockwise from the exposed end toward the mounting point. Verify unfamiliar assemblies against their own instructions, and treat resistance as a problem to identify rather than proof of reverse threading. Correct fitment, the prescribed seal preparation and the proper tightening method matter as much as direction. This research-based guide clarifies that decision; it does not claim hands-on testing of your vehicle or authorize destructive removal methods.


Automotive reference information. Confirm specifications in the manual for your exact vehicle. Original replacement guides link to their research sources. About us