
Removing a brake caliper piston is a rebuilding operation, not a routine way to make room for new pads. Before attempting it, identify the caliper and confirm that its manufacturer provides an applicable repair procedure and the correct replacement parts. Some assemblies can be rebuilt under a defined process; others should be replaced rather than dismantled.
Do not apply unrestricted compressed air to an open caliper or put fingers in the piston's path. A piston can move suddenly and cause injury, while uncontrolled extraction can damage the component you intended to save. The useful starting question is why removal is needed.
If you are changing pads, you probably need the specified piston retraction procedure instead. If there is leakage, seizure or damage, diagnosis and inspection must establish whether rebuilding is appropriate. This guide outlines the decisions and workshop stages involved without inventing one extraction pressure, one seal kit or one procedure for every caliper.
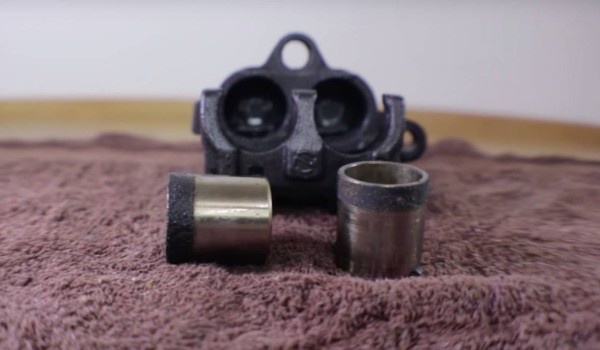
Credit: www.caferacerwebshop.com
Confirm that rebuilding is supported
Record the vehicle application and the caliper's exact identification, including any aftermarket kit number. Locate the manufacturer's service information for that assembly and confirm that the proposed operation is within its scope. Brembo’s repair-kit overview describes service parts for supported applications, but availability of a similar-looking kit is not approval for your component. Conversely, Race Technologies’ repainting guidance restricts dismantling within the cosmetic work it discusses; do not treat a colour-change project as a reason to remove pistons. A serviceable hydraulic assembly and an approved refinishing process are separate questions. Check whether the available kit includes seals, boots, pistons or other components that the actual repair requires.
A kit that replaces only soft parts cannot restore a damaged metal surface automatically. Establish whether the manufacturer supplies inspection limits or rejection criteria, and who will assess the removed components against them. If the original problem was a dragging brake, also consider whether the cause lies in the guides, pad fit, parking-brake mechanism or upstream hydraulic system. Pulling a piston out will not prove that it caused the symptom. Keep a replacement-caliper option open until the inspection has established that rebuilding is feasible.
Plan equipment, cleanliness and containment
- A controlled rebuild needs more than a way to force the piston out. The workshop needs the specified holding and restraint equipment, suitable protective equipment, a clean work area, correct replacement parts and the means to complete the required hydraulic checks afterward. Brake fluid must be captured and handled without contaminating friction surfaces or damaging paint. Parts should be organized by caliper and position, especially where piston sizes or associated components differ. Have the applicable service instructions available at the bench, rather than relying on memory from a different design. The source of extraction force must be controlled by the procedure. Wilwood’s rebuild example covers an identified multi-piston caliper and explicitly warns against applying air without restraining piston travel. It also tells the reader to keep fingers clear. That example illustrates why an open air nozzle and an unrestrained piston are unacceptable; it is not a universal pressure recommendation or permission to copy the method on another caliper. If you lack the specified equipment or cannot establish a safe restraint arrangement, give the assembly to a qualified specialist. Do not substitute a home-made pressure connection or escalating force for missing service information.
A controlled workflow from diagnosis to final checks
Begin by documenting the complaint and the evidence that led to a caliper repair decision. Note whether the symptom occurred cold, after braking, on one wheel or after recent work. Keep that record with the part identification so the final repair can be judged against the original problem.
- A bench rebuild that passes its own checks still needs to address the vehicle's actual fault. Next, prepare the vehicle according to its service instructions, including any brake-system isolation or electronic parking-brake requirements.
Support it at approved points and prevent unintended movement. Follow the prescribed method for disconnecting and protecting the hydraulic connection if removal is required.
- Do not leave a hose carrying the caliper's weight or clamp a hose by improvisation. Keep dirt out of every exposed opening and prevent unnecessary fluid loss.
The system must later receive the bleeding and commissioning procedure appropriate to the vehicle. At the bench, confirm the assembly again before removing components.
- Similar-looking castings may use different pistons or seals, and packaging mistakes can happen. Compare replacement kit identification with the documented caliper application.
Keep components in their original positions where the instructions require it. Do not separate body halves, remove bridge hardware or disturb an actuator merely because the fasteners are accessible.
- Those operations need their own explicit authorization and specifications. Use only the approved piston-removal method for the assembly, with travel controlled before force is applied.
Keep hands, face and bystanders out of the release path. The workpiece must be supported so sudden movement cannot turn it into a dropped or projected object.
- If the specified method does not produce expected movement, stop and reassess the setup and the component's condition. More pressure is not a diagnosis.
Likewise, gripping an exposed sealing surface with pliers can damage the surface and change a potentially repairable part into a rejected one. A stuck piston may make replacement the sensible outcome rather than justify increasingly aggressive extraction.
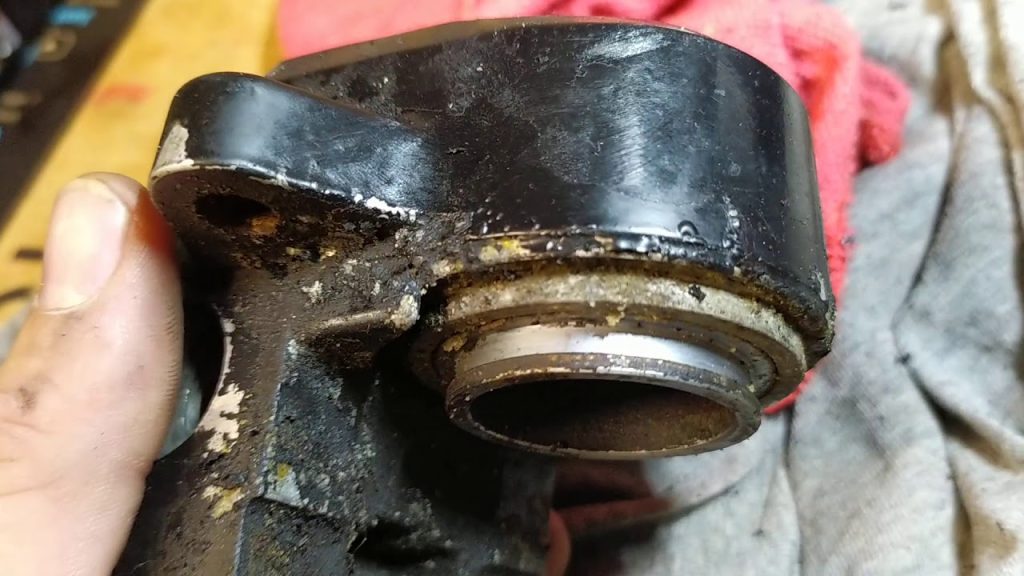
- Once removed, the piston and relevant bore or sealing areas need inspection under the manufacturer's criteria. Look for the conditions the procedure identifies, and distinguish contamination that may be removed by an approved process from permanent damage.
- Do not assume that polishing, sanding or honing is permitted for every coating and material. A surface that feels smooth to a finger may still be outside the required condition.
Photographs can help document a decision, but they do not replace an appropriate physical inspection. If required limits or acceptance information are unavailable, do not invent them to justify reuse.
- Examine why the protective and sealing system failed, where applicable. A damaged boot, contamination or incorrect prior servicing may explain the condition of the parts, but the explanation needs evidence from the actual assembly.
Avoid treating every trace of exterior corrosion as proof that the hydraulic section has failed. Equally, a clean exterior does not prove that an internal seal is sound.
- Compare the condition with the stated repair limits and decide whether the supported rebuild remains appropriate. If not, select an application-correct replacement rather than concealing the problem with new rubber parts.
- For an approved rebuild, use the specified new components and assembly materials. Do not substitute a general-purpose grease or an unknown rubber seal because it has a similar diameter.
The relationship between the seal, its groove and the piston is part of the design. Follow the stated assembly method so the seal and protective boot are not twisted, pinched or displaced.
- If a component resists assembly unexpectedly, investigate alignment and parts compatibility rather than forcing it into place. Reusing a damaged item to avoid waiting for a correct part undermines the purpose of the rebuild.
The bench stage must end with the checks required by the manufacturer or rebuilder, not merely a visual judgement that the piston is back in place. Ask the specialist what inspection and functional verification are included in the service.
Keep the repair-kit number and any rejected-part findings with the invoice. A useful record identifies the assembly, the reason for repair, the parts fitted and the checks performed.
That information is especially valuable for modified vehicles whose brakes no longer match a standard vehicle parts search. Refitting introduces another set of responsibilities.
Use the specified hydraulic sealing parts and fasteners, route hoses correctly and carry out the appropriate bleeding procedure. Complete any required parking-brake setup and confirm the brake pedal and warning indications meet the service criteria before the vehicle moves.
Check for leakage under the prescribed conditions. Do not use public-road driving to compensate for an incomplete static check or an abnormal pedal.
A leak, severe pull, smoke or continued binding means the vehicle requires further assessment and may need recovery. There are several common questions worth separating.
Can a piston be removed without compressed air? Some designs have other approved methods, but the answer must come from the exact service procedure; lack of an air supply is not a reason to improvise a grease-gun or pedal-pressure setup.
Can the old piston be reused? Only if the manufacturer's inspection criteria permit it and the part meets them.
Will a new seal fix a seized caliper? It depends on the confirmed cause and condition, not simply on whether the seal kit fits.
Is retraction the same as removal? No: retraction keeps the piston within its working assembly, while removal opens a rebuilding task.
If your immediate objective is pad replacement, see the separate discussion of piston retraction methods before dismantling further. HELLA’s resetting guidance describes appropriate retraction tools, which serve a different purpose from extraction equipment.
If your objective is repairing a leak or seizure, get a documented rebuild-or-replace decision for the identified caliper. The successful outcome is a verified functioning brake assembly with the original fault addressed, not simply a piston that has been forced out.


Automotive reference information. Confirm specifications in the manual for your exact vehicle. Original replacement guides link to their research sources. About us