
Replacing a lower ball joint on a Chevy 4x4 starts with identifying the exact truck and suspension. Chevy truck 4x4 is not a complete service application: model year, model series, chassis configuration, installed components and catalogue qualifiers can change the joint, tools and repair procedure. A sequence filmed on another Chevrolet pickup should not be assumed to apply because both vehicles have four-wheel drive. Use the vehicle identification and current service information to determine the supported replacement unit, removal method and final tightening instructions.
This guide explains how to gather that information and avoid mismatched parts or tooling. It intentionally does not give a universal torque, pressing direction or spring-support method. If the joint is confirmed damaged or a suspension connection is loose, keep the truck out of use and arrange appropriate assessment or recovery.
The objective is to reach a specific, documented plan before disassembly. That plan should identify which lower joint is being replaced, how its housing and stud are retained, what equipment supports the suspension and what verification follows installation. Without those answers, buying a press and a part labelled Chevy lower ball joint can leave the truck dismantled with no safe way to complete the job.
Credit: www.gm-trucks.com
Identify the vehicle and installed components accurately
Record the full model year and model designation rather than only the badge on the tailgate. Distinguish the series and relevant configuration in the parts lookup. Confirm four-wheel drive through the vehicle data and actual assembly. Use the VIN and any required build or option information when obtaining service instructions. If the catalogue asks for additional qualifiers, resolve them instead of selecting the first matching photograph. Inspect what is installed now. Previous repairs may have changed control arms, knuckles or joints, and lift or levelling components may affect the information needed. Record aftermarket part identification where available. Do not assume the VIN alone describes a modified suspension. Conversely, do not infer a modification merely from surface rust or paint.
Compare the physical construction and part markings with the vehicle and component information. MOOG’s GM 1500 fitment bulletin covers specified Silverado and Sierra generations and related SUVs, explaining that arm and knuckle construction affect component selection. Its affected-vehicle list distinguishes the 2019 Silverado 1500 LD and Sierra 1500 Limited from a blanket statement about every 2019 truck. That is a useful example of why full model identification matters. The bulletin's scope should not be extended to all Chevrolet 4x4s or to every joint position without checking the catalogue. MOOG’s 2014–2016 parts-selection example also illustrates the need to read material-related qualifiers. Use that as a reason to verify the actual application, not as a universal part-number list for any Chevy lower joint. Where a source discusses an upper-joint dimension or another specific feature, do not transfer that dimension to the lower joint. Keep the requested position visible throughout the lookup so that evidence from a neighbouring component does not become an accidental specification.
Build an application-specific replacement plan
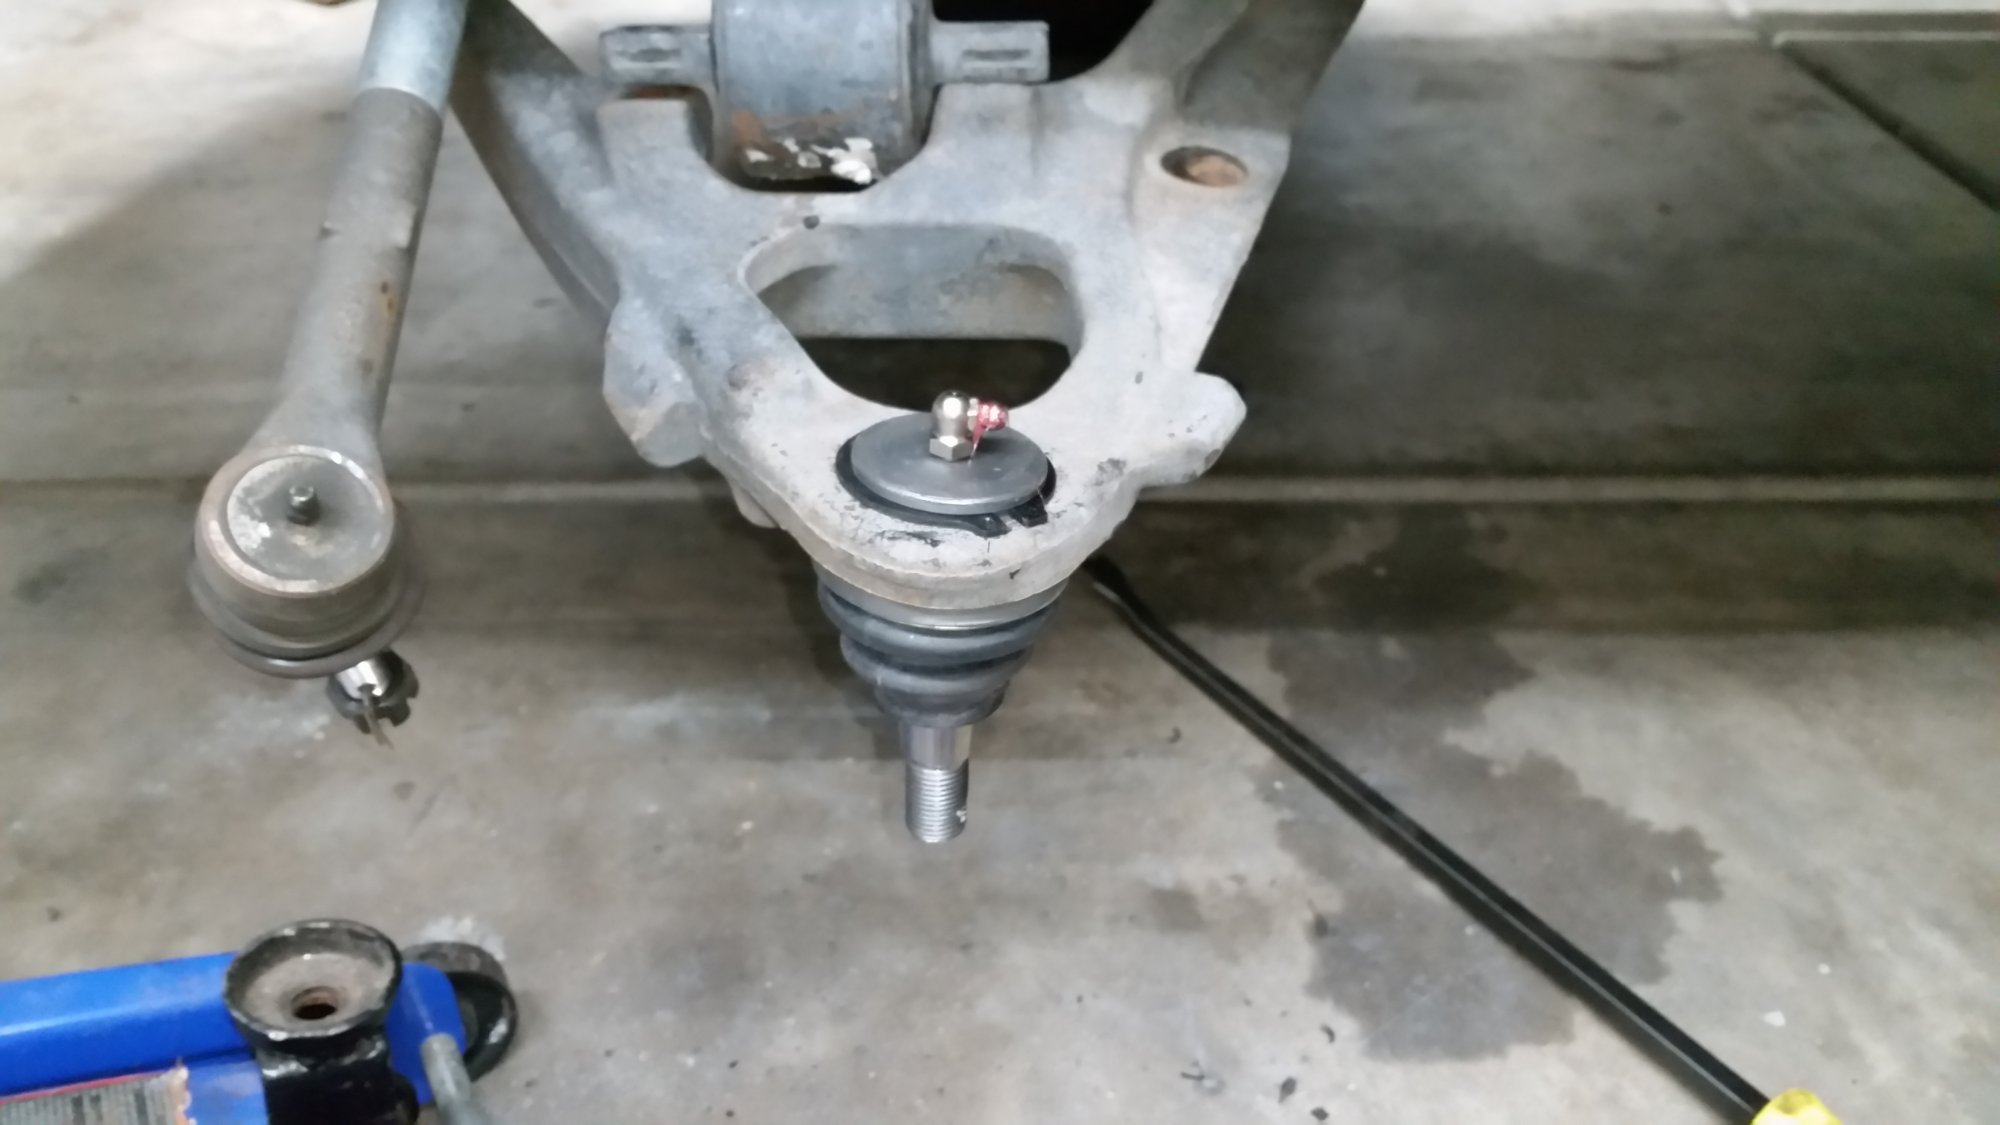
Confirm whether the lower joint is separately serviceable on the identified assembly. The repair may involve a replacement joint or a larger assembly according to the application. Determine whether housing retention is press-fit, bolted or another specified arrangement. Identify the stud connection separately. Our ball-joint connection guide explains why separating the stud and removing the housing are different operations even when both occur in one replacement. Obtain the complete procedure, including access and reassembly. Identify any brake, steering or driveshaft-related components that must be moved, supported or disconnected. Four-wheel-drive hardware can affect access, but its presence does not authorize an assumed axle-removal sequence.
Follow the actual instructions for any disturbed hub, axle or associated fastener. Do not borrow a hub torque from a different truck simply because the socket size looks the same. Check the tool application rather than its marketing name. OTC’s 4WD adapter listing gives a defined range involving older vehicles with Dana 44 front axles. A product named 4WD Ball Joint Service Kit therefore does not establish coverage for every modern Chevy 4x4. Verify the exact adapters and compatible press against your application. This comparison can prevent buying a kit that is perfectly suitable for its intended vehicles but cannot support the joint in your truck correctly.
- If pressing is specified, identify the driver, receiver, removal direction and installation seating reference before use. OTC’s press instructions require alignment checks and a suitable tool arrangement. The housing must have room to move, and the receiving component must be supported at the correct surfaces. An adapter contacting a boot, stud or thin casting edge is not acceptable merely because the press screw can reach it. Resolve access problems through the supported procedure rather than a stack of improvised spacers. Read the suspension-load precautions carefully. Different truck layouts require different handling, and the lower position alone does not tell you how the connection is loaded.
- Use approved lifting points, appropriate stands or a lift and any specified auxiliary support. Never rely on a hydraulic jack alone. Do not remove a fastener to discover what spring or arm movement follows. If the prescribed load control cannot be provided, arrange professional completion before releasing the joint. Prepare all replacement hardware and consumables required by the exact procedure. Check whether supplied nuts, retainers or bolts replace the removed items. Keep the instructions associated with the new part because a supported replacement design may have specific details.
- Do not add washers, threadlocker or anti-seize without instruction. Record which fasteners have separate torque, angle or reuse rules. That prevents a general ball-joint number from being applied to unrelated connections. Before removal, confirm the diagnosis and inspect related components. A clunk or uneven tyre wear does not alone prove lower-joint failure. Ask for the measured or observed defect and the specified inspection condition. If a stud has been moving in its receiving hole, the knuckle may also need attention.
If an arm bore is damaged, a new joint may not restore secure retention. Plan for those inspection findings rather than assuming the smallest replacement part must always finish the repair. During the operation, stop for unexpected movement, distorted tooling or a housing that enters at an angle. Do not respond with heat, a larger hammer or an impact setting unless the exact approved instructions support the operation. A difficult joint is not evidence that all remaining force options are safe. If removal exposes damage, obtain the supported replacement decision for the receiving component before fitting the new part. The truck should remain secured while the plan is updated.
Verify the completed repair and keep useful records
Check the installed housing position, orientation and required retention against the part instructions. Inspect the protective boot for damage and confirm any specified lubrication. Reconnect the stud using the correct hardware and measured tightening procedure. MOOG’s stud-fit and torque guidance emphasizes the importance of fit as well as fastening.
A torque wrench reaching its setting does not certify a damaged taper or incorrect hardware arrangement. Complete every associated task created by access work. Restore brake-hose and sensor-wire routing and all required clips. Verify disturbed steering, hub or axle connections under their own specifications.
If a hydraulic brake connection was opened, perform the necessary bleeding and leak checks. Do not assume a successful suspension installation makes those systems ready automatically. Use a written list if several assemblies were dismantled so that no connection is omitted. Before moving the truck, complete the prescribed stationary checks and wheel installation.
An unexplained loose connection, omitted locking device or damaged boot is a reason to stop. Do not take a cautious drive to determine whether a questionable joint will stay seated. Arrange suitable recovery or additional workshop work if completion cannot be verified. A partly repaired four-wheel-drive vehicle needs the same secure assembly standard as any other vehicle.
Determine the alignment assessment required by the service procedure and the parts disturbed. A matching replacement part does not by itself prove that alignment remains within specification. Include any necessary measurement and correction in the plan. Do not use a centred steering wheel or absence of immediate tyre squeal as a substitute for that assessment.
If the truck has modified suspension, provide that information to the alignment technician as well. Keep the vehicle identification, selected part number, relevant catalogue qualifiers and procedure reference with the repair record. Include any damaged receiving component replaced and the final checks completed. Photographs of the original construction can help explain a parts-selection issue later.
This record is particularly valuable when the truck has undergone previous suspension changes and its current assembly differs from a basic VIN lookup. If a workshop is quoting the work, ask whether the estimate includes the joint alone or an arm assembly, required hardware, inspection of receiving components and alignment work. Those questions clarify scope without demanding a universal price or labour time.
A more expensive estimate may reflect a different confirmed repair requirement rather than the same job at a different rate. Ask for the findings behind that difference. The reliable answer for a Chevy 4x4 is the procedure for the exact truck and installed lower-joint assembly.
Verify the application first, then select tools and plan the work. Treat specific manufacturer examples as evidence of variation, not shortcuts around identification. That approach produces a repair plan that can be checked before the suspension is taken apart.


Automotive reference information. Confirm specifications in the manual for your exact vehicle. Original replacement guides link to their research sources. About us