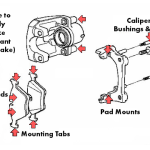
To check brake pad thickness, identify the friction material, measure the remaining lining at the locations specified for the brake, and compare the thinnest valid reading with the manufacturer's service limit. Inspect the inner and outer pads at each wheel. A glimpse of one outer pad through a wheel spoke is a preliminary observation, not a complete brake inspection. If braking has deteriorated, the pedal feels abnormal, or a serious brake warning is displayed, stop safely and arrange assistance rather than using this measurement exercise to justify further driving.
This guide is for disc brake pads on passenger vehicles. Drum brake shoes, motorcycle pads and bicycle pads have different inspection procedures and limits. Start with the year, model, brake package and axle being checked. A larger wheel or a performance badge does not establish which brakes are installed, particularly on a modified vehicle. Record the brake part number if it can be identified, and obtain the matching service information before interpreting a measurement.
The useful outcome is a short inspection record: which pad was measured, its remaining friction thickness in millimetres, the smallest reading, the applicable limit, and any defect requiring attention. This is more informative than a statement such as the brakes are half worn. Keep the date and odometer reading with the result. Our brake pad replacement interval guide explains how those records support maintenance planning without inventing a guaranteed distance remaining.
Credit: aston1936.com
Know what the thickness number includes
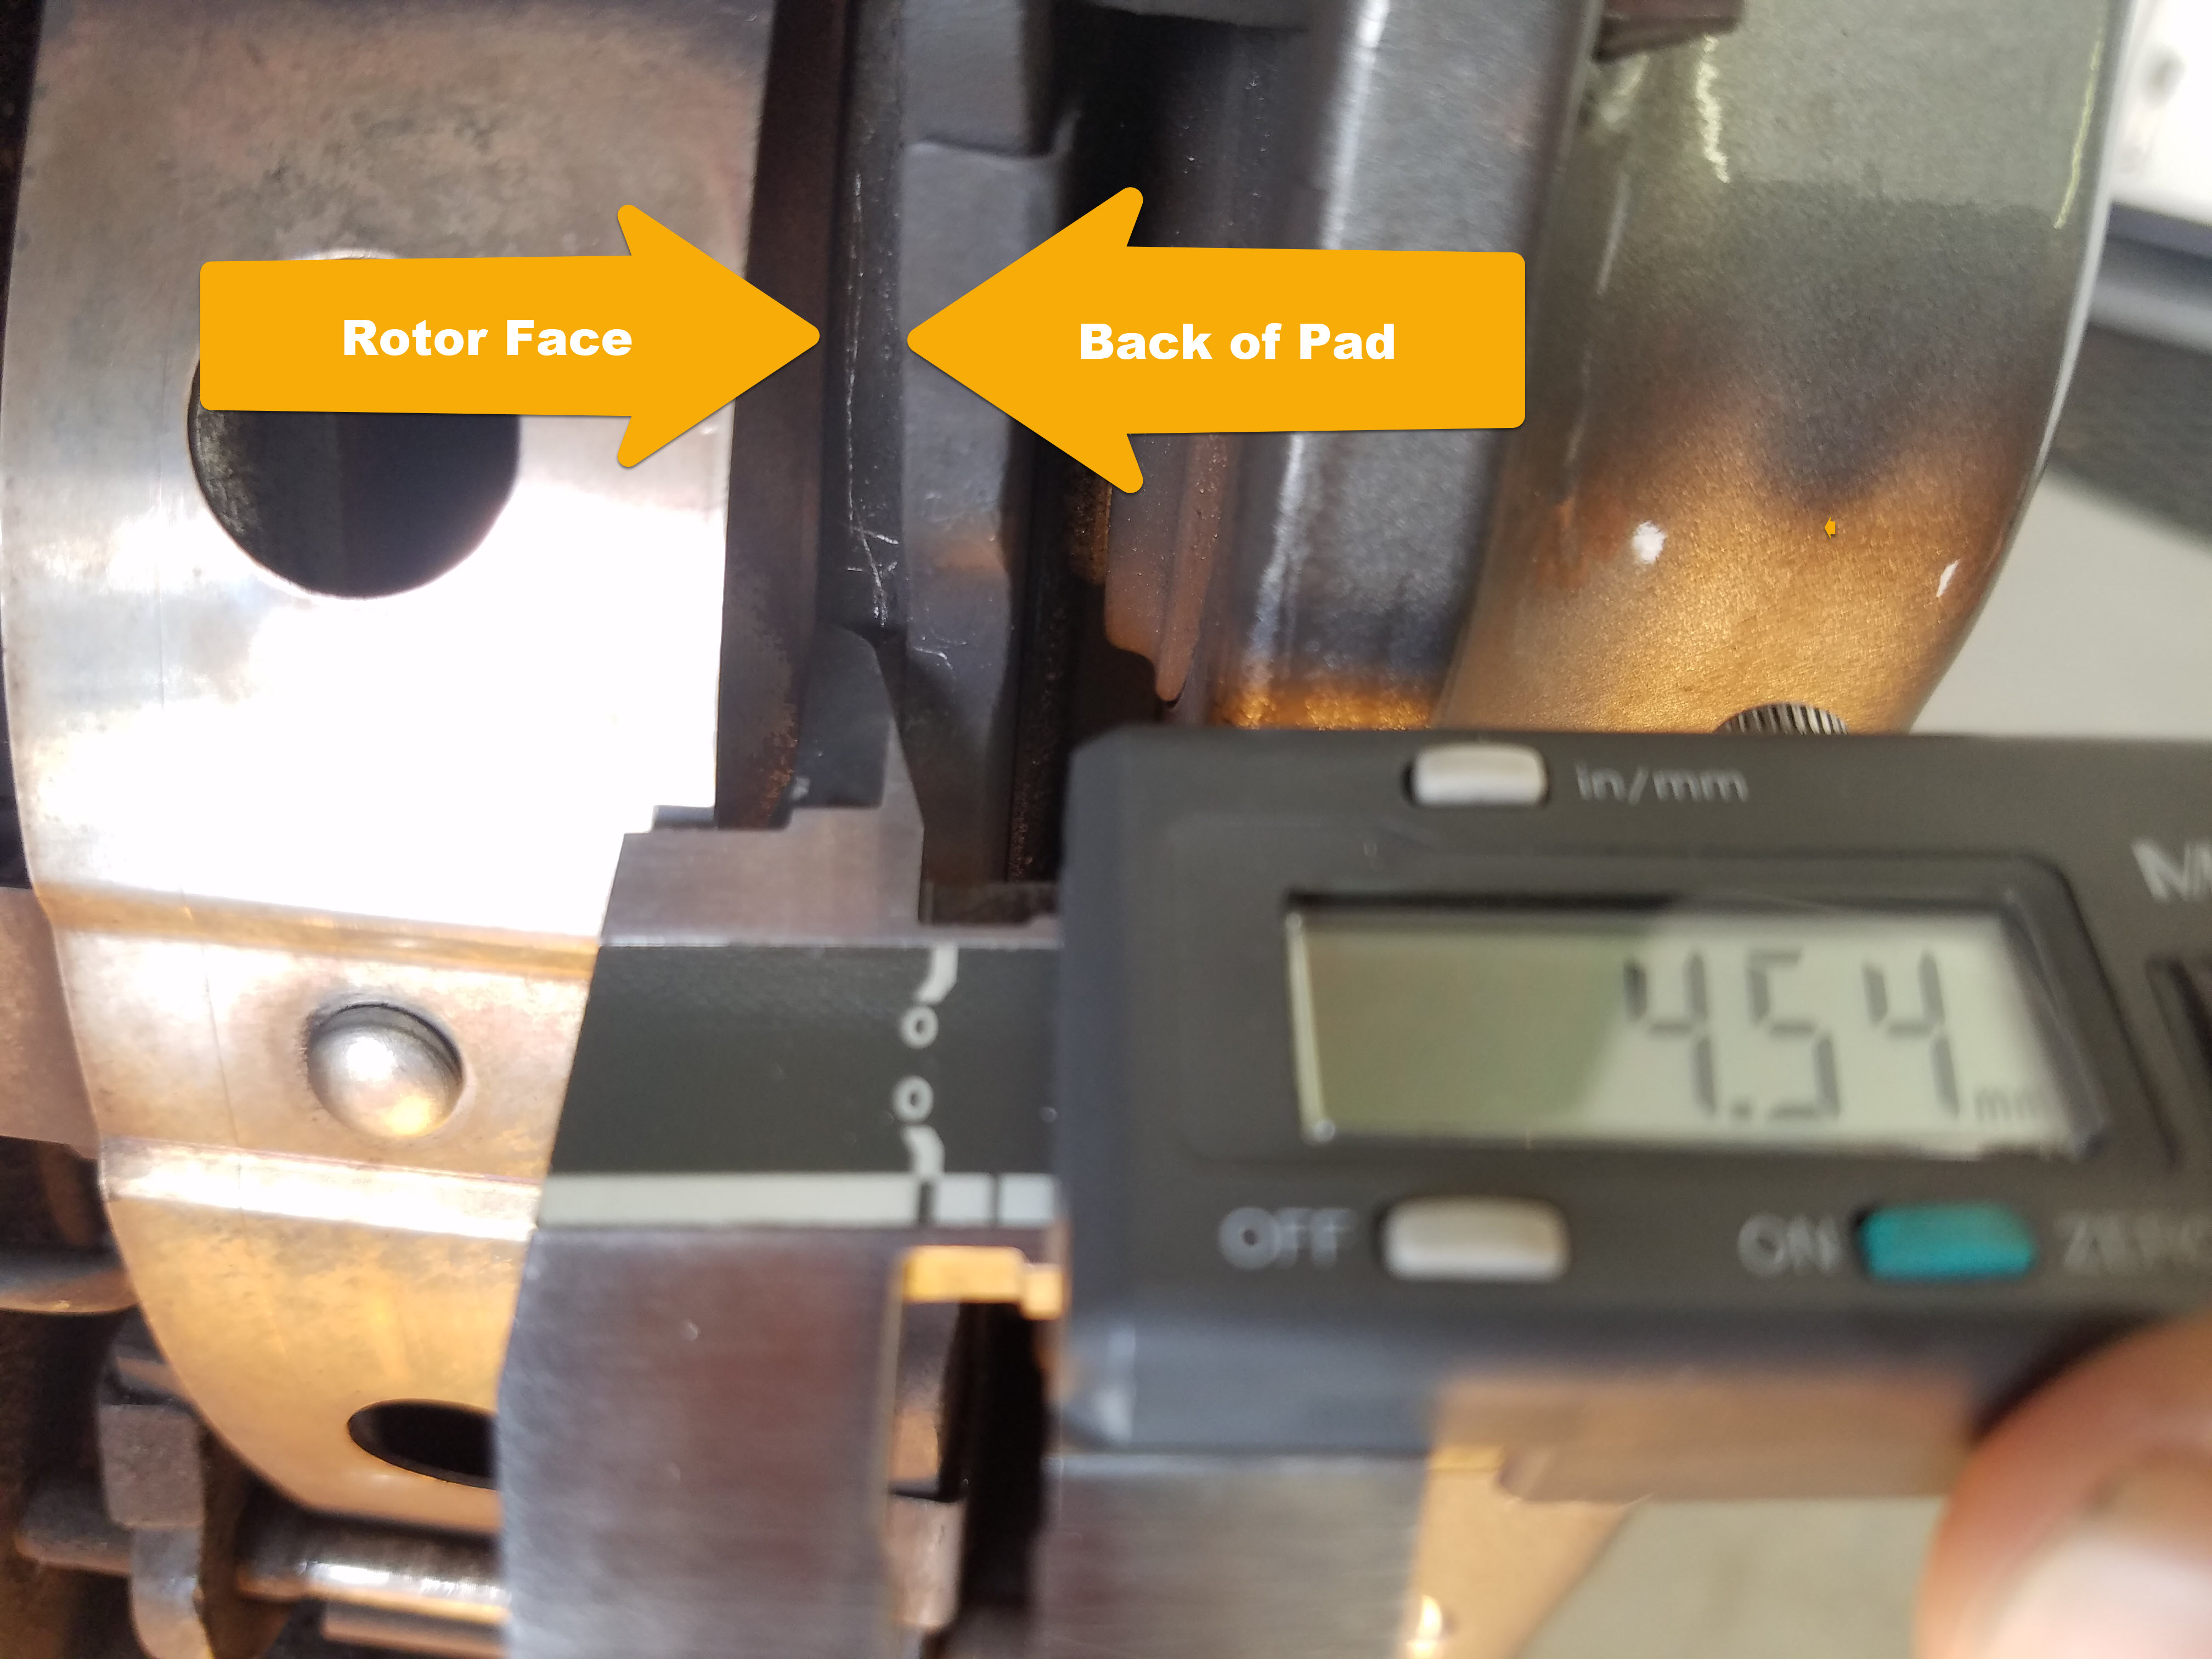
Bendix distinguishes measuring a pad for identification from measuring wear. Catalog dimensions can describe the whole pad assembly, including its metal backing plate and specified attached features. A wear limit may instead refer only to the friction lining. Those are different measurements. A catalog entry showing a relatively large thickness does not mean that amount of usable lining was fitted when new. Before comparing two numbers, establish what surfaces each number measures between.
On a disc brake, the rotor is the metal disc that turns with the wheel. The friction lining is the material pressed against it; the backing plate supports that lining. Locate the boundary between lining and plate before placing a gauge. If rust, the viewing angle or the caliper body hides that boundary, do not estimate it from the apparent width of the whole stack. An uncertain measurement should be recorded as uncertain, then checked with proper access.
Use an appropriate pad thickness gauge or a measuring tool that can reach the specified surfaces squarely. Inspect its markings and units first. A stepped gauge only resolves the steps it provides; it cannot justify an extra decimal place. A phone photograph may document the area and show a technician what you saw, but perspective and lack of a scale make it a poor substitute for direct measurement. Do not wedge a tool between the friction faces or force it into a gap.
There is no single service limit for every brake. The 2017–2023 Tesla Model 3 technical data illustrates why: it lists friction thickness excluding the backing plate, with a 2.8 mm front limit for non-Performance brakes and 2.15 mm for Performance fronts. These are examples for those configurations, not limits for another vehicle. Match the exact brake specification and any applicable updated service instructions. A familiar internet threshold cannot replace that lookup.
Also distinguish a manufacturer's minimum from a workshop's earlier replacement recommendation. A shop may propose changing pads before a long trip or before the next planned inspection. Ask which threshold it is using and why. That explanation should accompany the actual measurements, rather than replacing them. When a report gives only a color, such as amber, request the thickness and the workshop's interpretation of that category. Color scales are not a universal unit of brake wear.
Inspect safely and measure each relevant pad
Park where the vehicle can remain secure, allow hot brake components to cool, and consult the vehicle's inspection and lifting instructions. A wheel-on view with a flashlight may be enough to spot an obvious concern without dismantling anything. Keep fingers and tools away from moving components. Do not crawl underneath a vehicle supported only by a jack. If wheel removal is necessary, correct lifting points, rated supports and the wheel refitting procedure are prerequisites, not details to improvise after starting.
Control dust before attempting to improve visibility. The US EPA guidance for home mechanics warns that appearance cannot establish whether brake dust contains asbestos. It advises against blowing dust away with compressed air, dry wiping or brushing, and ordinary non-HEPA vacuuming. If you cannot inspect without disturbing accumulated material and lack the appropriate equipment, have a workshop perform the inspection. A cloud of dust is not an acceptable way to obtain a clearer photograph.
Check the hidden pad as well as the visible pad. In a typical disc brake there is a pad on each side of the rotor. The Tesla basic inspection procedure explicitly calls for examining and recording both inboard and outboard pads at all four wheels. The principle is useful when requesting any inspection: ask what was actually seen. If only the outer pad was accessible through the wheel, describe the result that way rather than marking the entire brake assembly checked.
If the service method requires pad removal for a reliable measurement, follow the complete vehicle-specific process or hand the job to a qualified technician. Removal introduces duties that a simple visual check does not: securing components, retaining correct hardware positions, and completing the required reassembly and functional checks. Electronic parking brakes may have a prescribed service mode. Do not retract a piston, disconnect a hydraulic line or operate an electrical actuator just to make a ruler fit.
Bendix's measurement guidance recommends checking at several positions because a pad can wear with a taper. Keep each result associated with its original wheel and inner or outer position. Do not average away a thin end. Follow the brake maker's specified measurement locations, especially around manufactured chamfers or grooves. A deliberate chamfer is not a reliable place to invent a lining thickness, and the depth of a groove is useful only when its manufacturer identifies it as a wear indicator.
Write the results before moving to the next wheel. A practical note might say: left front, inner lining, minimum measured thickness, measurement locations, and any uncertainty. Repeat for the outer pad and then the other wheel positions. If you work in inches, keep the original unit visible and convert consistently when comparing a metric limit. Label an unmeasured pad as not measured. Leaving a blank and later copying the neighboring value creates confidence the inspection did not earn.
Read thickness together with the condition of the brake
The lowest relevant measurement controls the wear discussion; the thickest pad does not protect a thinner partner. For example, imagine a report shows one pad noticeably thinner than the others. That is a reason to ask why and whether all required locations were inspected, not simply to calculate an axle average. This is a hypothetical reporting example, not a vehicle diagnosis. The technician should compare the pattern with the specifications and assess the mechanism before deciding on parts.
Ferodo documents several faults that thickness alone cannot rule out, including contaminated friction material, damaged backing plates and abnormal wear within a set. Its diagnostic guide connects contamination with investigation of the cause and replacement of the affected pad set. A thick pad with a defect therefore should not receive an automatic pass. Describe visible cracking, separation, contamination or irregular wear without trying to identify the cause from a single photograph.
Inspecting the pads also does not establish that the rotor is reusable. Brembo explains that brake discs have their own minimum thickness requirements. A disc assessment can include condition and measurements that differ from pad measurements. Ask the workshop to report pad and rotor results separately, along with the applicable specifications. This prevents a good pad reading from being mistaken for approval of the entire brake assembly, and helps make a replacement quotation understandable.
Do not interpret silence as a measurement. Honda notes that its Maintenance Minder does not detect worn brake pads, and describes the audible wear indicator used on its pads. The absence of a service reminder therefore is not evidence that every lining is thick enough. Other vehicles have different sensors and monitoring systems. Read the instructions for the fitted system and treat a warning as a request for the specified inspection, not as a number to subtract from a guessed lifespan.
If two inspections disagree, compare the methods before assuming the lining somehow grew. Were both reports measuring friction material only? Did both include the inner pads? Were the same axle and pad locations recorded? Was one reading estimated through the wheel? Ask for a repeat measurement where the difference affects the service decision. Keep both records with their dates and notes. A corrected, explained result is more useful than choosing whichever number makes the proposed repair cheaper.
.jpg)
Credit: www.pca.org
Turn the result into a clear maintenance decision
At the end of the inspection, obtain three answers: whether any component requires attention now, which findings need diagnosis, and when the remaining pads should be checked again. A recheck plan should account for actual condition and expected use. If a pad is at its applicable limit or a safety-related defect is found, arrange the required repair; do not convert the remaining millimetres into permission for a fixed number of kilometres. Unresolved noise after a recent repair belongs in a separate new brake pad noise diagnosis.
Before returning a vehicle to service after any wheel or brake disassembly, complete the manufacturer's refitting and verification steps. This article supplies no universal wheel-nut torque, caliper torque or piston procedure. Keep the final inspection sheet and parts information together. The next visit can then compare like with like: the same component, the same definition of thickness and a documented method. That is how a pad check becomes useful maintenance evidence instead of an isolated number.


Automotive reference information. Confirm specifications in the manual for your exact vehicle. Original replacement guides link to their research sources. About us