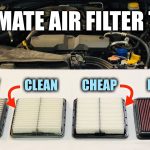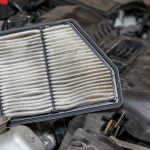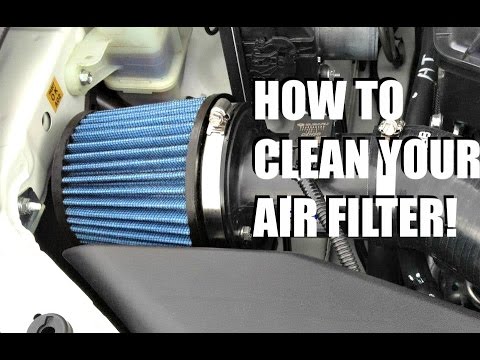

To clean a car air filter, first confirm that the fitted element permits cleaning, then follow the procedure for its exact product family. Many elements are replaced when due rather than washed. This workflow helps you organize removal, servicing and refitting without applying a washable filter’s instructions to a disposable one. It does not replace the vehicle’s access procedure or the filter maker’s directions.
Do not begin with a universal mileage or a bucket of soapy water. Begin with the vehicle details, filter reference and maintenance documents. If you cannot identify the element, resolve that before cleaning it. The washability identification guide explains the evidence needed to choose the correct branch of the job.
A successful service preserves the intended filtration and seal; it is not a contest to make old pleats look new. Plan enough downtime to complete every required step. If the car must leave before the element can be prepared properly, use another transport option or arrange a suitable replacement instead of rushing the process.
A practical workflow for servicing the correct filter
Separate three operations in your plan: accessing the filter, maintaining or replacing the element, and restoring the assembled system. The vehicle instructions mainly govern access and refitting. The installed filter’s service sheet governs any supported cleaning. Keep both available so an aftermarket product does not receive a procedure intended for the factory element.
Work on the appropriate system. An engine air filter does not clean the air from the dashboard vents. A cabin filter does not protect the engine intake. Record the position before removing a component, especially if the car has more than one element in a housing.
Read any unusual-access warnings first. Do not remove unrelated electrical equipment, disturb high-voltage components or force a glovebox or engine cover just to reach a filter. If the documented access exceeds your tools or experience, arranging the service is a better next step than improvising a shortcut.
Prepare a clean place for the removed assembly and a separate area for the new or serviced element. Keep fixings together and photograph uncertain orientation details before disassembly. These simple records make refitting easier without relying on memory.
Identify the element and its permitted service
An oil-free element can still be washable: AEM’s DRYFLOW replacement range is one documented example. That does not establish a cleaning method for every dry filter. Use the actual reference, not the colour of the pleats or a seller’s broad “performance” label.
A removable outer wrap, a filter element and a housing can each have separate instructions. Do not assume a washable wrap means the element underneath can be immersed. Keep the identities and required supplies separate if the intake has several serviceable components.
For an aftermarket intake, retain the kit identification as well as the element reference. A vehicle-only parts search may return the original housing’s filter, which could be irrelevant to the assembly now fitted. Resolve that distinction before ordering a substitute.
Check the element for physical damage under the maker’s inspection guidance. A distorted sealing edge, torn medium or separated joint changes the job from ordinary cleaning to deciding on replacement. A wash cannot be relied on to repair those defects.
If the element was soaked by unexpected water entry, or contains an unusual deposit whose origin is unclear, investigate the cause. Treating every contamination event as routine dust service can leave a vehicle fault unresolved.
Prepare the vehicle, supplies and workspace
Park securely, stop the engine and follow the manual’s cooling and access precautions. Keep people from starting the vehicle during the work. An intake should not be operated while its required element and housing are removed.
Read the cleaner’s label for handling, ventilation, eye or skin protection and disposal directions. Keep it in its labelled container and do not mix cleaning products. EPA’s household hazardous-waste guidance explains why product instructions and local disposal advice matter for leftover household chemicals.
Check that you have the specific finishing product, if one is required, before removing the filter. A wash kit lacking that item can leave the service incomplete. Keep clean components away from spray and dirty runoff.
For a disposable element, use the replacement procedure
The 2026 Corvette European manual prohibits water and compressed-air cleaning for its engine air cleaner/filter and components. This provides a concrete reason not to apply a general washing tutorial to an arbitrary car. Use the directions for the vehicle and element concerned.
Where replacement is required, install the correct new element instead of trying progressively stronger chemicals on the old one. Do not scrub, pierce or patch the medium to restore its appearance. Preserve the removed part’s identification if a later fitment question is possible.
FRAM’s illustrated replacement instructions distinguish cleaning the housing from replacing its element and warn against letting objects enter the intake. The method for cleaning the empty enclosure must still suit the vehicle; avoid pushing dirt toward its clean-air outlet.
Keep the used part separate from its clean packaging. Ask the local waste service how that air filter should be discarded, including any unusual contamination. A collection scheme for used engine oil does not automatically accept intake or cabin filters.
For a washable element, follow its own complete sequence
The K&N cleaning page provides distinct procedures rather than one recipe. Its oiled-cotton sequence uses the specified cleaner, a controlled soak, low-pressure rinsing from the clean side, natural drying and the prescribed filter oil. Select the correct family before following any of those steps.
Keep the manufacturer’s instructions visible while working. Use its stated concentration, dwell time and rinse conditions; do not estimate them from a different brand’s video. Where another cleaning cycle is permitted, repeat that method instead of escalating to a pressure washer or household solvent.
Complete the documented drying stage in a clean location. Do not use an oven, heat gun or compressed-air shortcut unless the exact product’s instructions support that method. Keep the car unavailable while a required stage remains unfinished.
Apply oil only to an element that requires it, using the product-specific amount and method. S&B’s service guidance explains that oil quantity matters for its cotton filters and rejects substituting another brand’s cleaner/oil kit. That instruction is specific to S&B; it is not evidence that every brand uses the same chemistry or quantity.
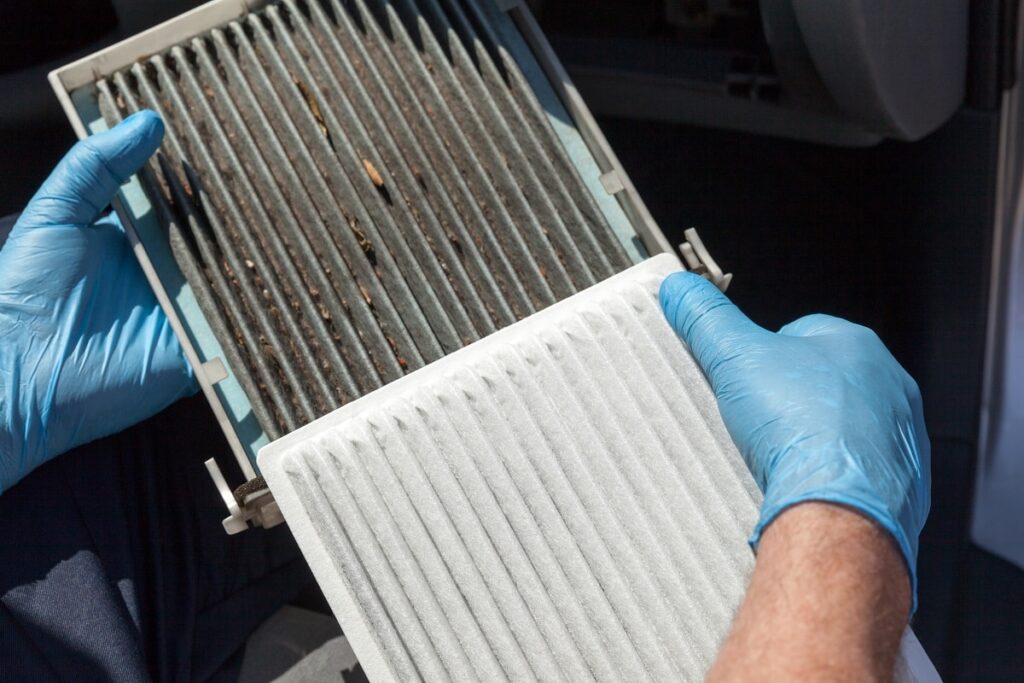
Credit: splashandgocarwash.com
Refit the element and inspect the complete air path
Before installation, account for all tools, cloths, caps and loose fasteners used during access. Nothing used temporarily to protect an opening should remain in the intake. Check the housing for dirt or damage that would prevent proper seating.
Position the element exactly as the applicable directions show. If it does not seat naturally, stop and check the reference, orientation and housing. Compressing a mismatched part until the lid closes does not establish a sound installation.
Restore the cover, ducts, clips, connectors and access panels that the procedure required you to remove. Use specified fastener settings where provided. A loose intake connection or missed latch can undo the benefit of servicing the element.
Confirm that the sealing edge is seated and no material is trapped across it. Check the surrounding work area again before starting the vehicle. If the installation is uncertain, resolve it with the instructions or a technician first.
Record the work without inventing a new interval
Record the date, mileage, element reference and whether you cleaned or replaced it. Those are different service actions. If a dashboard maintenance reminder applies, reset it only when the vehicle’s documented conditions for that reset have been met.
Use the applicable schedule and operating-condition guidance for the next service. Dusty use may change the requirements, but an online interval for a different element should not become your new rule. Clarify any conflicting instructions before extending service.
Save a note of the cleaner and finishing treatment used. This can help the manufacturer answer a later question about maintenance compatibility. Do not report a filter as replaced on the invoice or vehicle record when it was only cleaned.
If you change from one service category to another, update the record so the next owner or workshop knows. A reusable replacement can be mistaken for a disposable part, and the reverse mistake can lead to inappropriate washing.
Investigate problems that appear after maintenance
If a new warning, unusual running or intake noise begins immediately afterward, stop and review the work rather than clearing codes or repeating the wash. Tell the workshop which connections were disturbed and what changed.
Do not assume the filter itself caused every symptom. The sequence of events is useful evidence, but it is not a diagnosis.
For weak cabin airflow or persistent odour, verify installation and seek further inspection if the symptom remains. Washing an eligible cabin element is not a guaranteed repair for faults elsewhere in the ventilation system.
A visibly damaged connector, unsecured duct or housing that will not close needs correction before normal use. Avoid holding components together with an improvised fastening to finish the trip.
Set realistic expectations for the result
DOE’s maintenance guidance distinguishes modern fuel-injected vehicles from older carbureted vehicles when discussing filter-related fuel economy. Cleaning should not be sold as a guaranteed fuel-saving or horsepower upgrade.
Judge the job first by whether the right element was serviced correctly and the assembly was restored. An engine sounding different is not a measured performance test.
The comparison should be with the required service condition, not with running without filtration. Do not remove the filter for a road experiment to see whether acceleration changes.
If the vehicle had a problem beforehand, document whether it remains afterward. That helps separate successful maintenance from a fault that still requires diagnosis.
Common questions before you put the tools away
Can a cabin filter use the engine filter’s cleaning kit? Only if its maker explicitly specifies that combination. Similar-looking bottles and elements do not establish compatibility.
Should a cleanable filter always be oiled? No. A documented oil-free product should receive its own service method. Do not add oil to compensate for uncertainty about how the filter works.
Can a damaged reusable element be washed one more time? Cleaning permission does not override a damaged medium or seal. Obtain a suitable replacement when the element is no longer serviceable.
- Identify the part and select its correct maintenance instructions before loosening the housing.
- Complete every required cleaning, drying and finishing step without borrowing another product’s settings.
- Restore the specified fit, document the action and investigate any unresolved operating problem.
| Final check | What to verify |
|---|---|
| Identity | The serviced element matches the intended application. |
| Condition | The medium, seal and housing remain serviceable. |
| Completion | All connections and covers are restored; no temporary items remain. |
Finish the service, not just the wash
The right method starts with identification and ends with a properly assembled system. Washing is one possible maintenance path, not a requirement for every car air filter. If the element is disposable, unknown or damaged, choose the appropriate replacement or obtain technical help.
For a complete replacement instead, the air-filter replacement guide covers the planning and fit checks. Keep the exact vehicle and product instructions as the final reference for the work.


Automotive reference information. Confirm specifications in the manual for your exact vehicle. Original replacement guides link to their research sources. About us