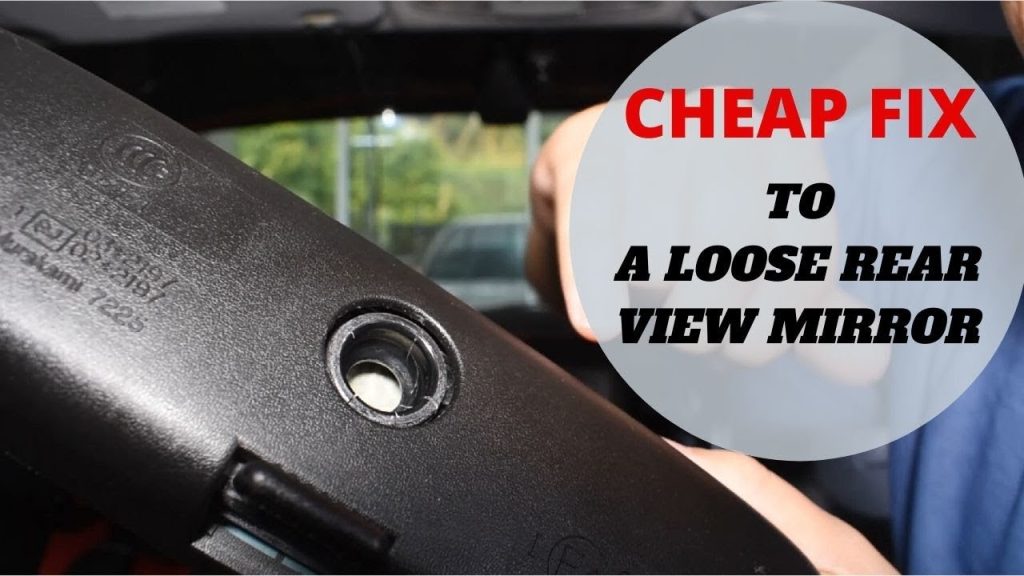

A loose rearview mirror needs a repair matched to the part that moves. A drooping mirror head may have a worn or damaged adjustment joint, but movement at the mounting foot or windshield attachment requires a different response. Do not assume that adding glue to the visible ball will repair all three conditions. First locate the movement while parked, identify the installed mirror and establish whether its adjustment joint is serviceable.
The correct result is a mirror that stays aimed, adjusts normally and remains securely mounted. This guide concerns an interior rearview mirror, not a suspension ball joint or an exterior mirror hinge. If the assembly is insecure or cannot maintain a useful rearward view, have it repaired before normal driving. Repeatedly repositioning it in traffic does not solve the problem.
Locate the looseness before choosing a repair
Describe the complaint precisely. Does the reflected view slowly point downward while the mounting stem stays still? Does the entire assembly move at its connection to the vehicle? Is there a rattle without any change in aim? Does the image appear unstable only when a display is active?
These observations lead to different inspections, and none alone proves that a replaceable ball joint is available. Record when the problem began and whether the mirror was bumped, adjusted unusually, fitted with an accessory or disturbed during windshield work. Recent work is relevant evidence, not proof that the installer caused the fault. Observe accessible connections with the vehicle stationary and the mirror supported normally. Do not stress the glass attachment or force the head through its adjustment range to demonstrate the movement.
- A visibly cracked housing or a bracket moving against the glass is already a reason to stop manipulation. Photograph the affected area if it is safely accessible. If the source remains unclear, ask a technician to distinguish head-to-stem movement from foot-to-mount movement. A short description such as mirror head drifts while the stem remains fixed gives a repairer more useful information than a request to tighten everything behind the mirror.
Identify the mirror and its repair options
Use the vehicle identification and actual mirror identifier to find the correct parts information. A previous owner may have installed an aftermarket assembly, and optional mirror features can change the required replacement. Record automatic dimming, displays, integrated controls and any accessible part label. Do not select a replacement solely by housing shape or the apparent size of its ball. Matching mounting geometry and electrical functions matters as much as matching the reflected viewing area. Ask the supplier whether the affected joint has an approved service adjustment, a repair part or only a complete replacement assembly.
Gentex’s support guidance points users toward their product installation manual and supplying company for installation questions. For an original-equipment mirror, the vehicle parts and service information should establish the supported repair. A small screw near the joint is not automatically a tension adjustment; it may retain a housing or mounting component. Do not turn it experimentally. If a tension adjustment is explicitly provided, use that procedure and its limits. If no supported joint repair exists, replacement is more defensible than inventing a repair around materials found at home.
Separate socket wear from mounting damage
A socket that no longer holds the head and a loose mounting foot can feel similar from the driver's seat. They must nevertheless be checked separately. Repairing one does not establish that the other is sound. A loose foot may involve a retained connection with a specified fastening or release mechanism. A damaged socket may be part of an assembly that is not intended to be rebuilt. Tightening a mounting fastener cannot restore a worn internal adjustment surface, and applying adhesive to a joint cannot correct a failed attachment to the glass.
Windshield attachment problems deserve vehicle-specific attention. GM bulletin 15655 for certain 2014 Impala vehicles describes a bracket-adhesion concern and a defined professional inspection, with windshield replacement required if the bracket dislodges in that procedure. Do not apply its test or repair conclusion to unrelated vehicles. It demonstrates that a detached bracket is not automatically a generic mirror-glue job. If the glass is damaged or the bonded attachment moves, have the glass and mounting arrangement assessed before further mirror manipulation. Ask the repairer which procedure applies to the vehicle actually in front of them.
Choose a supported correction
The practical choices depend on the confirmed finding. A serviceable fastening issue calls for restoring the identified connection according to its instructions. A replaceable damaged component calls for the matching part and installation procedure. A worn or cracked nonserviceable head or socket can require a complete mirror assembly. An attachment problem at the glass requires the specified glass or bracket repair. A symptom confined to electronic display operation requires diagnosis of that function rather than automatically replacing the adjustment joint. Each choice should connect a documented defect to a supported remedy.
Avoid glue, tape, paper, rubber strips or other improvised packing inside the adjustment socket. Those methods change the joint without establishing its retention or adjustment behavior. Do not drill a new screw hole, crush a socket with pliers or coat the ball to increase its diameter. Gentex’s aftermarket terms prohibit product modifications, including mounting modifications, for its products. Other manufacturers' requirements must be checked individually. A repair that feels stiff immediately after modification is not evidence that it will remain secure or preserve the intended function.
Equally, spraying lubricant into a loose joint is not a diagnosis and may work against the desired holding behavior. Removing the complete mirror may be necessary for replacement, but separating its head from the ball is not automatically part of that job. Use our mirror-removal identification guide to distinguish the socket from the vehicle attachment. The procedure must identify the correct release point and support the assembly when it comes free. Do not use the windshield as a leverage surface or leave a powered mirror hanging by its harness. If the release mechanism is unknown, obtain the correct instructions before starting.
Check replacement compatibility and installation
Before fitting a replacement, compare its application and functions with the original specification. Confirm the mounting interface and any approved adapter, the electrical connector and the required features. A mirror that physically attaches but loses a required function is not a complete like-for-like repair. A used assembly also needs inspection for the same joint looseness or housing damage that prompted replacement. Ask what the supplier guarantees about compatibility and how a mismatch will be handled. Keep the original identifier available until the replacement has been verified.
Installation should follow the mirror and vehicle instructions for electrical preparation, fasteners, wiring and covers. Do not invent a torque for a small mounting screw or assume that a firm hand-tightening is always the specified method. Keep wires clear of moving joints and trim attachment points. A cover should not be used to brace a loose mount. If adjacent equipment has been disturbed, complete the checks required for that equipment. A camera housing near the mirror is not necessarily part of the mirror itself, and the need for calibration depends on the actual work and vehicle requirements.
After installation, set the driver's normal seating position and aim the mirror according to the owner's instructions. Check that the head stays where it is placed without using an abnormal amount of adjustment force. Verify retention at the mounting connection separately. Test applicable controls, dimming or display functions using the product guidance. If the head still drifts, do not compensate by overtightening an unrelated mounting screw. Recheck the part match and the diagnosed source of movement before considering the repair complete.
When the mirror still shakes or drops
A recurring complaint needs comparison with the original symptom. If the head now holds its angle but an image still appears to vibrate, establish whether the remaining concern involves the physical assembly, reflected image or display operation. Do not assume that every visual disturbance is another worn socket. Ask the repairer to demonstrate what moves and under which conditions. Keep a record of the part replaced and what improved. This helps avoid paying for the same unconfirmed diagnosis a second time.
Report any connection with temperature, accessory use or recent windshield work without treating that timing as proof. A symptom that appears after the cabin warms may be relevant to inspection, but deliberately heating the mirror with a heat gun is not a suitable home test. An accessory attached to the mirror may also complicate the situation. Follow the accessory and vehicle instructions, and tell the technician what was fitted rather than concealing its history. Removing an accessory does not by itself prove that a damaged joint has recovered. If a replacement assembly becomes loose immediately, pause before modifying it.
Check whether the supplied part is correct, the attachment was installed as directed and the underlying mount was sound. Contact the installer or supplier with photographs and the invoice. Ask whether the proposed follow-up addresses the same defect or a newly identified issue. A recurring loose mirror should not require repeated improvised tightening at every journey. The repair needs to restore the identified connection and confirm normal use.
Keep the repair useful and verifiable
Adjust the mirror while parked rather than wrestling with a loose assembly in traffic. Use the normal adjustment points described by the owner instructions. Avoid hanging objects or mounting accessories on it unless the relevant product and vehicle guidance allow that installation.
Keep cleaning products away from internal joints and electrical openings. Report a new crack, loose attachment or drifting aim promptly. Do not confuse routine cleaning with lubrication of an adjustment mechanism.
Keep the repair invoice, part number and any photographs of the original defect. Ask the repairer to state whether the problem involved the socket, mounting foot, glass attachment or electronic function. That distinction is useful if the complaint returns or if another shop later services the windshield.
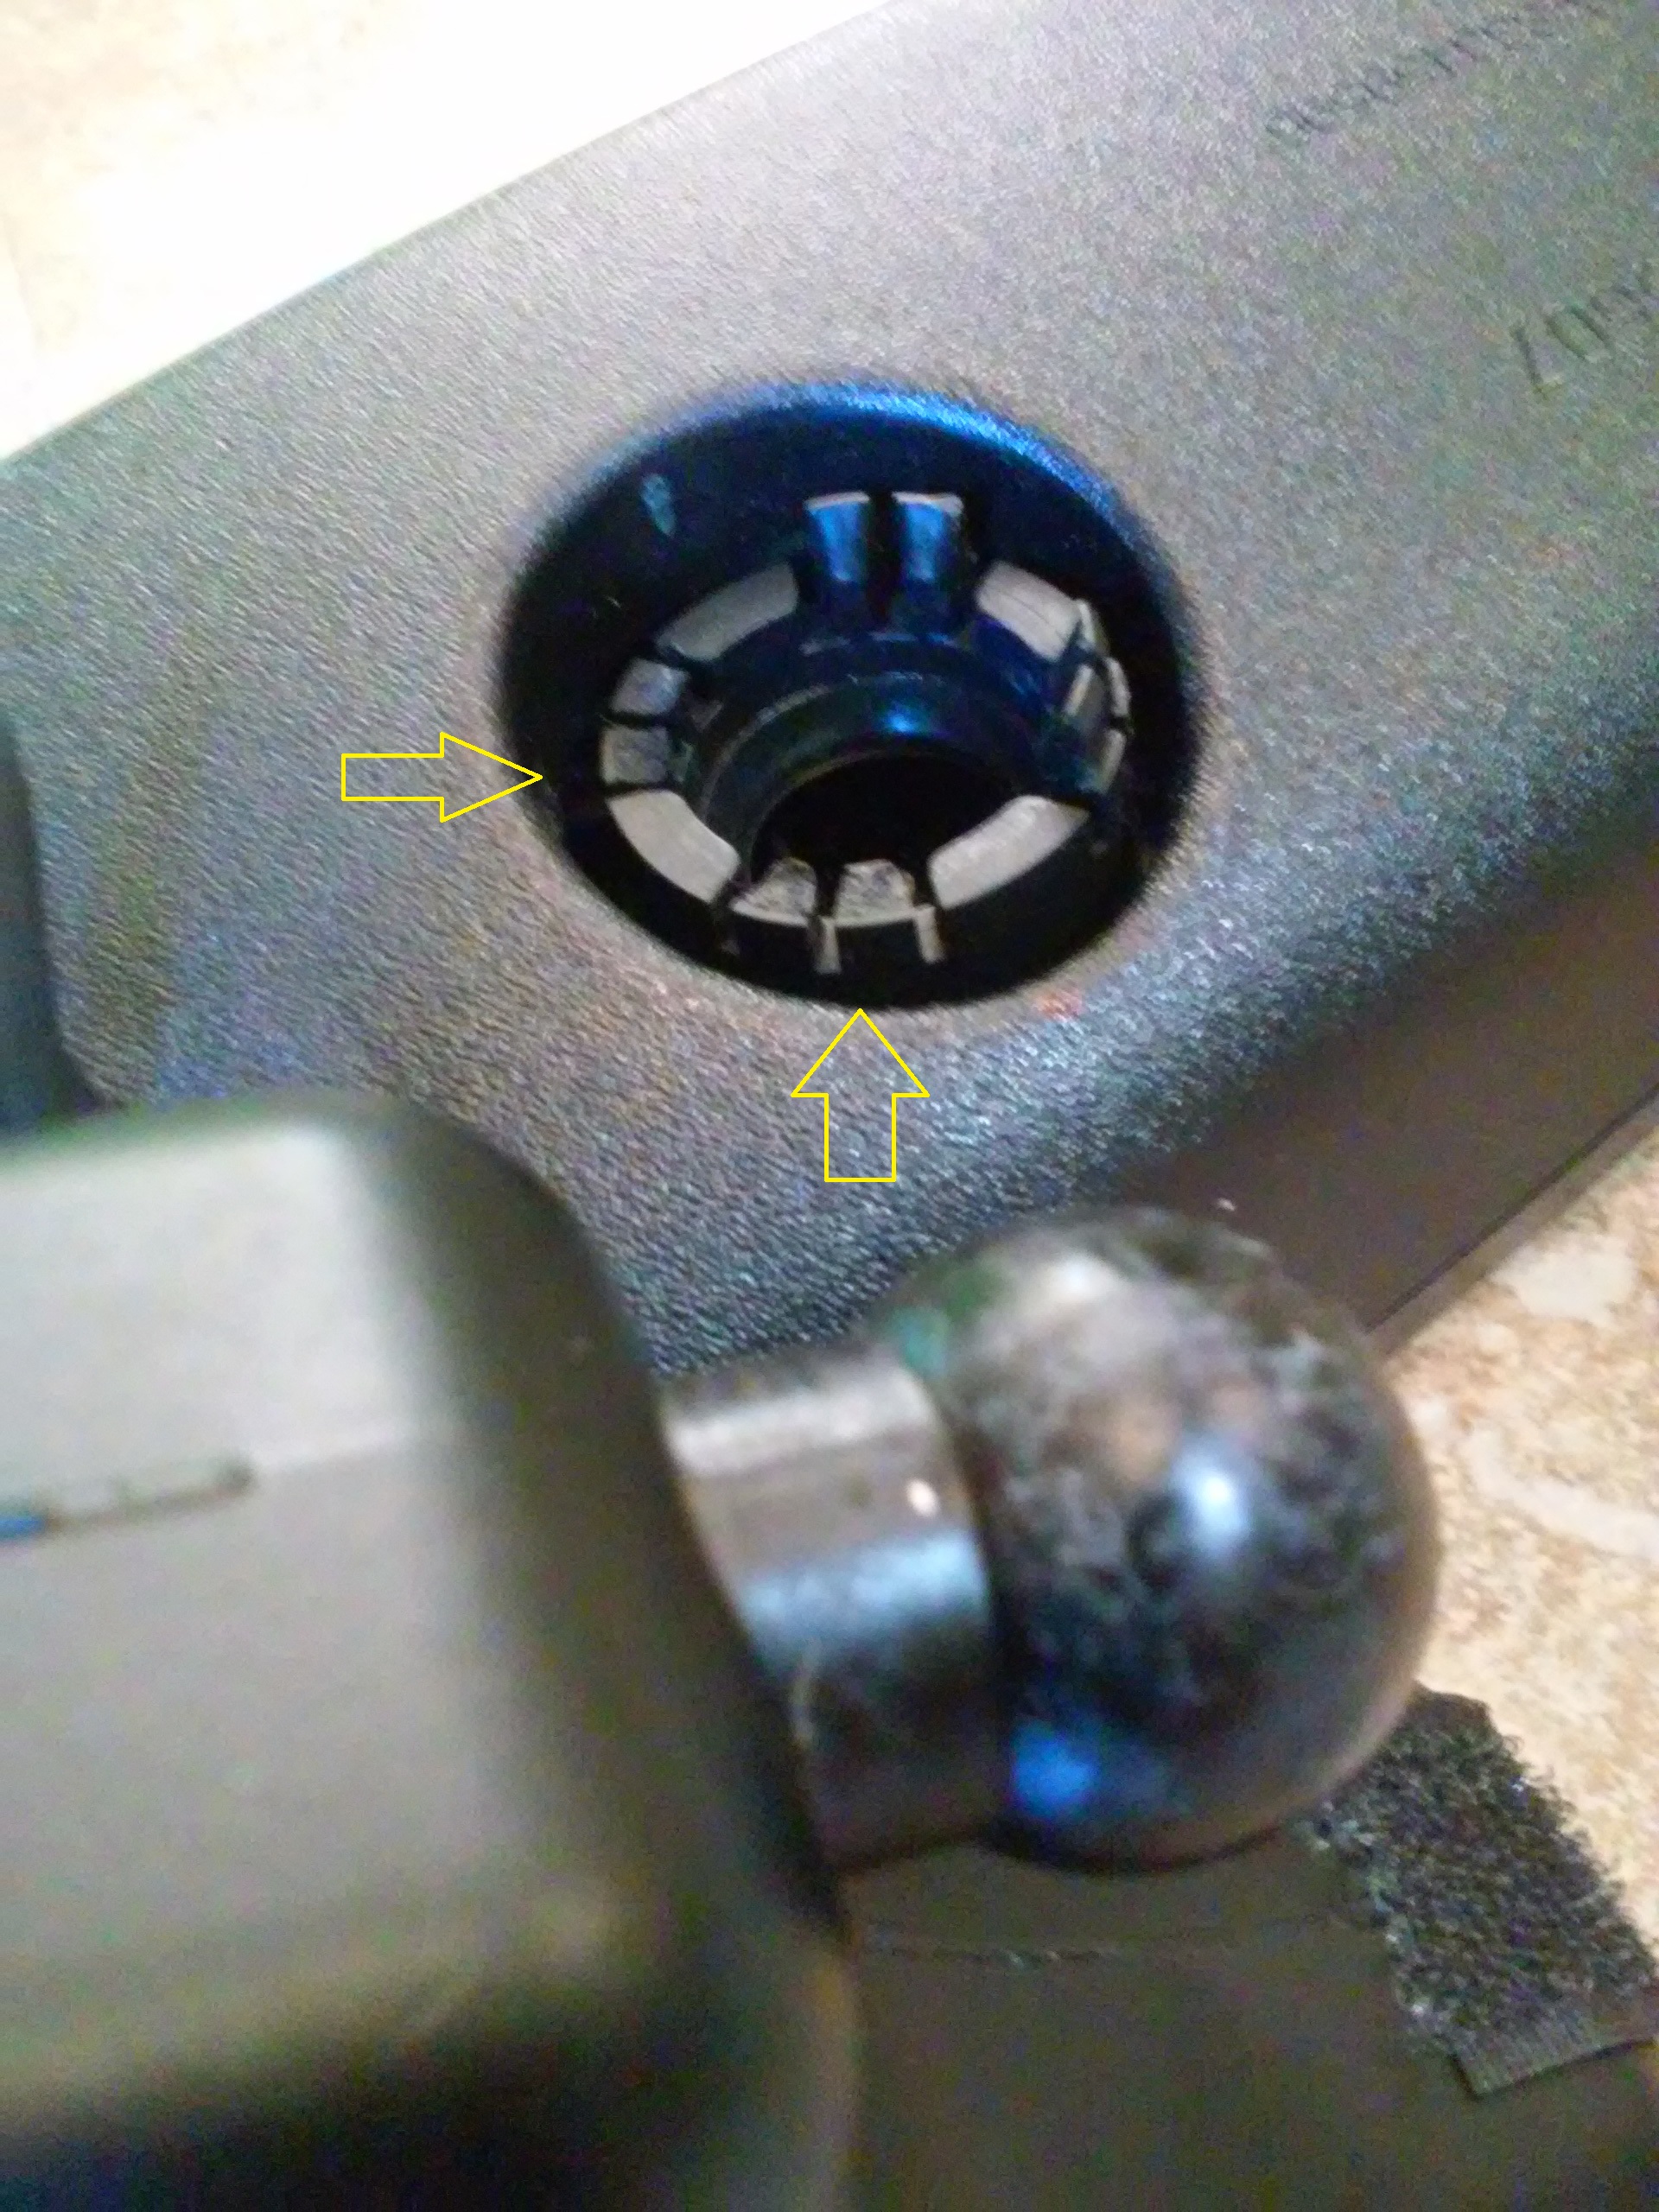
Credit: www.corvetteforum.com
A useful completion check confirms secure mounting, stable aim, normal adjustment and the functions affected by the work. It should also identify any unresolved concern instead of describing the mirror as fixed merely because it stayed still for a moment. Can a loose mirror joint always be tightened?
No; only a documented service adjustment supports that approach, and a worn nonserviceable assembly may require replacement. Is a glue repair permanent? An improvised adhesive treatment is not evidence of a supported or reliable repair.
Does every loose mirror require a new windshield? No; the location of the fault and the applicable procedure determine the work. The sound approach is to identify the moving connection first, obtain the matching repair instructions and verify the result without altering the joint's design.


Automotive reference information. Confirm specifications in the manual for your exact vehicle. Original replacement guides link to their research sources. About us