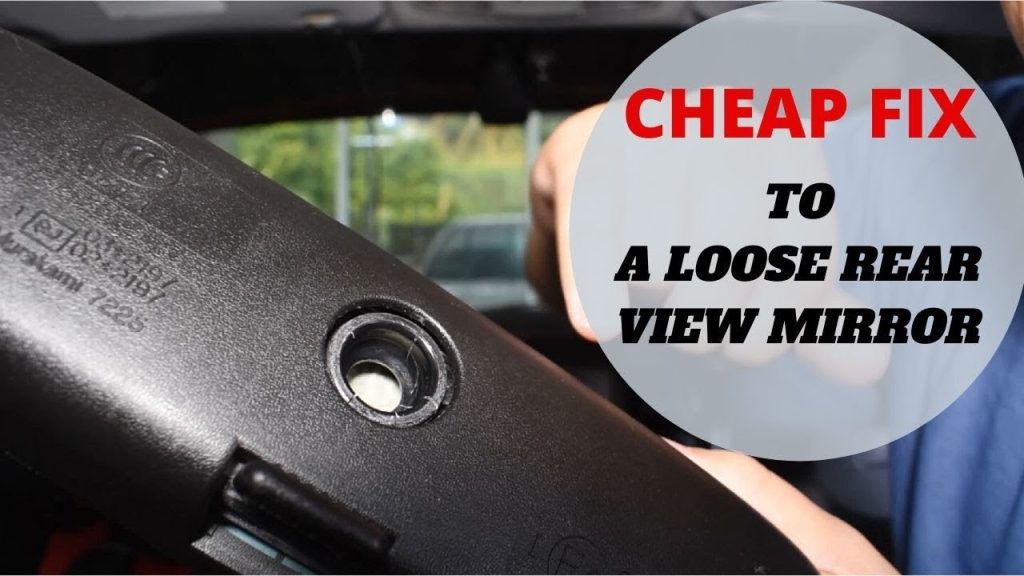

Removing a rearview mirror from its ball joint is not a universal pull-off operation. First establish whether the mirror head is intended to separate from its adjustment joint at all. Removing the complete mirror from a windshield attachment is a different job, and it may be the supported service method when the head or socket is damaged.
Pulling on an assembled mirror without identifying the connection can load the windshield, break the housing or damage wiring. This guide helps you identify the required operation and obtain the correct removal instructions before applying force.
It concerns an interior mirror adjustment joint, not a suspension ball joint, an exterior mirror folding hinge or a camera bracket hidden behind the mirror. If your actual problem is a mirror that droops, begin with our loose rearview mirror diagnosis guide; dismantling may be unnecessary.
Identify the connection before removing the mirror
Start by describing what you intend to remove. The mirror head contains the reflective surface and housing. A stem or arm may connect it to an adjustable socket. At the other end, a mounting foot connects the assembly to its vehicle attachment. A windshield button or bracket is the part attached to the glass on applicable designs.
A decorative cover can conceal connectors or neighboring equipment without being part of the adjustment joint. These names help distinguish a parts request for a broken housing from a request to remove a complete mirror for windshield service. Photograph the assembly from accessible angles while the vehicle is parked. Do not pry off covers simply to make the photograph more informative. Find the vehicle year, model, trim and mirror features, then identify the installed assembly.
An aftermarket mirror can make the original vehicle procedure incomplete, so record its label or purchase documentation if accessible without dismantling. A mirror with a display, automatic dimming, a compass or integrated controls needs the correct electrical information as well as the mounting instructions. A connector that looks similar is not proof of electrical compatibility. Likewise, matching the outside shape of a replacement does not show that the socket dimensions or mounting geometry are suitable. Ask a parts supplier to confirm the exact application rather than ordering from appearance alone.
- The first decision is whether the ball and socket are separately serviceable. Look for an explicit procedure and a matching service part, not just a picture of the assembled joint. Some assemblies are supplied as a complete mirror, and an exploded illustration may be intended only to identify the assembly rather than authorize dismantling every visible interface. If the instructions describe removing the complete unit, do not reinterpret them as permission to pop the head off its stem. Absence of an obvious screw does not establish that a joint is a removable snap fit.
Contact the vehicle repair-information provider or the mirror supplier if the procedure cannot be identified. Gentex’s product-support page directs owners to the installation manual supplied with the product or the supplying company for installation assistance. That is a useful route when a generic internet demonstration does not match the installed mirror. Give the supplier the product identifier and explain which connection you want to separate. Ask whether the head is serviceable, what tool is specified and whether a replacement assembly is required after damage.
-
A clear answer to those questions is more valuable than an estimated amount of pulling force. Read the procedure from preparation through reinstallation before beginning. It may require access to a mounting fastener, release feature, trim or electrical connector. Establish which part moves, in which direction, and which part must remain supported. A sliding mounting connection, a retained mounting foot and an adjustable socket are not interchangeable mechanisms.
- Never transfer a rotation or release direction from a different mirror simply because its cover looks similar. If the instructions and the actual hardware disagree, stop and resolve the mismatch before disturbing anything further. Plan how the assembly will be supported once its attachment releases. A mirror should not hang from its wiring while you search for the connector latch. Keep tools and removed hardware controlled so that they cannot fall into trim openings or strike glass.
- Use the protection specified by the applicable procedure, and avoid placing a tool against the windshield as a reaction point. Working from an awkward position increases the chance of applying an unintended side load. If you cannot see or reach the release feature without pulling on the assembly, professional removal is a sensible next step. Electrical preparation must follow the vehicle and product instructions. Do not assume that switching off the mirror display isolates every circuit or that disconnecting the battery is always the complete preparation.
- Identify the connector release rather than pulling on wires. Record the routing before disconnection where the procedure permits it. A harness may need clearance for normal adjustment, but excess wire must not be trapped during refitting. Keep the distinction between mirror wiring and nearby windshield equipment clear throughout the job. A cover shared visually with a sensor area does not mean every component underneath should be unplugged.
-
Camera and sensor housings deserve particular care because proximity is not proof of mechanical connection. Do not pull a windshield-mounted camera bracket while attempting to release a mirror foot. If the removal procedure affects related equipment, check its required inspection, initialization or calibration steps. Do not claim that every mirror replacement requires camera calibration, or that none does. The requirement depends on what was disturbed and the vehicle instructions.
- A technician should be able to explain that distinction in the repair plan before removing equipment near the glass. Treat the windshield attachment as a separate diagnostic boundary. If the button or bracket moves relative to the glass, continuing to manipulate the ball joint is inappropriate. The attachment and glass need assessment first. GM bulletin 15655 illustrates why a generic adhesive answer can be wrong: its procedure for certain 2014 Chevrolet Impala vehicles calls for windshield replacement if the bracket dislodges during the specified professional inspection.
- This is a narrowly defined service update, not a test to perform on another car and not evidence that every detached mirror requires a windshield. Its relevance is that the vehicle-specific repair can differ substantially from a universal glue recommendation. If the correct instructions explicitly permit separating the head from its socket, use their stated support points and tools. Confirm whether any retainers must be released and whether they are reusable. Stop if the housing cracks, a retainer breaks, the mount moves at the glass or the actual parts do not match the instructions.
- There is no responsible universal pull force or twist angle for this task. An unexplained increase in resistance is a reason to reassess the connection, not to add a longer lever. Do not heat the housing, lubricate the socket or strike the stem as an improvised release method. If the complete assembly must instead be removed at its mounting foot, keep that operation separate from the ball joint. Follow the attachment-specific release sequence while supporting the mirror.
-
Leave a sound bonded bracket in place unless the applicable repair expressly includes its removal. Once the mirror is off, do not assume a bench position makes unsupported socket disassembly safe. The joint still needs a service procedure. Bench access helps inspection, but it does not change whether the manufacturer supports rebuilding the component. Examine accessible parts after the authorized separation without modifying them.
- Note a fractured socket, missing retainer, distorted mounting surface or damaged connector. Preserve the parts and photographs for the supplier or repairer. Sanding the ball, spreading the socket or drilling a new fastening hole changes the component rather than restoring the specified arrangement. Gentex’s aftermarket terms prohibit modifications to its products, including mounts. That restriction applies to those products; other assemblies require their own instructions.
- Do not use an improvised modification as a substitute for identifying the correct replacement. Check the replacement against the original identifier and required functions before refitting. A manually dimming mirror and a powered mirror can have different installation requirements even when both offer a similar reflected view. Confirm mounting compatibility, connectors, controls and the intended adjustment range. Ask whether any brackets or adapters are approved for that particular pairing.
A part that can be forced onto an existing mount is not necessarily a compatible part. Resolve a missing function or an uncertain adapter before the vehicle is returned to use. Reinstallation must restore retention, wiring and adjustment together. Use the required fastening specification where one is given; do not borrow a torque from another mirror. Refit covers without pinching wires or using them to hold a loose assembly in place.
Credit: www.reddit.com
Check that the mirror can be aimed normally and remains where it is set. Verify relevant controls and displays using their operating instructions. Inspect for looseness at the glass attachment separately from movement at the adjustment joint. Any required related-system checks belong to the completed repair, not an optional later task. Common questions often reveal that the wrong operation was planned.
Can I pull the mirror straight off the ball? Only use a separation method explicitly supported for that assembly; the visible shape is insufficient evidence. Should I remove the windshield button first? Usually that is a different repair question, so follow the identified mounting procedure rather than disturbing a sound attachment for convenience. What if the head has already fallen off?
Keep the detached parts, protect them from further damage and have the joint and housing assessed before attempting reinsertion. A snapped retainer can prevent reliable retention even if the pieces appear to fit again. Finally, explain the intended outcome to the repairer. State whether the mirror needs replacement, a loose joint needs diagnosis or access is required for another authorized repair.
Request a quote that identifies the assembly, any required mounting work and functional verification. If the mirror cannot retain a useful view or is insecure, address that condition before normal driving rather than repeatedly adjusting it in traffic. Correct removal starts with identifying the serviceable connection and ends with a securely installed, usable mirror. The objective is to preserve the glass and related equipment while completing the actual repair, not merely to separate two parts.


Automotive reference information. Confirm specifications in the manual for your exact vehicle. Original replacement guides link to their research sources. About us