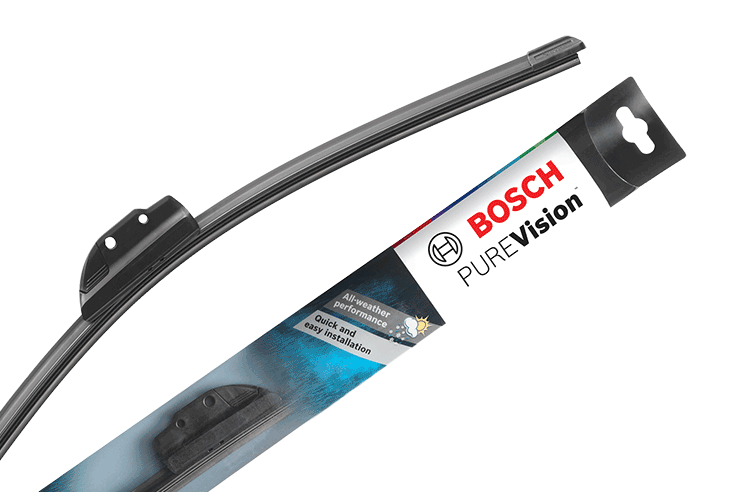

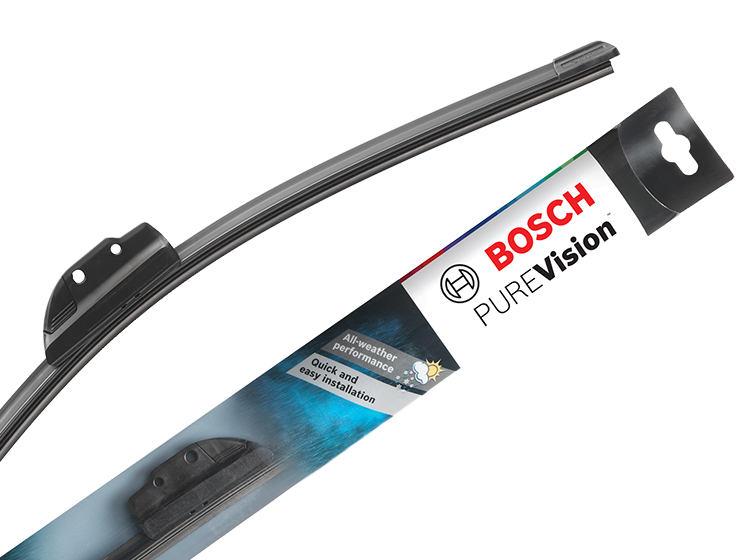
To install Bosch PureVision wiper blades, match the purchased part to the vehicle, select its specified adapter and complete the connector-specific fitting sequence supplied by Bosch. PureVision uses the Click-On adapter system, but that name does not mean every arm connects in one identical way. Bosch publishes separate PureVision instructions for hook, pinch-tab and top-lock connections. The reliable approach is to identify the connection first, then use the corresponding instructions rather than trying every loose plastic part until one appears to fit. This guide organizes that process and explains what to inspect when an adapter attaches to the blade but will not attach properly to the car. It also separates a secure fitting from the later check that the blade actually wipes and parks correctly.
Prepare the correct blade, documentation and workspace
- Confirmed PureVision references: obtain the full part numbers listed for your vehicle and each required position. Keep driver and passenger replacements identifiable even if their lengths look similar. Do not shorten a blade to make an incorrect reference clear the windshield edge. A length measurement is a useful cross-check, but the application and connector still need confirmation.
- The supplied fitting sheet: lay out the package contents on a clean surface and compare them with the illustrations. Keep adapters together with the blade they accompanied. If two boxes contain visibly different connector parts, investigate before mixing them. An incomplete returned package should be resolved with the seller before you remove working equipment from the car.
- The vehicle handbook: consult the wiper-access procedure, including a service position where needed. The handbook is part of this job, particularly when the arms rest below the hood or the vehicle can wipe automatically. Know how to leave the system inactive while handling the mechanism and how to restore normal operation afterwards.
- Glass protection and cleaning materials: have a suitable cloth or protective pad ready and use cleaning products compatible with the vehicle’s glass and surrounding surfaces. You should not need to alter the arm, loosen its spindle nut or apply lubricant to make the correct blade connector fit. Unexpected fabrication or adjustment is a reason to reassess the selected part.
Read the adapter map before releasing the old blade
The most useful comparison is between the actual arm end and the diagram on your PureVision instructions. Bosch’s 15PUV product information identifies a beam blade with a Click-On adapter system and lists adapters as required for that specific item. It does not establish which adapter your car needs. Check the complete vehicle application and the supplied sheet. Treat an adapter number as a label within that instruction set, not a universal code shared by every Bosch product. Instructions for ICON, Aerotwin or another Bosch line may describe different hardware. Once the correct branch is identified, use the old blade’s release method while keeping the spring-loaded arm under control. A retaining clip from the old assembly should not be stacked into the new connection unless the applicable instructions specifically require retaining it.
Credit: www.boschautoparts.com
Create safe access without changing the arm adjustment
Follow the vehicle’s service-position procedure before raising an arm that would otherwise catch the hood. Bosch’s general replacement advice directs owners to the handbook for this step and recommends placing protection between the arm and glass. Keep hold of an unsupported arm even when protection is present. You are replacing the blade attached to its outer end; the arm’s mounting nut and sweep adjustment are separate service tasks. If you find a bent arm, damaged mounting hardware or broken vehicle-side latch, fitting a new blade may not solve the problem. Photograph the condition and have it assessed. Wipe away accessible loose dirt without scraping or reshaping the connector. An obstruction should be identified, especially if it appears to be a remaining piece of the outgoing adapter.
Use the matching Bosch PureVision installation reference
Bosch’s North American channel provides the PureVision hook-connection demonstration and the separate PureVision pinch-tab demonstration. For top-lock equipment it also provides distinct large top-lock and BMW top-lock references. Choose the one that matches your package and arm; the vehicle brand alone is insufficient to identify every connection used across its models. Follow the illustrated order for preparing the adapter, attaching it to the blade and securing the blade to the arm. Pay attention to the direction of insertion and the orientation of each release feature. A component that can be rotated in your hand does not necessarily work in both orientations. If the pictured parts differ from yours, pause and obtain instructions for the exact reference instead of borrowing a similar-looking procedure.
Check both interfaces, then check the full sweep
A replacement using a separate adapter has two places to examine: adapter-to-blade and adapter-to-arm. Verify each connection against the finished illustration. A noise from one latch engaging says nothing about the other interface. The blade must remain securely retained while allowing the articulation intended by its design; do not confuse normal blade movement with a connector pulling apart. Lower the arm gently when the assembly is complete. With tools removed and hands clear, restore the vehicle’s operating state and test on a wetted windshield. DENSO’s fitting guidance includes checking operation after replacement. Watch the ends as well as the middle of the blade, check the parked position and stop if anything collides or detaches. Do not use a motorway drive to discover whether a questionable connector will hold.
Three checks when the supplied adapter seems wrong
Before deciding that a part is defective, locate the stage that fails. Does the adapter refuse to mount on the blade, does the arm fail to enter it, or does the assembly enter but fail to lock? These are different observations and can point the supplier toward the relevant drawing. The purpose of the following checks is to gather clear information without damaging the components. If a latch has already cracked, stop testing that piece and obtain the appropriate replacement.
- Verify the reference and generation: compare the invoice, carton label and blade markings. Confirm that the selected instructions actually say PureVision and cover the supplied connector. An online demonstration from the right manufacturer can still describe another product. Keep the original packaging visible in support photographs so the exact supplied item can be identified.
- Check orientation and preparation: return to the first diagram in the correct adapter branch. Look for a preparation step you skipped or a part the instructions tell you to retain. Do not remove a cover merely because it resembles packaging. Likewise, do not force an adapter over a leftover connector from the old blade. Compare identifiable features rather than guessing from colour.
- Check the arm against the application: a catalogue result usually assumes the specified vehicle equipment. If the visible arm differs from the illustrated type, ask whether the vehicle has a replacement or modified arm. Our wiper fitment guide explains why a matching length cannot resolve a connection mismatch. Stop before making permanent changes to either part.

Credit: www.youtube.com
Protect the wiping edge during handling and first use
PureVision’s manufacturer description includes a graphite-treated wiping edge. Handle the blade without abrading the edge or trying to strip that treatment away as if it were dirt. Remove a shipping guard only when the package identifies it as such, then inspect that the flexible wiping element is undamaged and correctly seated. A new blade does not require an improvised solvent bath, oil coating or sandpaper treatment. Glass cleanliness matters, but the cleaning method must suit the vehicle and any existing glass treatment. Keep this separate from the question of whether the adapter is secure. A smeary first wipe is information to investigate, not evidence that a locking tab should be cut off or the arm twisted. For problems that begin immediately after fitting, the new-wiper noise checks provide a focused next step.
Use the symptom to choose the next action
The following checks are a way to decide what information is missing. They are not instructions to bend the arm or adjust the linkage. If the replacement cannot be secured, reinstall only a known serviceable blade using its correct procedure or arrange assistance. Do not drive in conditions requiring effective wiping with a loose or unusable assembly.
| What you observe | What to verify before further use |
|---|---|
| Adapter stays on the blade, but the arm will not seat | Check the exact arm type, selected adapter, insertion direction and any old connector piece still attached. A fitted adapter does not prove a correct vehicle match. |
| Blade locks on but strikes trim or the other blade | Stop operation. Recheck the specified references and positions, then seek vehicle-specific assessment if the correct parts still interfere. Do not trim the wiping element. |
| Assembly remains secure but leaves lines or skips | Inspect for packing material, glass contamination or a damaged edge. If these checks do not explain it, have blade suitability and the arm condition assessed. |
Keep a useful record of the completed fit
Record the PureVision references, positions and installation date after the operating check is satisfactory. Keep the fitting sheet with the purchase record; it can be useful when the next blade has a different adapter design. If assistance is needed now, contact the retailer or Bosch’s North American support route with the vehicle details and photographs of both connection interfaces. State precisely where the fitting sequence stops. For owners who prefer help at the point of purchase, our O’Reilly wiper-installation guide explains that retailer’s service scope and the checks to make before visiting. Completion means more than a familiar brand on the windshield: the correct blade is retained, clears its intended sweep and returns to its parked position without interference.


Automotive reference information. Confirm specifications in the manual for your exact vehicle. Original replacement guides link to their research sources. About us