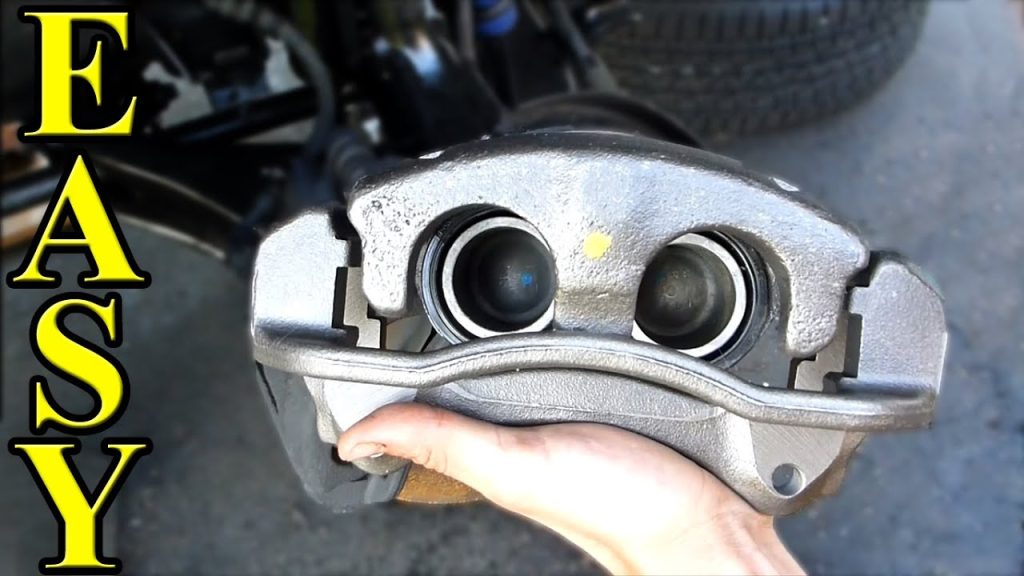

If the vehicle’s pad or rotor procedure allows it, you can move a brake caliper away from its mounting while leaving the hydraulic hose connected. That avoids opening the fluid circuit solely for access. It is different from replacing the hydraulic caliper, which normally requires disconnecting its fluid connection and completing the specified bleeding procedure. Clarify which operation you need before choosing a method intended to prevent fluid loss.
Keeping the connection intact does not mean the caliper can hang from the hose or be moved anywhere convenient. Its weight needs independent support, and its position must not stretch, twist or kink the hose or strain wiring. The available movement depends on the actual assembly. A hose that cannot reach a proposed resting place is a reason to change the support plan, not pull harder.
This guide concerns temporary repositioning during an approved service operation. It is not a promise of zero fluid loss during a true disconnection, nor a workaround for a leaking assembly. If the existing brake leaks, binds severely or has damaged hardware, investigate that fault before treating the job as ordinary access work. Do not drive with an unsafe brake while deciding how to dismantle it.
Use the vehicle procedure to identify the fasteners, service state and support arrangement. A generic description cannot determine whether your caliper pivots, lifts off completely or stays mounted while pads are removed another way. The best way to avoid unnecessary hydraulic work is to establish the intended service path before touching a connection.
Credit: www.thedrive.com
Choose the closed-circuit service path first
Plan the tools and a support before removing fasteners
Read the complete pad or rotor procedure, including any parking-brake preparation and final checks. Have suitable lifting and support equipment, the correct fastener tools and a purpose-appropriate caliper support ready.
| Do not wait until the caliper is loose to find somewhere to place it. Also identify any single-use hardware needed for reassembly so the vehicle is not left waiting for parts after dismantling. |
Identify the caliper, hose and mounting separately
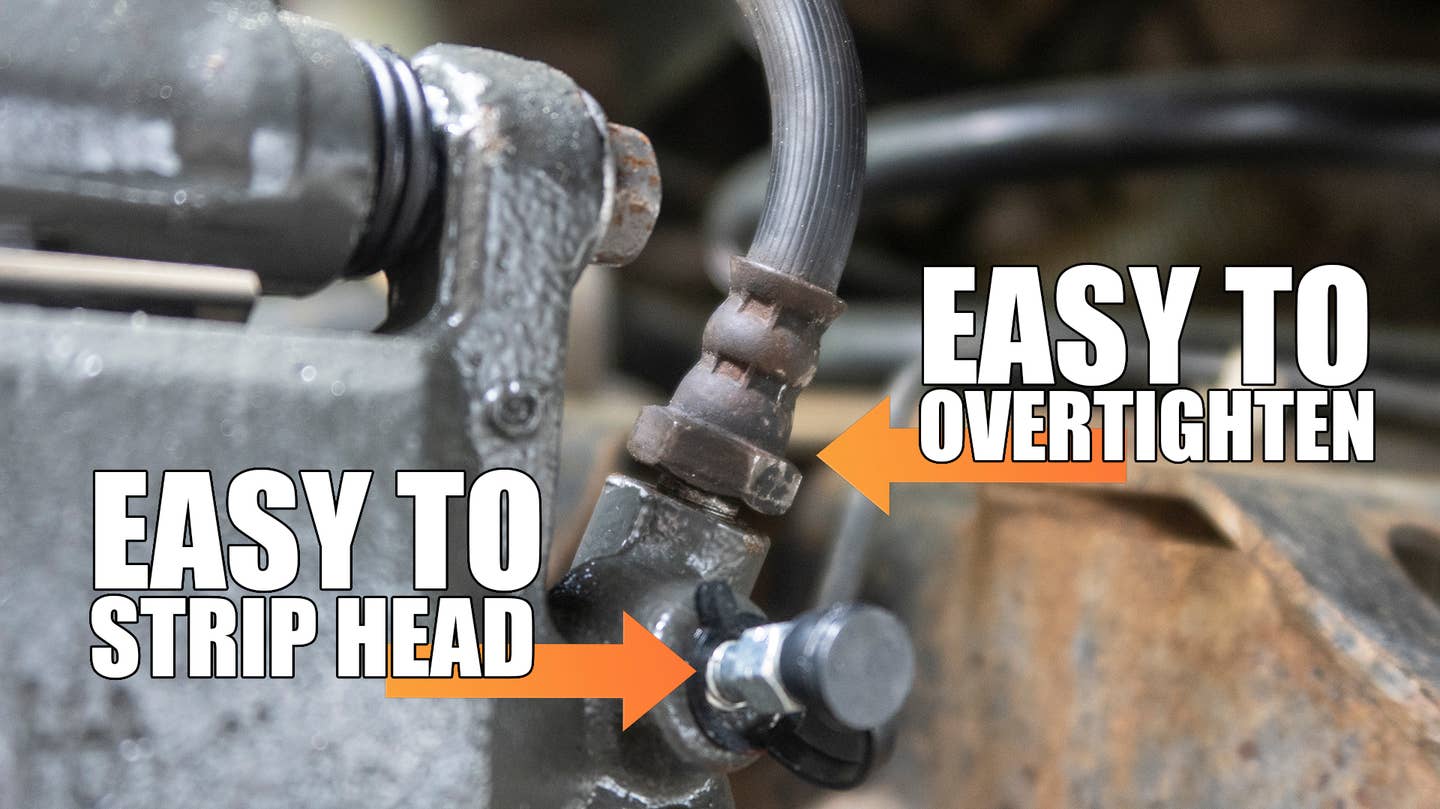
A mounting bolt locates the caliper or bracket, while the hose connection belongs to the hydraulic circuit. A bleeder is another hydraulic opening, not a mounting fastener.
Match the actual parts to the service drawing before loosening anything. HELLA’s brake-service example supports the caliper independently while protecting the connected hose.
Its example demonstrates the distinction, but its detailed sequence must not be transferred to a different brake design without checking applicability.
Confirm that temporary repositioning suits the job
For pad access or rotor removal, determine whether the documented procedure keeps the hydraulic connection closed. For a complete caliper replacement, acknowledge that the old and new hydraulic assemblies must be exchanged through their specified service process.
| Do not describe the latter as merely moving the caliper aside to avoid bleeding. If a hose or fitting is defective, leaving it connected is not a substitute for the necessary repair. |
Secure the vehicle independently of the brake being serviced
Follow the vehicle’s lifting points, restraint instructions and required brake-system state. Use properly rated supports on a suitable firm surface; a jack alone is not adequate.
A rear parking brake being serviced cannot be relied on as the only restraint. Electronic systems may also require defined preparation, so switching the ignition off is not a universal replacement for reading the procedure.
Remove the wheel and establish clear access
Allow hot components to cool before handling the brake.
Remove the wheel through the prescribed process and store it safely out of the work area.
Inspect the route available for the caliper before releasing its mounting.
Locate the hose, wear-sensor lead and any parking-brake wiring or cable that could limit movement.
Do not assume the hose is the only connection still attached.
| If access exposes a leak, damaged boot or insecure mounting, record and assess that finding before continuing with a routine service plan. |
Release only the specified mounting fasteners
Identify whether the operation uses guide fasteners, bracket bolts or another attachment. Keep removed hardware organized by position and follow any renewal requirements.
| Do not loosen a banjo bolt, pipe fitting or bleed screw simply because it is easier to reach. |
Our caliper fastener identification guide explains why similar-looking hardware can have very different duties.
If the intended fastener is seized or damaged, address that condition through an appropriate repair method rather than disconnecting unrelated parts for leverage.
Move the caliper only within the permitted range
Hold the assembly securely as the final attachment is released and guide it along the service procedure’s intended path. Watch the hose and any remaining cables throughout the movement.
Stop if they become tight, twist or contact a sharp edge. A connected hose is a flexible hydraulic component, not a tether designed to catch a falling caliper.
Reposition the support or obtain the correct equipment if the planned location cannot be reached safely.
Preserve clips, springs and cable routing
Some access procedures involve protective retainers, pad springs or wiring clips. Identify each item and keep it in its assigned location for the required reuse or replacement decision.
Releasing a hose from a routing holder is not the same as opening its fluid connection, but it still creates a responsibility to restore the routing correctly.
Do not omit a clip because the hose appears to stay in place while the car is stationary.
Support the weight without loading the hose
Use the support method permitted by the procedure and a sound attachment point capable of holding the assembly. Ensure the caliper cannot slide off or fall as other parts are removed.
- Keep the hose relaxed and protected from pinching, sharp edges and accidental tool contact.
- Recheck the position after moving the bracket or rotor, because the available support and clearances can change during the job.
Do not rest the assembly where it can contaminate new friction parts or be knocked loose by the removed wheel.
A closed circuit still requires careful fluid handling
Leaving the line connected avoids a new opening at that joint, but it does not make every other fluid concern disappear.
Piston retraction can displace fluid toward the reservoir, and an existing leak can still require repair.
Identify those conditions separately.
Do not seal the reservoir with household materials, clamp the hose or open a bleeder merely because an online shortcut claims this guarantees a dry job.
Monitor displacement during the specified piston reset
| Use the correct retraction method and reservoir handling instructions for the assembly. HELLA’s piston-reset guidance emphasizes appropriate tools and methods. Some rear designs require more than a straight push, and added force cannot compensate for an unfinished parking-brake preparation step. Monitor fluid level as directed and keep the system clean. Unexpected resistance or fluid behavior calls for reassessment, not an improvised release through a loosened fitting. |
Keep friction surfaces and surrounding parts protected
Arrange tools, old pads and contaminated materials away from clean discs and new friction surfaces. Handle any fluid spill using the appropriate procedure for the affected material. Do not assume that a quick wipe restores a contaminated pad to serviceable condition. Follow the brake-component manufacturer’s remedy if contamination occurs. Also keep solvents and unsuitable lubricants away from protective rubber and hydraulic components.
Contain spills without treating a tray as a repair
A suitable catch tray can help manage fluid where the actual service process requires containment, but it does not justify opening the circuit unnecessarily. If fluid appears during supposedly closed-circuit access work, determine its source. It may be displaced reservoir fluid, old residue or a genuine leak requiring attention. Do not ignore fresh wetness because the job was planned to involve no hydraulic disconnection.
Inspect the connections and hose after repositioning
Before reassembly is considered complete, check the hose and its attachments for strain, twist, damage or leakage. Restore every routing feature disturbed for access.
Compare the finished arrangement with the service illustration and the original routing record. A joint that remained connected can still have been damaged by mishandling, so closed circuit is a description of the work, not a guarantee that inspection can be skipped.
Return the caliper without trapping components
Guide the supported assembly back into position using the prescribed procedure. Confirm pad and hardware placement and keep the hose, cable and wiring clear of the mounting surfaces.
Do not pull a misaligned caliper into place with its bolts. If it will not seat correctly, identify whether pad position, piston reset, hardware or part compatibility is responsible.
The final fit must follow the design rather than force an uncertain arrangement together.
Complete the correct fastening and routing checks
Install the specified hardware with its required preparation and tightening procedure. Guide fasteners, bracket bolts and wheel fasteners have separate requirements.
Brembo’s fitting guidance treats attachment and final brake checks as parts of the complete service. Use the applicable vehicle instructions for the actual job and confirm that every temporary support has been removed without disturbing the restored hose routing.
Decide bleeding from what was actually opened
If the hydraulic circuit remained intact throughout permitted access work, the fact that the caliper was moved aside does not itself create the same bleeding requirement as replacing a disconnected hydraulic assembly. Other service conditions can still require fluid work, so follow the actual procedure. If a fitting or bleeder was opened, the reservoir ran empty or a hydraulic fault was found, reassess the scope and complete the required restoration.
The label used for the job cannot override what happened. For a true disconnection, use controlled fluid-loss planning rather than a zero-loss promise.
That work needs appropriate clean containment, correct sealing parts and the specified bleeding process. A small visible loss does not prove that no air entered.
Prefilling a replacement or reconnecting quickly also does not certify the finished circuit. Before moving the vehicle, establish the prescribed pad and piston working position, verify pedal response and inspect for leaks.
Complete any parking-brake setup or electronic service exit required by the work. An abnormal pedal, fresh fluid, warning or binding is a reason to stop and investigate.
Do not drive to make an uncertain brake settle into operation. The practical distinction is simple: temporary supported movement can preserve the closed hydraulic system when the procedure allows it, while replacement or disconnection creates a hydraulic service task.
Choose the correct path for the actual repair and document any change in scope. Avoiding an unnecessary opening is sensible; avoiding required bleeding after an opening is not.


Automotive reference information. Confirm specifications in the manual for your exact vehicle. Original replacement guides link to their research sources. About us