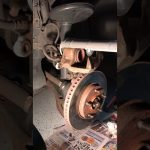

Identify the connection before choosing a wrench
Removing a brake line from a caliper opens the hydraulic system and creates a repair that must end with correct reassembly, bleeding and verification. First identify the exact connection and vehicle procedure. A hose attached with a banjo bolt is different from a threaded tube fitting, and some assemblies include a short rigid pipe near the caliper. Do not assume every visible hexagon is the same fastener. If the purpose is only to move a caliper during pad work, check whether the hydraulic connection needs opening at all. Supporting the assembly correctly may avoid unnecessary disconnection when the service procedure permits it.
Obtain the correct service information, replacement components and specified brake fluid before starting. Check which sealing washers, pipes, fittings or fasteners require renewal. A connection that appears reusable may still have a manufacturer replacement requirement. Plan the bleeding procedure, including any equipment needed for the vehicle’s control system. Having a wrench that fits does not mean the entire job is ready to perform. If required information or equipment is missing, leave the system closed and arrange competent brake service.
Separate removal from diagnosis
- A stiff piston or dragging brake does not automatically establish a bad caliper or hose. Opening a connection can change the symptom without identifying the complete cause. Record the original complaint and use the supported diagnostic process before replacing components. This article concerns planning an authorized disconnection, not using a loosened fitting as an improvised roadside test. A vehicle with a fluid leak, severe pull, abnormal pedal or locked wheel should not be driven to gather more symptoms.
Secure and support the vehicle correctly
Follow the vehicle’s lifting points and support requirements on a suitable surface. Do not work beneath a vehicle supported only by a jack. Account for the parking-brake state and any electronic maintenance requirements.
The vehicle must remain restrained when a brake is released or dismantled. Brake dust and hot components also need appropriate handling; do not blow accumulated dust into the air or begin on a dangerously hot assembly. A safe work position is a prerequisite for applying controlled force to a fitting.
Distinguish a banjo connection from a tube fitting
A banjo arrangement uses a bolt through an eye-shaped hose end and specified sealing surfaces. A tube fitting uses its own threaded and sealing geometry. The bolt or nut is only part of the connection. Identify the required sealing parts and orientation from the application information. Do not transfer washer, sealant or tightening advice from one connection style to another. The existing part can help identify the arrangement, but a previous incorrect repair is not a reliable installation example.
Control fluid without contaminating the circuit
Prepare suitable collection and protection for brake fluid before opening the connection. Keep fluid away from surfaces it can damage and follow the product’s handling guidance. Use clean equipment and prevent dirt entering exposed ports. Do not return drained fluid to the reservoir. A container that looks clean may still contain incompatible residue. The correct fluid specification matters; selecting only by a familiar brand or a higher-looking number is not an adequate compatibility check.
Use a tool matched to the fitting
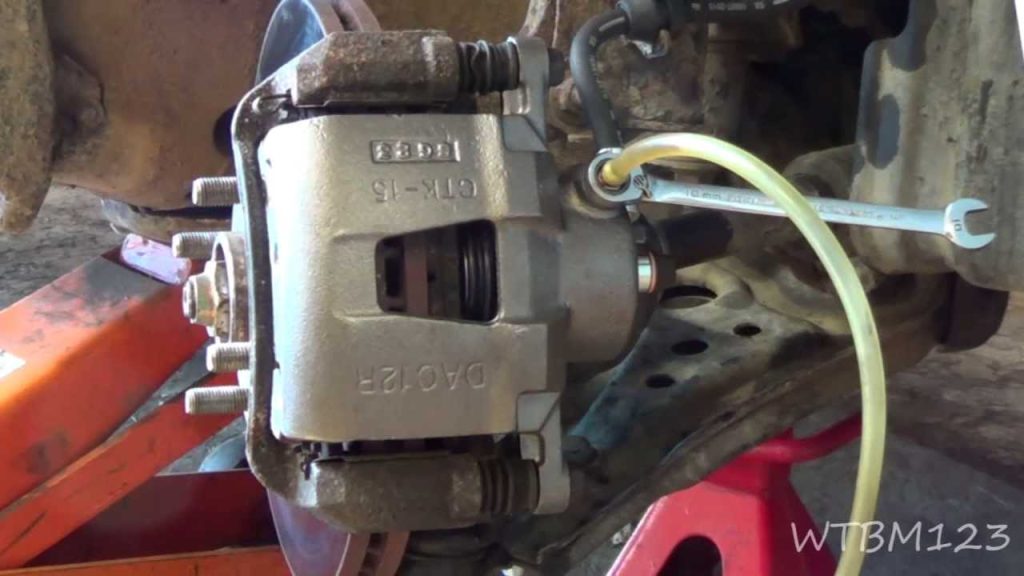
A correctly sized line wrench can support a tube nut differently from an ordinary open-ended wrench, but the tool must match the actual fitting and available access. A banjo bolt may require a different approach. Seat the tool properly before applying force. If the fitting begins rounding or the pipe twists, stop. More force can turn a planned caliper job into a damaged-line repair. Assess corrosion and the condition of the whole connection before choosing a recovery method.
Avoid twisting the hose or rigid pipe
The hydraulic connection must not be used as a hanger for a removed caliper. Support the assembly as the service procedure requires. Observe how the hose is routed and retained before disturbing it. A hose that twists during removal or reassembly may be damaged or incorrectly positioned even if the connection appears tight. A rigid pipe should not be bent casually to create clearance. Use the specified disassembly sequence so the component can separate without forcing adjacent parts.
Protect an opened port promptly
Use the appropriate clean protective cap or plug when the procedure calls for one. Do not insert an arbitrary screw into a hose or port. A substitute can damage a sealing surface, leave debris or be mistaken for a permanent repair. Temporary protection is not permission to operate the vehicle with part of the brake circuit disconnected. Keep all temporary pieces accounted for so none remains in the system at final assembly.
Fluid isolation methods are application-specific
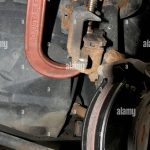
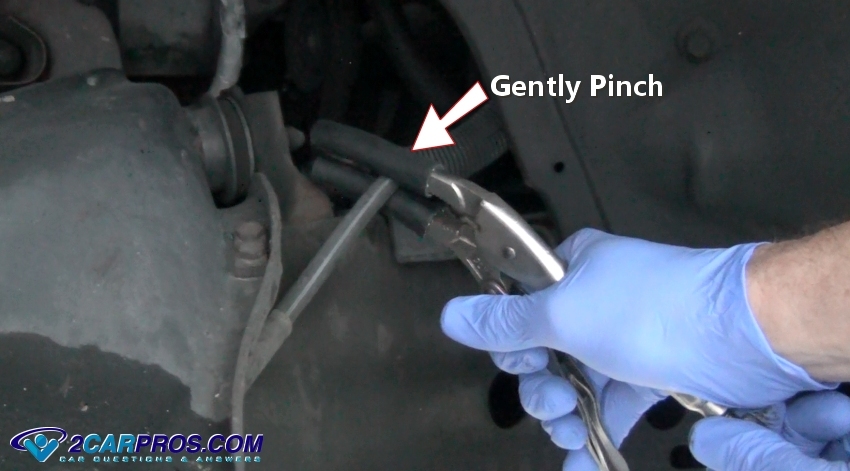
Some professional procedures specify a particular way to limit fluid loss; others restrict clamping or require different precautions. Do not use locking pliers to crush a hose. Do not assume a clamp marketed for brake work is approved for every hose construction. The vehicle and component instructions govern the method. Brembo’s caliper fitting instructions describe their own hydraulic-handling sequence, illustrating why a complete procedure matters. Do not extract one step and apply it universally.
Inspect the sealing surfaces and replacement parts
Before reassembly, assess the mating areas, threads and hose or pipe condition according to the service information. A damaged surface may leak despite a new washer. The wrong bolt length or connection geometry may appear to assemble while failing to seal or function correctly. Verify part identification and renew designated sealing components. Do not compensate for uncertainty with extra washers, sealant or excessive torque. Correct parts and undamaged interfaces are essential to a sound connection.
Reconnect with the specified orientation and torque
Restore the correct routing and retainers, allowing the required movement through steering and suspension travel. Use the applicable tightening specification and sequence. A socket size is not a torque value, and a number from a different vehicle may be unsafe. Confirm that the hose is not stretched, kinked or rubbing. If the connection will not align naturally, investigate the part and routing rather than forcing the assembly into place.
Bleed and verify before the vehicle moves
Opening the circuit requires the appropriate hydraulic-service process; minimizing visible fluid loss does not prove that no air entered. Follow the vehicle’s bleeding sequence and any supported diagnostic-tool steps. Maintain the specified fluid level and inspect for leaks under the required checks. A firm pedal is important but is not the only acceptance condition. The completed brake must also apply and release correctly, with every disturbed component restored. Do not use normal road driving to finish bleeding or determine whether a connection will hold. If the pedal is abnormal, a warning remains or fluid leaks, the job is incomplete. Identify and correct the cause before returning the vehicle to service. Dispose of removed fluid through an appropriate facility. Keep the repair record, including the parts and fluid used, so later service can build on accurate information.
When corrosion or damage changes the scope
Stop if a fitting rounds. Stop if the tube turns with its nut. Stop if a hose is cracked or distorted.
Stop if threads are damaged. Stop if a required sealing component is unavailable. These conditions can require replacement of more than the originally selected caliper.
They do not justify a temporary clamp-and-drive workaround. A workshop estimate should explain whether the line or hose was already defective or became impossible to separate without replacement. Ask for the identified condition and the complete repair scope.
Credit: www.toyotanation.com
The FTC’s repair guidance is useful for obtaining clear estimates and records. A cheaper estimate that omits bleeding or verification is not equivalent to one covering the completed hydraulic repair. For example, a banjo connection with a damaged sealing face needs assessment of that face and its associated components, not simply a tighter bolt.
A corroded tube nut that rotates the pipe may require proper line repair or replacement, not another wrench attempt until the tube cracks. These examples show why successful loosening is not the only measure of the job. The connection must be serviceable when it goes back together.
If the main concern is limiting fluid loss, see the fluid-loss planning guide. If the caliper only needs repositioning during other work, verify whether disconnection is necessary first.
Opening fewer connections can reduce unnecessary work, but it never overrides a required service step. A completed repair has a correctly identified connection, suitable parts, controlled assembly and documented hydraulic checks. Before ordering replacement connection parts, distinguish the thread specification from the sealing design. Matching diameter and pitch alone does not establish that a fitting will seal against the intended seat. The application catalog and service information must agree on both. Do not use thread tape to make an uncertain hydraulic connection appear secure. A brake fitting should not be assembled by trial and error from assorted parts. If a previous repair has changed the line end or hose, document that condition and have the correct configuration restored. A connection that does not drip while parked has not necessarily passed the required pressure and movement checks.


Automotive reference information. Confirm specifications in the manual for your exact vehicle. Original replacement guides link to their research sources. About us