There is no universal fuel-gauge reset after replacing a fuel pump. First check whether the vehicle requires a documented initialization or calibration. If it does not, a new incorrect reading should prompt checks of the replacement sender, float installation and electrical connections—not a guessed battery-disconnection routine.
The key distinction is whether the gauge is slowly settling after a known refuel, consistently inaccurate, stuck at one end or dropping out intermittently. Record the behavior before clearing codes or disturbing the installation again.
The pump and the level sender do different jobs
A pump delivers fuel; the sender provides fuel-level information. They may share a module but are not the same function. An engine can run normally while a sender gives an incorrect reading, and a correct gauge does not establish that fuel pressure is satisfactory.
Delphi’s fuel-gauge guidance describes float-and-resistance sender arrangements and notes that resistance behavior differs between applications. This is why a module that physically fits is not necessarily electrically compatible with the gauge system.
Start with what changed during the repair
Check the replacement part number against the VIN and applicable tank configuration. Establish whether the complete module, the pump motor alone or the sender was replaced. Compare any wiring adapter and connector instructions with what was actually installed.
A fault that appeared immediately after work makes installation a sensible first area to inspect, but timing is not proof of a particular mistake. Keep the original symptoms separate: if the gauge was already unreliable before the pump failed, the repair may simply have left that older problem unresolved.
Check the specified reset procedure, not an internet shortcut
Look for a manufacturer procedure covering fuel-level calibration, sender replacement or instrument-cluster service for that vehicle. If a scan-tool function is specified, confirm the tool supports the exact procedure rather than a vaguely named generic reset. Some functions concern other systems entirely.
Do not disconnect the battery just to force the gauge to zero. It cannot free a trapped float or change an incompatible sender’s resistance range. It can also erase useful fault information or require other vehicle relearns, adding uncertainty before the original fault is understood.
Use scan data to separate the signal from the display
Where supported, compare fuel-level data in the relevant module with the instrument reading. Check stored and pending faults before clearing them. A level-sensor circuit code points to a diagnostic path; it does not prove that the sender itself is defective.
Delphi’s sending-unit diagnostic article includes the P0460–P0464 family and distinguishes sender, circuit and gauge checks. Apply the vehicle’s definitions and test sequence. If the module’s level input is wrong, a display-only reset is unlikely to address the cause.

Credit: www.wikihow.com
Mechanical checks require safe access
If the tank must be reopened, follow the fuel-system removal and pressure-relief instructions. Inspect float-arm routing, module orientation and interference against the application diagram. A float caught during installation can produce a plausible-looking but false level. Do not bend the arm to make the dashboard agree with a guess.
Confirm the sender is seated correctly and that internal wiring or hoses do not restrict its movement. Tank shape and multiple-sender arrangements complicate comparisons. Adding a known amount of fuel does not mean the dashboard should move by the same fraction on every tank.
Electrical tests need the correct values
Use the specified connector adapters and circuit diagram. Resistance tests require the prescribed isolated circuit state, and the expected resistance range must come from the vehicle information. Never apply an assumed power supply or ground a signal wire simply to see whether the gauge moves.

Credit: www.youtube.com
If a reading is intermittent, inspect connector security, terminal condition and harness routing from the recent repair. An unloaded continuity result alone may not capture a connection that opens with movement. Keep tests appropriate to the circuit rather than substituting a high-current test lamp on an electronic input.
Verify the repair before trusting range-to-empty
Credit: www.youtube.com
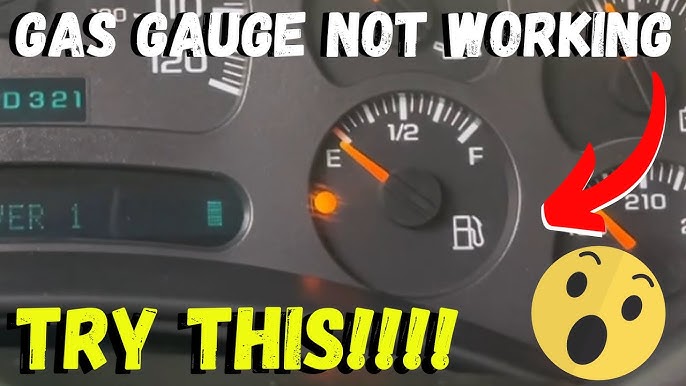
After any correction or authorized calibration, confirm that the reading behaves plausibly through the manufacturer’s verification process. Range-to-empty is an estimate derived from more than the level sender; it is not an independent tank-volume measurement. Do not deliberately run the tank dry as a test.
Keep fuel availability conservative until the gauge is reliable. Record the part and diagnostic correction so that a repeat symptom can be compared with evidence. If the engine also has a no-start or delivery problem, continue separately with checks after fuel pump replacement.


Automotive reference information. Confirm specifications in the manual for your exact vehicle. Original replacement guides link to their research sources. About us