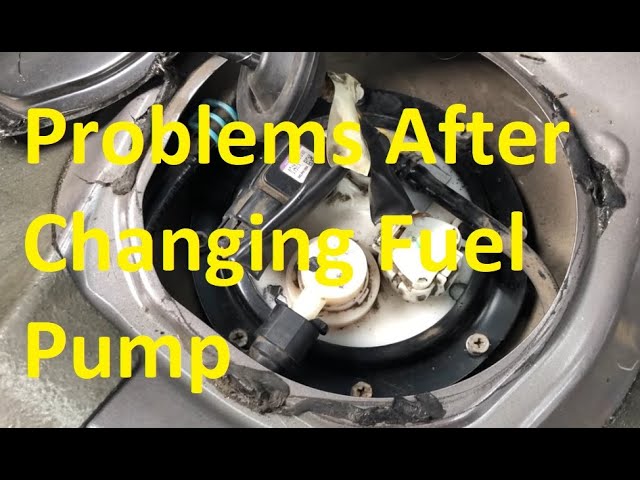

After replacing a fuel pump, verify the installation and check for leaks before driving. Then follow the vehicle's documented priming or commissioning procedure and confirm that the original fault has actually been corrected. Do not assume that every pump requires a computer reset, that repeated key cycling is always the correct priming method, or that an engine starting once proves the repair complete.
A fuel-pump replacement can disturb electrical connections, line fittings, seals and fuel-level components. Each deserves a deliberate check. If the engine does not start, return to the installation and test results rather than immediately condemning the new part.
If fuel leaks, the pump wiring overheats or the vehicle has an abnormal fuel smell, stop activation and have the fault corrected. The following sequence is a verification framework for the correct service procedure, not a substitute for vehicle-specific pressure, torque or programming instructions.
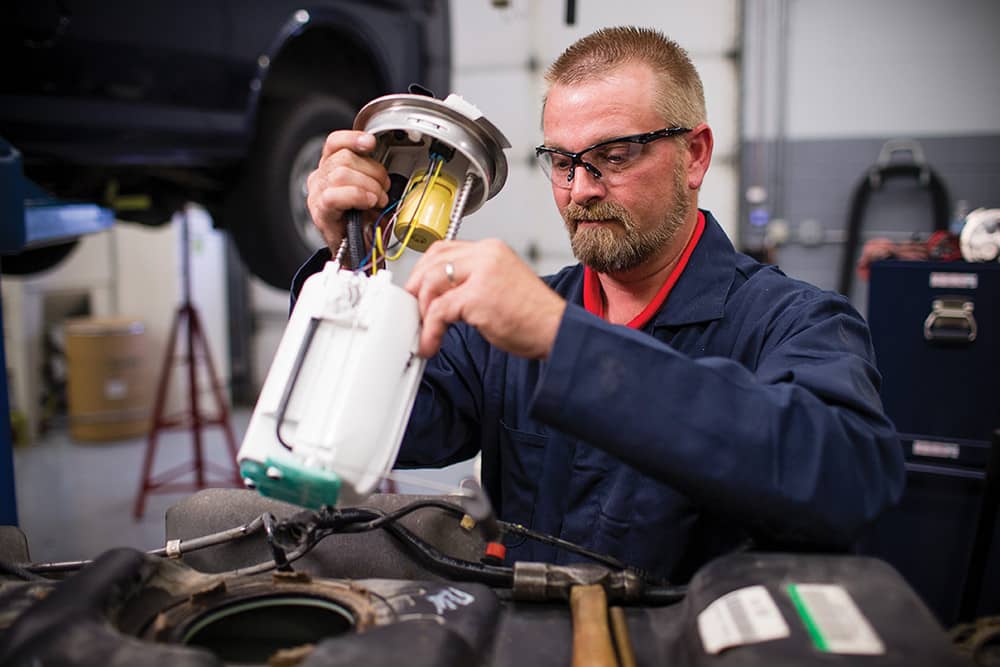
Credit: carterengineered.com
Verify the installation before the first operating check
Begin with a comparison between the installed part and the documented application. Confirm the pump or module number, engine and any catalog restrictions. A connector that plugs in does not establish that the assembly has the correct pressure-control arrangement, sender characteristics or internal plumbing. If a wiring adapter was supplied, verify that it belongs to that part and was installed exactly as instructed. Keep the old part and packaging until the replacement has passed its checks, because labels and connector arrangements can help resolve a mismatch. Inspect every connection disturbed during removal.
Fuel fittings must be fully engaged with the correct retaining components, electrical connectors must be locked and hoses must follow their intended routes. Avoid using a successful tug on an unrelated harness as evidence that a fuel fitting is secure. Check the actual fitting according to its design. A line can appear connected while its retainer is missing or damaged. DENSO: fuel pump installation and troubleshooting emphasizes secure connections and inspection during the installation process; the exact engagement method remains application-specific. Look at the module seal and retaining arrangement before closing access.
The seal should be the specified part and the ring should have its documented engagement or torque. More tightening is not a remedy for a pinched seal, cracked flange or incorrect module height. If the tank was lowered, verify its supports, shields and insulating components as well. Wiring or hoses trapped above a tank can cause a new fault when the vehicle moves. Correct routing is therefore part of the repair, not an optional cosmetic detail. Confirm that fuel contamination was addressed where the diagnosis found it.
A new pump does not remove rust, debris or water from the surrounding system. Delphi: analysis of failed fuel pumps demonstrates how a failed assembly can provide evidence of electrical damage or contamination that would otherwise cause repeat failures. For the post-replacement check, ask whether the original cause was recorded and corrected. Replacing the pumping unit alone is incomplete when its failure was driven by another unresolved condition. Check that the tank contains the specified fuel in an appropriate quantity for the procedure.
Do not rely solely on the dashboard gauge immediately after work involving the sender. The float may be obstructed, its connector may be wrong or the gauge may need normal system operation before its reading settles. An empty or incorrectly fueled tank can mislead a no-start diagnosis. If the amount is uncertain, resolve that uncertainty using safe fuel-handling methods rather than repeatedly running the new pump. Electrical reconnection and activation must follow the service sequence.
A vehicle can retain fuel pressure after stopping, and an electric pump can be commanded in ways that are not obvious from the key position alone. Keep the work area controlled until the leak check is complete. Do not connect an improvised battery lead to the new pump simply because it has not yet made an audible sound. That changes the control conditions and may bypass functions needed for safe operation. Use the specified priming process.
Some applications have an electric supply-pump routine; others use a particular scan-tool command or a manual priming arrangement. A generic instruction to switch the ignition on a fixed number of times cannot cover all of them. The objective is to establish the required fuel supply without excessive cranking or unsafe opening of lines. If the process does not produce the expected result, stop at its stated limit and investigate rather than repeating it indefinitely. Programming, learning and resetting are separate operations.
DENSO: diesel replacement and pump learning warning warns that certain diesel pump replacements require checking whether a learning-value reset is necessary. That is an application-specific requirement, not evidence that all fuel pumps need programming. Determine the exact operation from service information and perform it with compatible equipment where required. Disconnecting the battery is not a universal substitute for a commissioning routine and can remove diagnostic information without completing the needed task. During the initial activation, inspect the specified areas for fuel leakage.
Keep hands away from potential high-pressure discharge and never search for a leak by touch. If leakage or a strong abnormal odor appears, stop and return the system to its safe service condition before correction. A leak is not something to monitor while continuing to crank. Identify whether it comes from a connection, the module seal, the tank or another disturbed component. The repair depends on that location.
Once safe operation is established, measure the relevant pressure or delivery values under the conditions required by the service procedure. An engine that idles may still have inadequate supply under a different demand. Conversely, an unrelated ignition or sensor fault may remain even with correct fuel delivery. Compare the new results with the measurements that originally justified replacement. If no original measurements exist, be explicit about that limitation rather than treating the new part as proof that the fuel system is now correct.
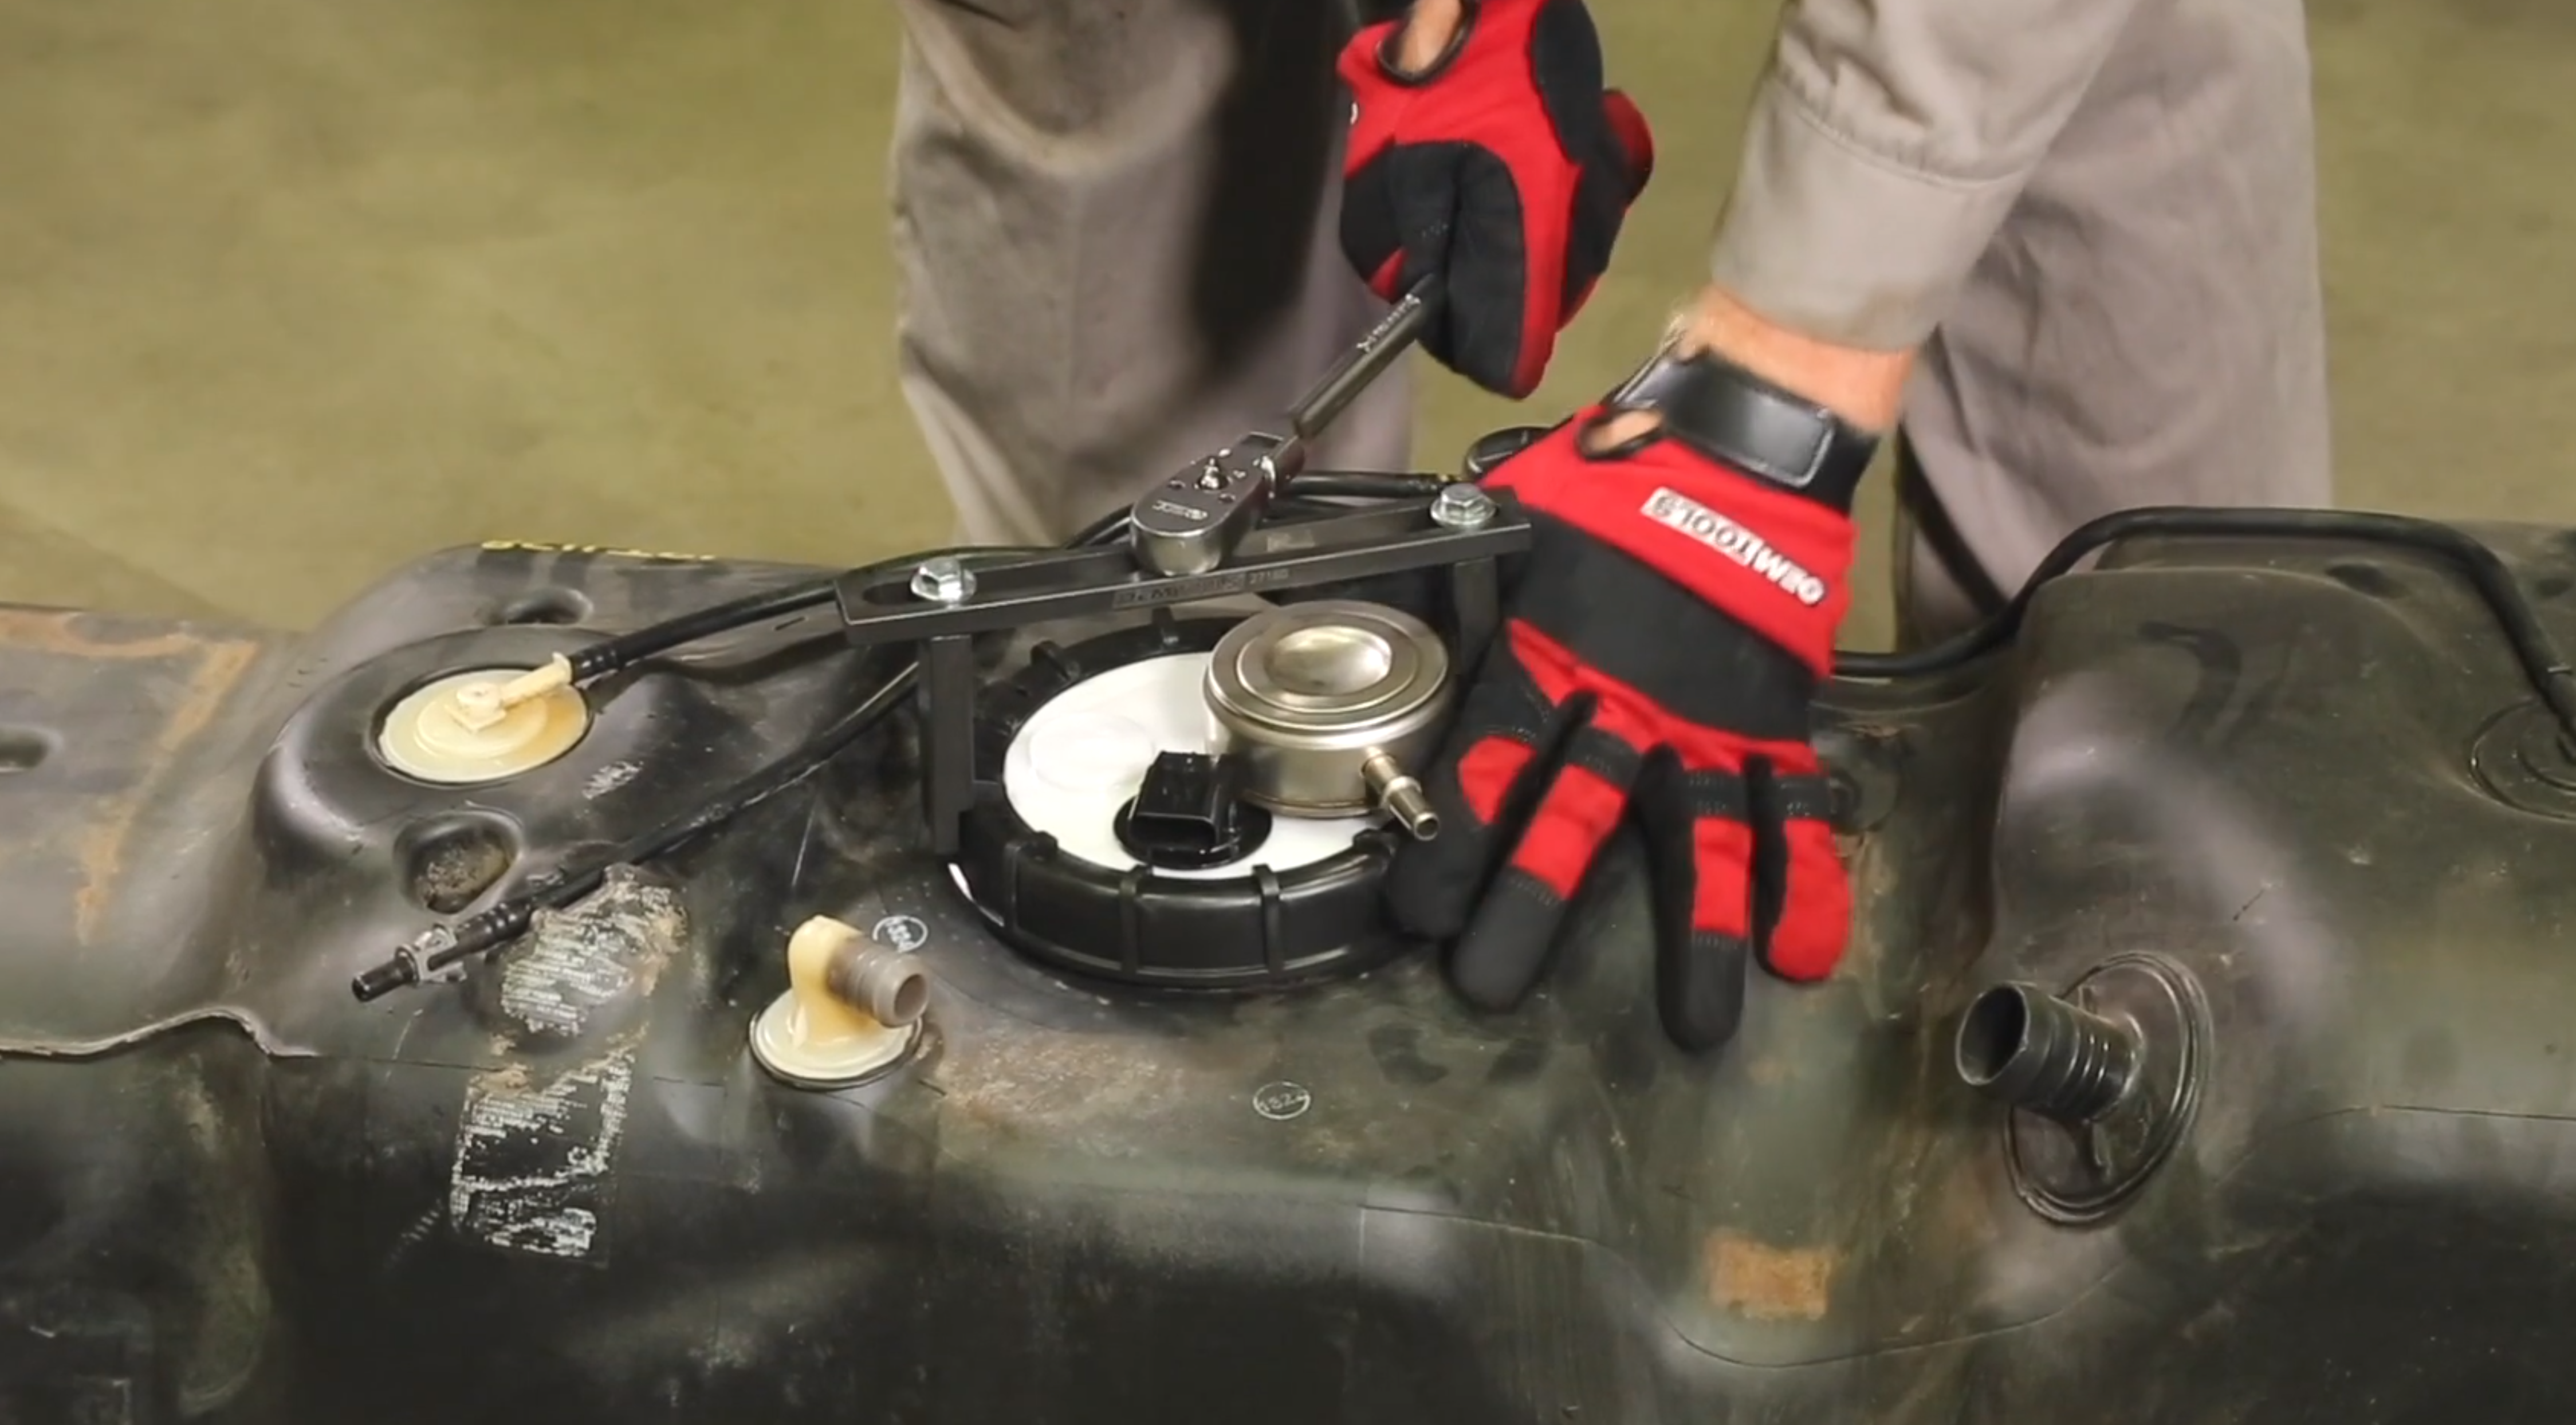
Credit: www.autozone.com
If it still will not start, preserve evidence and test logically
A post-replacement no-start should first be described precisely. Does the engine crank at its normal speed? Does it briefly fire and stop? Is the pump commanded, and are relevant codes present? Was the original symptom identical before the repair? Those distinctions help separate an installation problem from an unresolved fault or a new issue introduced during work. Record the observations before clearing codes or disconnecting components again. A short, accurate symptom history is more valuable than a long list of parts already replaced. Return to the areas actually disturbed. Check the correct fuse, connector locking, adapter installation and any ground connection included in the job. Do not assume the new pump receives adequate power because an unloaded connector shows battery voltage. Delphi: loaded fuel pump voltage-drop testing explains why loaded supply and ground checks matter. A poor connection can allow a meter reading yet fail when the motor draws current. Use proper test adapters and the documented circuit conditions so that the test does not damage the connector or misinterpret electronic control. If electrical operation is correct but pressure is wrong, investigate the hydraulic installation and system design. An incorrect module, disconnected internal hose, blocked supply path or separate regulation problem can produce disappointing results. The specific possibilities depend on the vehicle. Avoid turning this into indiscriminate disassembly of the new pump; follow the diagnostic procedure and the supplier's warranty requirements.
Keep evidence of the part number, installation and measured result so a technical-support discussion can be specific. If pressure and supply meet specifications, broaden the diagnosis rather than repeatedly replacing the pump. A starting problem can involve ignition, injection control, engine-speed information, security authorization or mechanical condition. The relevant tests should determine the next branch. A code naming a fuel-related circuit also requires interpretation: it can report a monitored condition without proving that the new component is defective. Read the full code definition and associated service test rather than selecting parts from the code label alone. The final check should reproduce the original operating situation safely. A hot restart complaint needs a verification plan that includes the relevant temperature condition; a low-fuel complaint may require additional investigation of module pickup or transfer behavior. Do not create hazardous driving conditions to provoke a stall. If the symptom cannot be reproduced, document the tests passed and the uncertainty remaining. A repair report can be honest about limits while still showing that the installation is sound. Before returning the vehicle to normal use, restore covers and access seals, remove test equipment, verify that no temporary wiring remains and check for warning messages. Retain the invoice and diagnostic results. Include the fuel quantity added, any replacement seal or connector, and whether the fault codes returned during verification. These details distinguish a completed installation check from a later, separate problem and give the next technician a useful starting point. Ask the installer what follow-up is appropriate if fuel odor, starting difficulty or an abnormal gauge reading returns. The useful completion standard is not simply that the new pump spins: it is a sealed, correctly controlled system that meets its specification and addresses the reason the repair was undertaken.


Automotive reference information. Confirm specifications in the manual for your exact vehicle. Original replacement guides link to their research sources. About us


