
The correct socket size for brake calipers depends on the exact fastener and brake assembly. There is no reliable single size for all caliper bolts, and some fasteners need an internal hex or star-profile bit instead of an ordinary external socket. Identify the bolt location, head profile and actual size before applying force. Also distinguish the socket's fastener size from the square-drive size that connects it to a ratchet. Neither dimension tells you the replacement bolt specification or its tightening torque. This guide is for selecting and checking the tool interface. It does not replace the vehicle's brake service procedure or recommend an approximate tool that happens to catch the head. A well-fitting socket is necessary for controlled work, but it does not establish that you are loosening the correct component. Match the physical fastener to the service illustration first, especially when hydraulic fittings and structural bolts are close together.
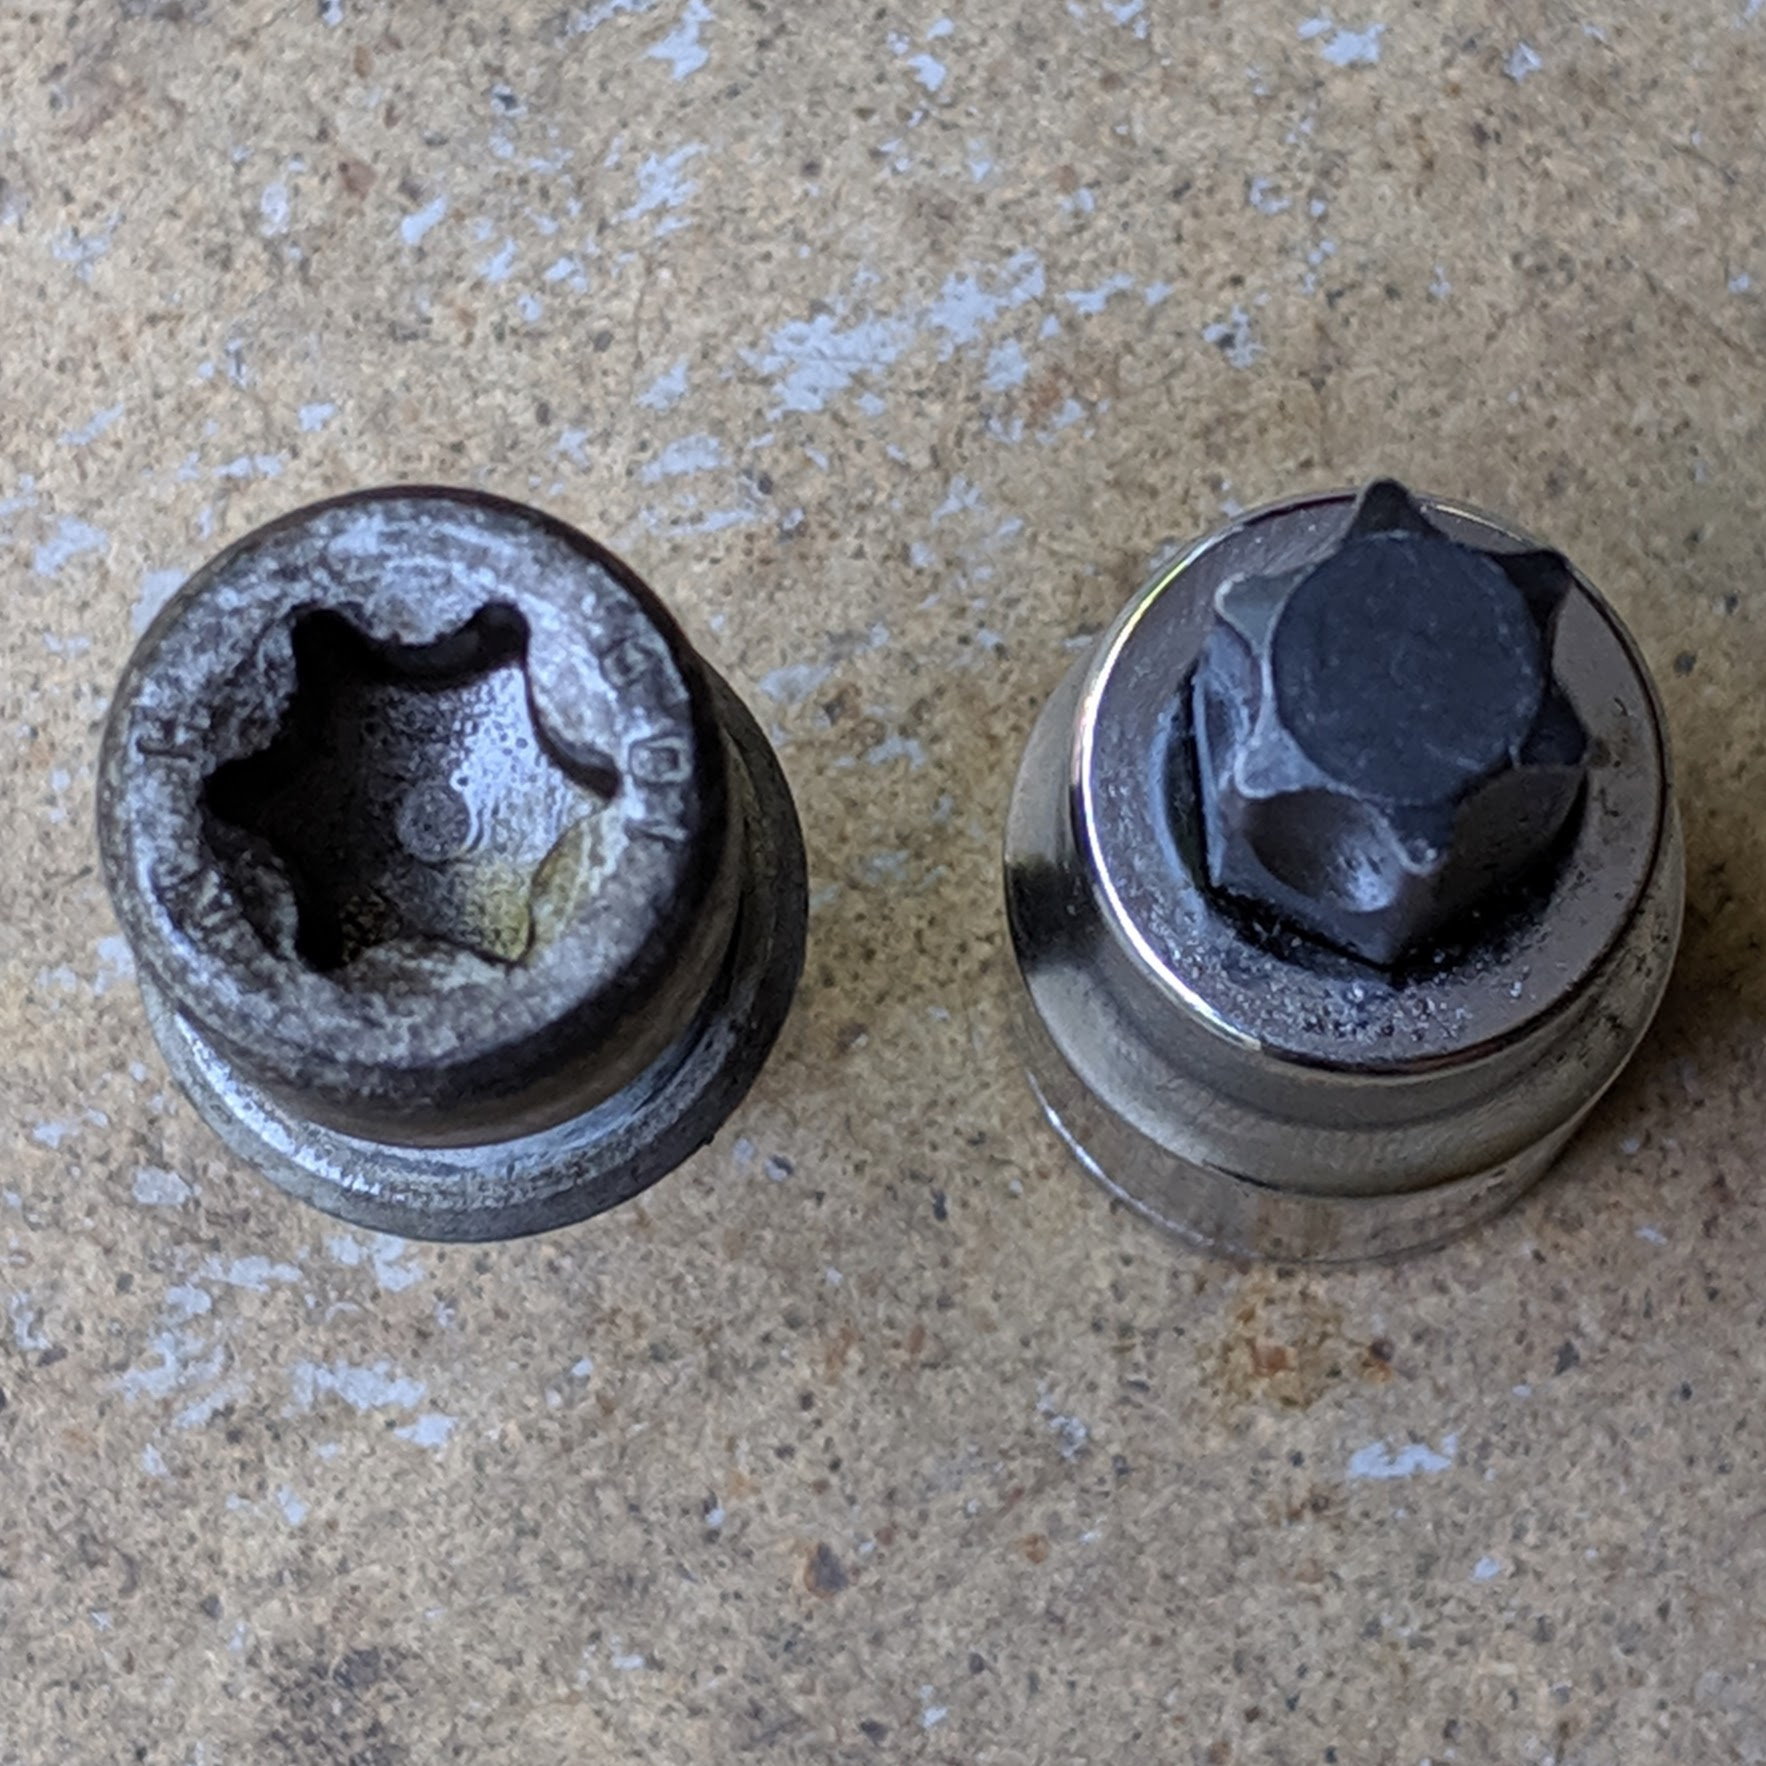
Credit: www.jaguarforums.com
Start with the exact fastener, not a model-wide guess
Identify the model year, axle and brake package before consulting a tool list. Several brake assemblies can be fitted within a vehicle family. A guide-pin attachment can use a different head from the bracket mounting fastener on the same wheel, and replacement hardware may differ from what an old photograph shows. A fixed-caliper installation may have another arrangement entirely.
Treat a list of popular socket sizes as a shopping reference at most, not as evidence that one of them must fit your vehicle. Use the manufacturer's procedure to identify which fasteners the intended service actually requires you to remove. A pad change may not require removing the bracket, while disc or caliper replacement may involve additional attachments. A hose fitting or bleeder is not a mounting bolt simply because a wrench fits it.
Opening that connection creates hydraulic service obligations that a socket-selection question does not resolve. Body-joining or bridge fasteners may also be outside the permitted scope of routine service. Do not dismantle them to gain convenient access.
Record each required tool by both its profile and its size. For example, a specification for a hex bit describes a different working end from an external hex socket. Do not convert between tool types because the numerical marking is similar.
If the service information and installed head disagree, resolve whether the assembly has different hardware, an aftermarket conversion or damage before continuing. The installed part may need identification rather than a stronger attempt with the listed tool. Our caliper bolt identification article addresses replacement hardware dimensions.
The distinction here is that the tool engages the head while the bolt's thread engages the assembly. Correctly measuring one does not establish the other. Keep the tool selection, replacement part and tightening instruction as three separate items on the work plan.
Recognize the head profile and the two size systems
An external hex head takes a socket or wrench that fits around its flats. An internal hex recess takes a matching hex bit inserted into the head. Star-profile recesses and external star heads require the correct corresponding tool type rather than a vaguely similar hex option. Other specialized profiles can also occur.
Identify the actual shape under adequate light and compare it with reliable service information. Do not infer a profile from a blurred photograph or a recess filled with dirt. Loose contamination can prevent full seating, so inspect the drive feature before deciding a tool is too large. Clean it in a controlled way that does not damage the surrounding boot or distribute brake dust into the air.
Corrosion and previous rounding can alter the apparent shape. A damaged head needs an appropriate recovery plan, not a conclusion that the manufacturer used an unusual size. If the tool rocks, catches only an edge or cannot seat as designed, stop before loading it. Socket descriptions often contain two dimensions.
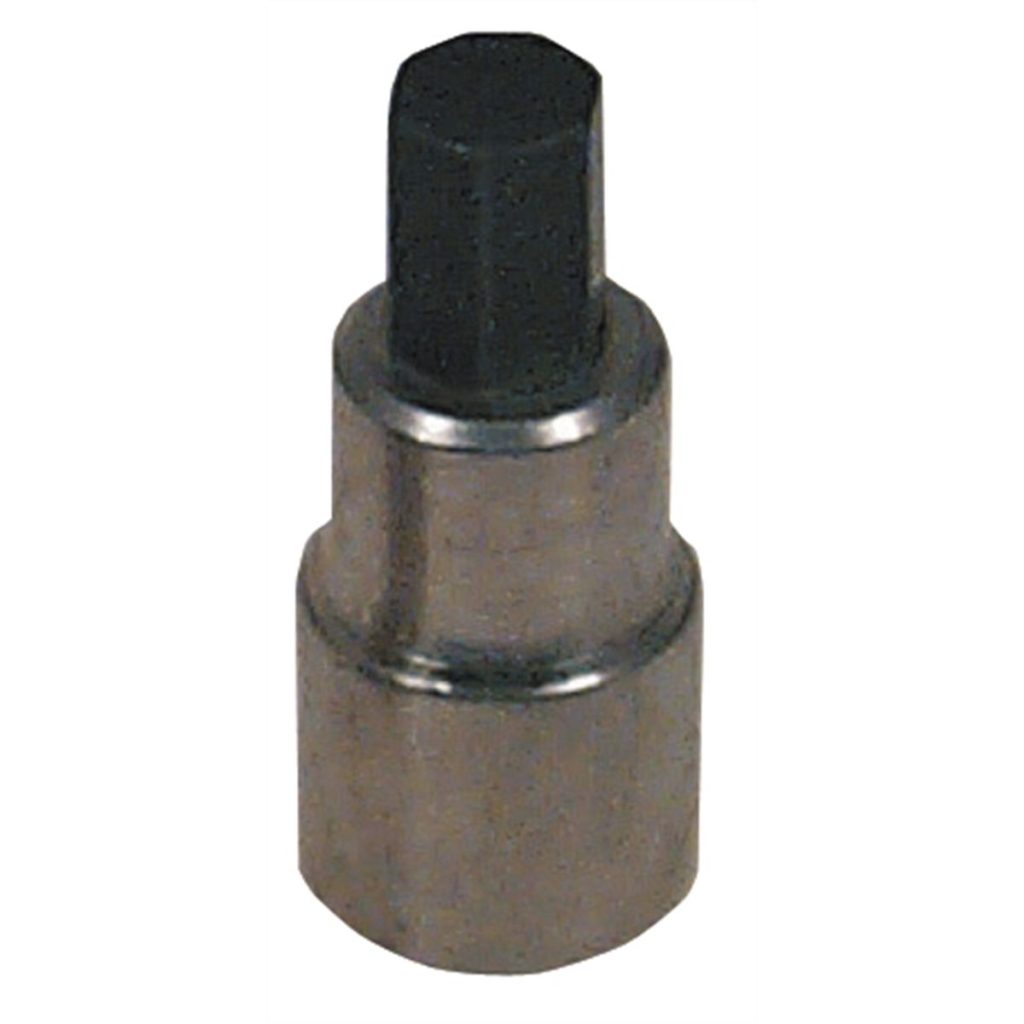
The square drive matches the ratchet or torque wrench; the working end matches the fastener. TEKTON’s hex-bit socket example labels its square drive and hex tip separately, which illustrates why those numbers should not be confused. The manufacturer's socket programme also distinguishes sockets from multiple bit profiles. These are tool examples, not recommendations that the illustrated size fits your brakes.
Select the actual working end from the fastener requirement and the drive arrangement from the suitable tool setup. Metric and inch dimensions should not be treated as interchangeable because two tools seem close. A near fit can concentrate load on a small contact area and damage the head. Use the correct nominal size and profile.
Do not choose a slightly undersized bit simply because it enters a dirty recess, or an oversized socket because corrosion makes it difficult to fit the correct one. Establish the condition of the head and clean or repair as appropriate. The goal is proper engagement, not merely finding something that can be pushed into place.
Choose length, clearance and holding tools together
After identifying the working end, check whether the tool can reach the fastener and remain aligned. A shallow socket, deep socket, long bit or compact head may have different clearance implications around the caliper, hose and suspension. More length is not automatically better if it prevents the wrench from sitting squarely or contacts another component. Inspect the intended path through the full required movement. Do not let the tool bear against a hose or electrical connector as a convenient support.
- Some guide assemblies require a second tool to hold a specified feature while the retaining bolt turns. HELLA’s guide-pin guidance explains the role of the sliding arrangement and the need to preserve its protective components. If the pin rotates with the bolt, identify the intended holding flats or method rather than gripping a boot or polished sliding surface. Twisting a protective boot while working can create damage that was not present before.
- The holding tool is part of the equipment list, not an afterthought when the socket fails to release the fastener. Check whether the tool is rated for the drive method you intend to use. A hand-drive socket should not be assumed suitable for an impact tool. The socket, bit, extension and adapter each need to be appropriate for the setup and load.
- Follow the tool manufacturer's instructions and the vehicle's service method. Do not add an improvised extension pipe or use power simply because a correctly identified fastener is resistant. Corrosion, locking features or damage may require a different approved removal process. The tool needed for final tightening also matters.
A combination that fits for removal may not give appropriate access for the specified torque procedure. If a special adapter changes wrench geometry, follow the torque-tool manufacturer's instructions for that arrangement. Plan this before dismantling so the vehicle is not left waiting for a suitable tool. Avoid treating the force felt through a long handle during removal as an installation specification.
Check engagement before force and inspect afterward
Prepare the vehicle with the prescribed lifting and support method if wheel removal is necessary. Let dangerously hot components cool, and keep your body out of the likely path if the tool or fastener releases suddenly. Support the caliper when its attachment is removed so the hose or wiring does not carry its weight. These preparations do not identify the socket size, but they determine whether the tool can be used without creating a new hazard.
A correct socket is not a substitute for safe access. Seat the tool fully and confirm that it is on the intended fastener. Check its engagement before applying the prescribed removal method. If it slips, starts rounding the head or moves a component that should be held, stop and reassess.
Repeated attempts with neighbouring sizes often make extraction more difficult. Do not hammer an unrelated profile into the head as a routine shortcut. A damaged fastener can require specialist removal and assessment of the mating threads. After removal, identify whether the bolt is reusable under the applicable instructions and inspect its condition.
A tool that fitted correctly does not prove the fastener remains serviceable. If new hardware is specified, obtain the correct part rather than selecting a general bolt that takes the same socket. The replacement may have additional requirements involving length, seating geometry, strength or a supplied locking treatment.
Verify all of those through the application information. Socket size is only the tool interface. Reinstallation needs the correct joint preparation and tightening procedure for that fastener.
Brembo’s fitting guidance refers installers to applicable vehicle mounting requirements rather than a socket-based torque table. Do not add lubricant or locking compound unless the procedure calls for it. Restore every disturbed connection and protective part, then complete the specified brake checks before use.
If the hydraulic circuit was opened accidentally, the job now includes its proper restoration and bleeding requirements. For a practical shopping list, write one line for each attachment: fastener location, profile, working size, required reach, square-drive arrangement and any holding tool. Add the source of that information and verify the installed assembly before beginning.
This approach avoids buying a broad set only to discover that a particular long bit or holding wrench is missing. It also makes an equipment loan or rental request more precise. The answer to what socket your caliper needs is the tool that correctly engages the identified fastener in the approved procedure—not a universal size inferred from the word brakes.


Automotive reference information. Confirm specifications in the manual for your exact vehicle. Original replacement guides link to their research sources. About us