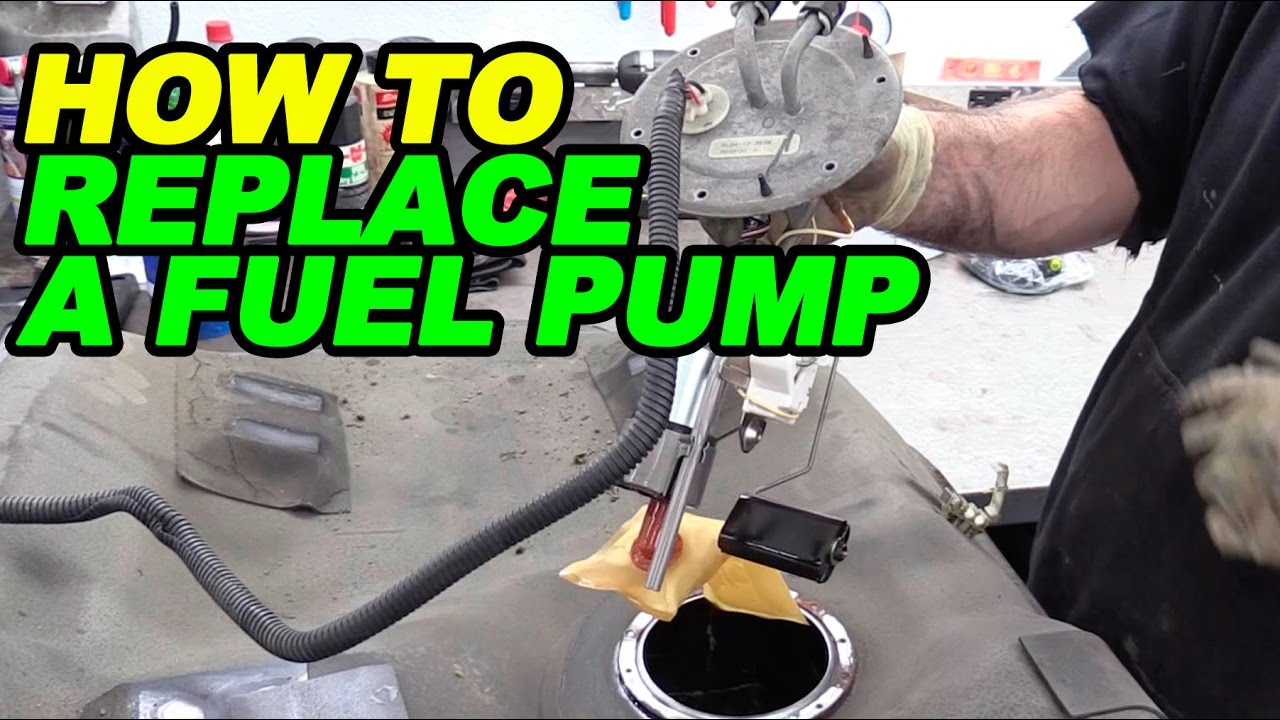

Changing a fuel pump starts with the correct diagnosis and the vehicle-specific service procedure. The job may involve a factory access panel, lowering a tank, replacing an external assembly or servicing an engine-mounted pump. Those are different repairs with different hazards and equipment.
There is no safe universal sequence that covers all of them. Before ordering a part, establish which pump has failed and why. Before opening the system, establish pressure relief, electrical isolation and fuel handling.
Before returning the vehicle to service, verify sealing and the required operating results. This guide provides a planning and review sequence for an electric supply-pump replacement; an engine high-pressure pump requires its own specialist procedure. It is intended to help you understand the job and decide whether your equipment and information are adequate, not to supply guessed torque values or shortcuts around a difficult tank removal.
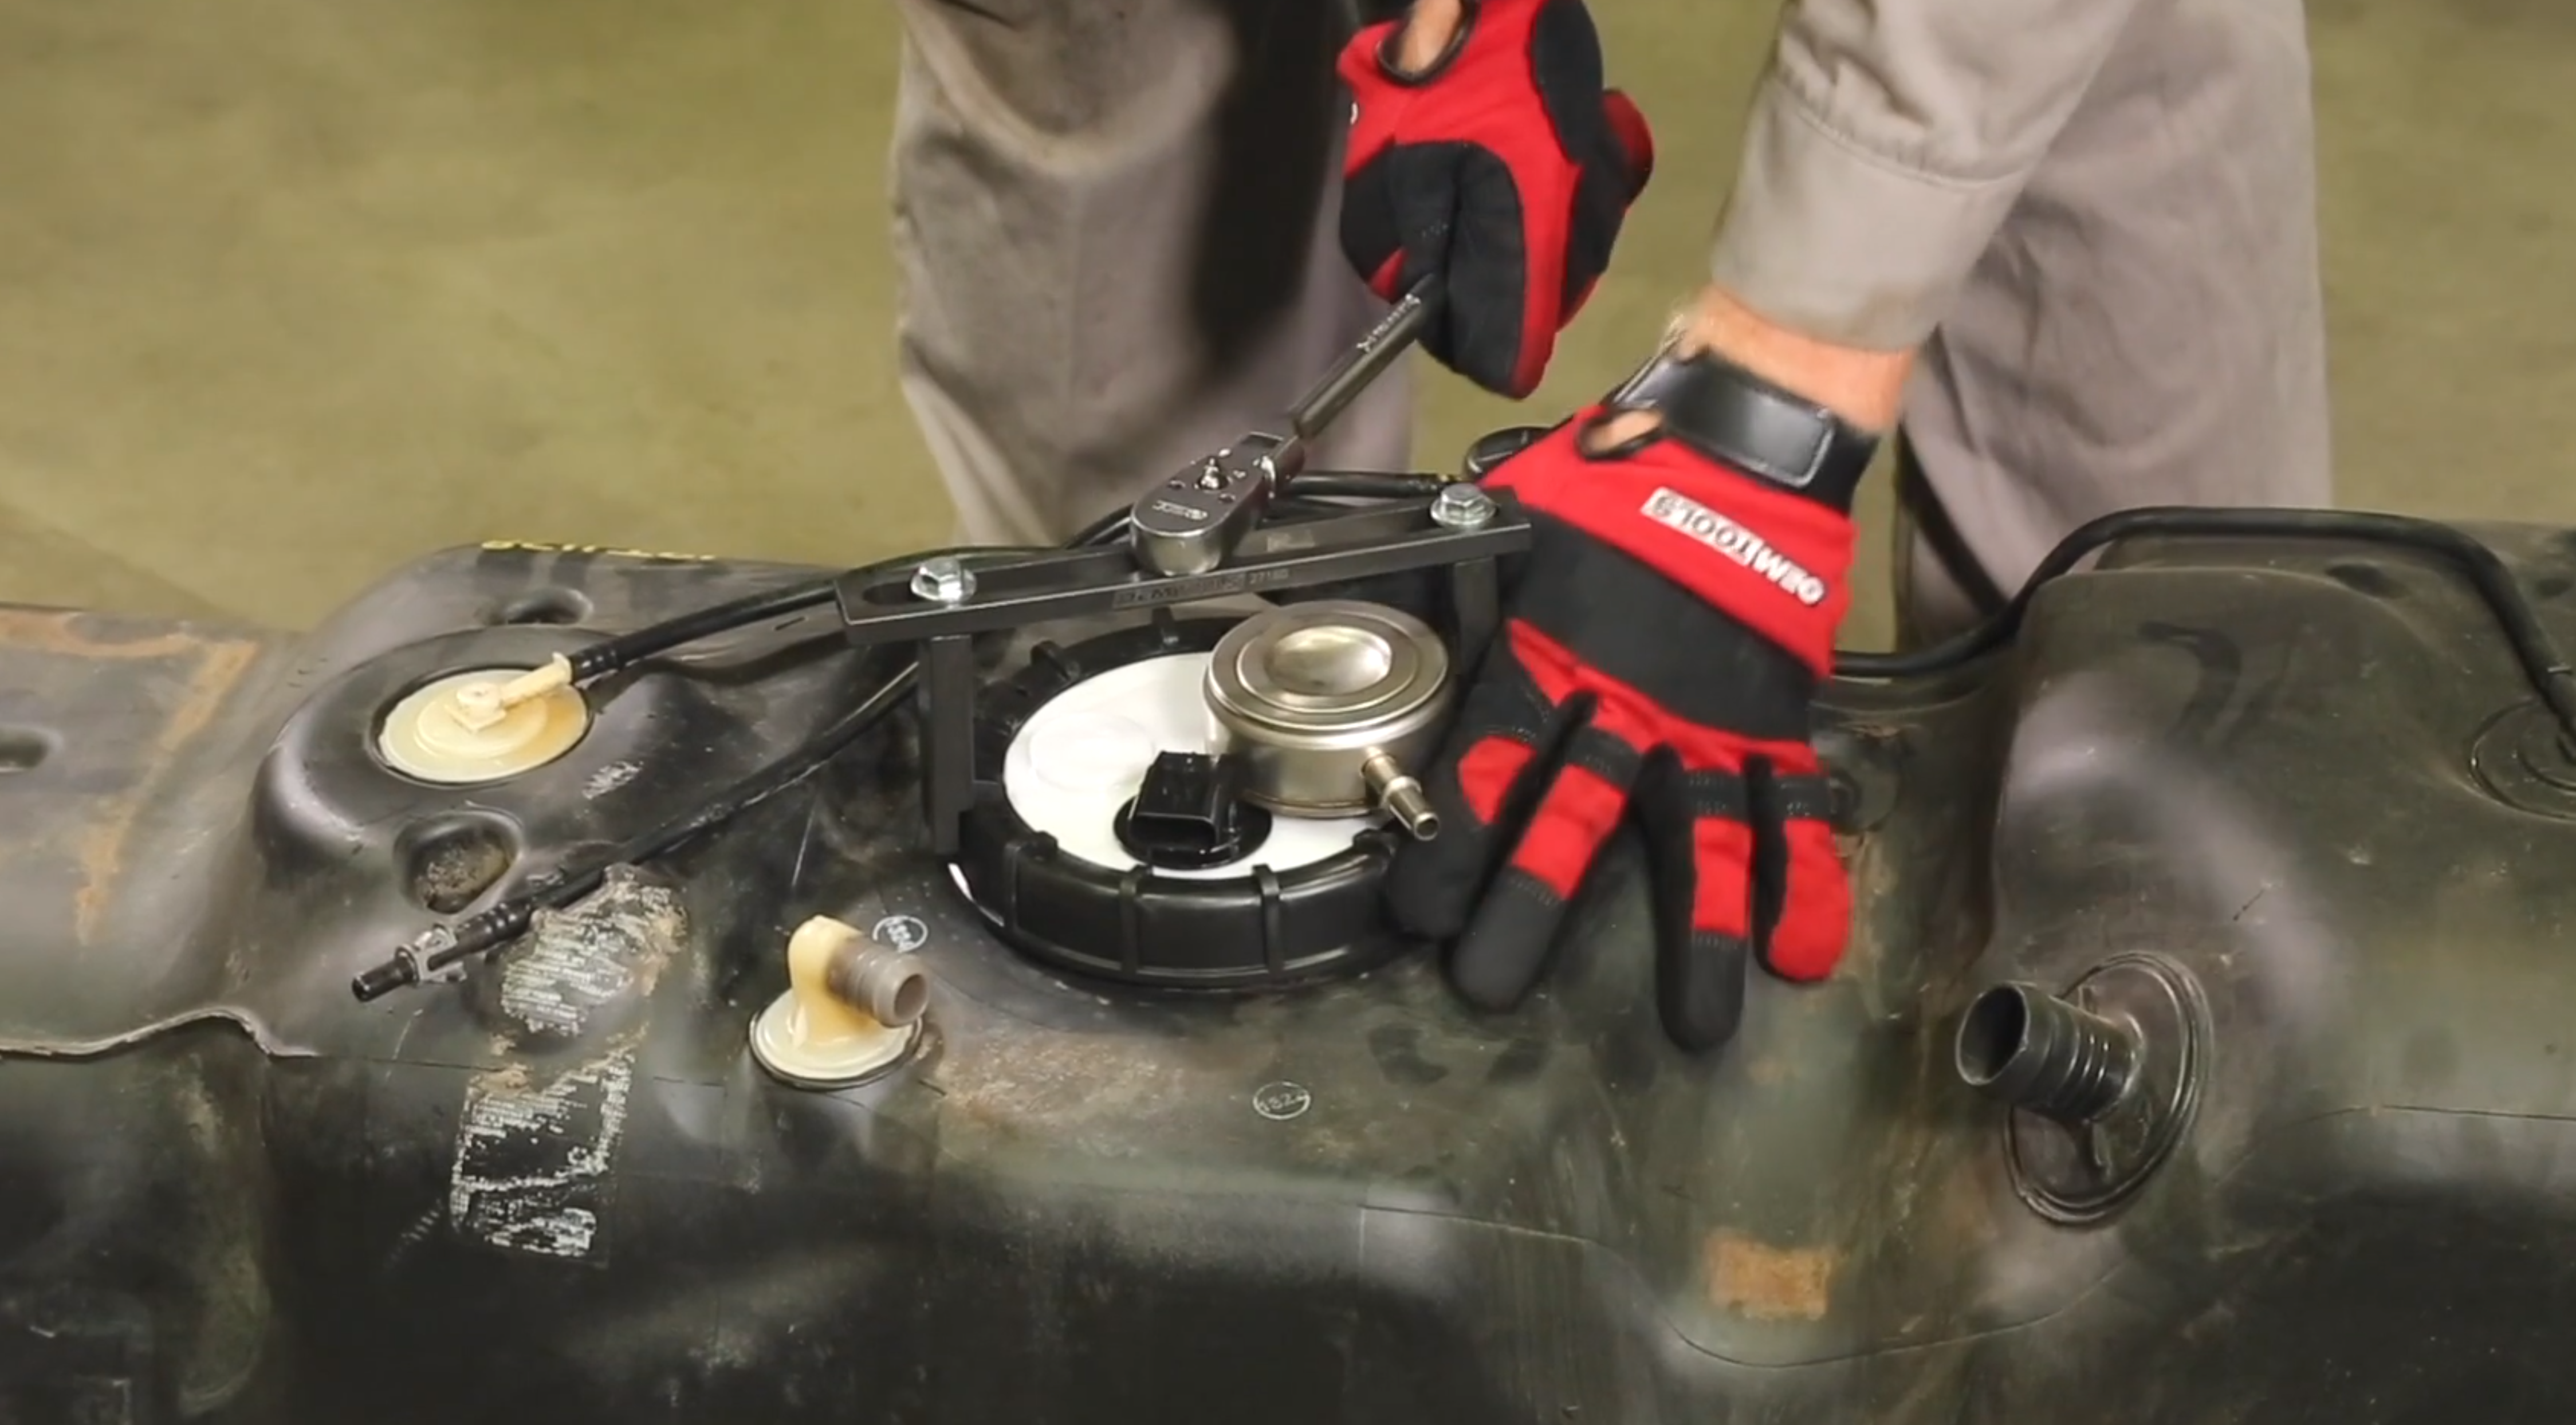
Credit: www.autozone.com
Define the repair before dismantling the vehicle
Confirm that the pump itself is responsible for the complaint. A no-start or low-pressure condition can arise from inadequate electrical supply, an absent command, a restriction or another component. Ask what measurements justify replacement. The diagnosis should identify the operating condition and the relevant specification, not simply report that the pump cannot be heard. If the fault is intermittent, record the circumstances in which it occurs. A part replacement based on an unverified assumption can create additional work while leaving the original problem untouched. Identify the exact vehicle and fuel system. Record the engine, production details and the installed pump or module number where available.
DENSO: fuel pump types and applications illustrates that fuel-pump products are application-specific. A complete module may include components not present in a bare pump insert, so determine the intended repair scope before comparing prices. If a catalog provides several choices, resolve its application notes rather than choosing the assembly that looks closest in a photograph. Obtain the removal and installation instructions before starting. Read them through to the final verification steps. The required equipment may include fuel-safe handling tools, appropriate vehicle and tank support, a retaining-ring tool, line-release tools and new seals or retaining parts. Knowing this beforehand prevents a partially dismantled vehicle from becoming the reason to improvise.
If the procedure requires a scan-tool function or programming operation, confirm access to it before removing the old assembly. Assess the work area. Fuel vapor, ignition sources and spilled fuel make this different from many routine bolt-on jobs. A suitable environment and equipment are essential. Do not work beneath a vehicle supported only by a jack, and do not assume an empty-looking tank is free of flammable vapor. Fuel remaining in the tank changes its weight and handling. A plan to lower the tank must account for attached lines, wiring and filler connections as well as the tank itself.
Follow the specified pressure-relief and electrical-isolation sequence. A pump that is no longer running does not prove that pressure has dissipated. Some vehicles can activate components under conditions that are not obvious from the ignition switch alone. Do not loosen a line to discover whether it is still pressurized. DENSO: fuel pump installation and troubleshooting directs installers to the vehicle service information for the relevant work. That instruction matters because a general pump guide cannot establish every system's retained pressure or activation strategy. Use the documented access route.
If there is a factory service cover, remove the necessary trim and cover without damaging related wiring or seals. If the tank must be lowered, follow that procedure with suitable support. Do not cut an improvised hole in the floor to avoid tank removal. Apart from damage to the body, hidden lines and the tank can lie immediately beneath the cutting area. An easier-looking route is not necessarily an approved or safe one. Clean the exterior around the opening before exposing the tank interior, using the permitted method. The purpose is to keep dirt from falling into the system during the repair.
Disconnect fittings with their correct release tools and replace retainers or seals where required. Pulling hard on a line that has not been released can damage the fitting or tube. Label or document connections where needed, while still checking them against the service drawing if earlier repairs may have altered them. Remove the retaining arrangement and module according to the procedure. Avoid bending the sender arm or using fragile pipes as lifting handles. Keep track of the orientation and sealing parts. Inspect the removed assembly and surrounding area for evidence that explains the failure.
Delphi: analysis of failed fuel pumps shows why electrical damage and contamination findings matter to repeat-failure prevention. If the tank or connector needs additional work, resolve that before sealing a replacement into the same harmful environment. Compare the replacement with the specified application before installation. Check the supplied seal, connector arrangement and instructions for any included adapter. A difference may be a documented product revision, but it needs verification rather than guesswork. Do not modify a new module to make an unexplained mismatch fit. If technical clarification is needed, pause the job while the vehicle is safely secured and the fuel system is protected according to the procedure.

Credit: www.youtube.com
Install, commission and verify without creating new faults
Fit the specified new sealing components and align the assembly as directed. A module should not be forced into place by tightening the retaining ring over a trapped seal. Threaded and locking-tab rings have different endpoints; use the documented torque or engagement criterion. If the ring resists unexpectedly, inspect alignment, seal position and part fit. Additional leverage is not an appropriate response to every installation difficulty. Damage at the tank flange can turn a routine replacement into a larger sealing repair. Reconnect fuel fittings and electrical connections with their required engagement checks. Verify hose routing and clearance before closing access or raising the tank fully into position. A line pinched above a tank can be difficult to identify afterward. Restore mounting pads, shields and supports that were removed. These parts may control movement, heat exposure or abrasion and should not be omitted because the pump operates without them during a brief test. Follow the specified priming or commissioning process. Repeated key cycling, prolonged cranking and battery disconnection are not universal procedures. Some systems need a particular activation routine, while others require no special electronic reset. Establish the requirement from the vehicle documentation. If the expected result is not achieved, stop at the prescribed limit and investigate. A new part does not justify continuing an unsuccessful activation process indefinitely. Inspect for leakage during the required stages of commissioning. If fuel appears or an abnormal odor develops, stop and isolate the system again before correction. Never check a possible high-pressure leak with a hand. Identify the actual source rather than tightening whichever part is easiest to reach. A leaking outlet fitting, module seal and cracked flange require different responses. Closing an access cover over a leak does not make the installation complete.
Verify the pressure, delivery and electrical behavior relevant to the original diagnosis. An engine starting once is useful but incomplete evidence. A complaint that occurred under demand or after a hot stop needs an appropriate verification plan. Keep road testing safe and do not deliberately provoke a stall in traffic. If a particular condition cannot be reproduced, document that limitation alongside the checks that passed. This provides a more accurate repair record than a blanket statement that every fuel-system concern is resolved. Check components affected indirectly by the job. The fuel-level display should behave consistently with the fuel quantity and the vehicle's normal operation. Any disturbed access-cover seal should be restored to prevent cabin exposure to the tank area. Warning lights or codes appearing after the work need evaluation; they should not simply be erased without determining whether they relate to a disconnected component or a continuing fault. Remove all test equipment and temporary connections before completing the job. A workshop quote should explain the diagnosed component, access labor, replacement assembly and required supporting parts. Additional work may be justified by corrosion, damaged connectors or contamination, but it should be supported by findings. Ask for photographs or a clear explanation when the scope changes. Conversely, do not insist that a quoted bare-pump price must cover a complete module and tank-related repair. Understanding the scope makes the estimate easier to assess. For a home mechanic, the decision point is whether the exact procedure can be completed safely from beginning to verification. If proper tank support, fuel handling, diagnostic equipment or service information is missing, professional replacement is the sensible next step. The cost of an unfinished or leaking fuel-system repair can exceed the apparent saving from a shortcut. Keep the part information and diagnosis available so the workshop does not have to reconstruct what was changed. A successful fuel-pump replacement is a chain of verified decisions: correct diagnosis, correct application, safe access, clean and accurate installation, normal control and successful leak and performance checks. Breaking that chain by guessing at pressure relief, ring tightening or wiring can undermine an otherwise good new part. Follow the complete application-specific procedure and treat unresolved fit or test results as reasons to pause, not reasons to apply more force or bypass the controls.


Automotive reference information. Confirm specifications in the manual for your exact vehicle. Original replacement guides link to their research sources. About us


