
Compress a brake caliper piston straight inward only when the service instructions confirm that the fitted assembly permits that movement and any required preparation is complete. Use the specified suitable reset tool, keep its force centred and monitor the piston, protective boot and fluid handling throughout. Stop if the movement becomes abnormal. A larger clamp or longer handle cannot establish that the method is correct or the caliper is healthy.
This guide starts after the design has been identified as suitable for straight push-back service. It does not tell you to press every front piston, wind every rear piston or bypass an electronic parking-brake requirement. Some assemblies require rotation or a separate adjustment, and others need a defined maintenance state before mechanical movement. If that distinction is still unresolved, use the piston-reset method guide before selecting a tool.
The purpose of this movement is to provide the space required for correctly specified new pads during service. It is much greater than the small piston return during normal brake release. It is not a treatment for an undiagnosed hot wheel or an attempt to force a seized piston back into use. Leaks, damaged protection or persistent resistance can require a repair assessment instead of continued compression.
Credit: www.ebay.com
Prepare the correct tool, fluid plan and support
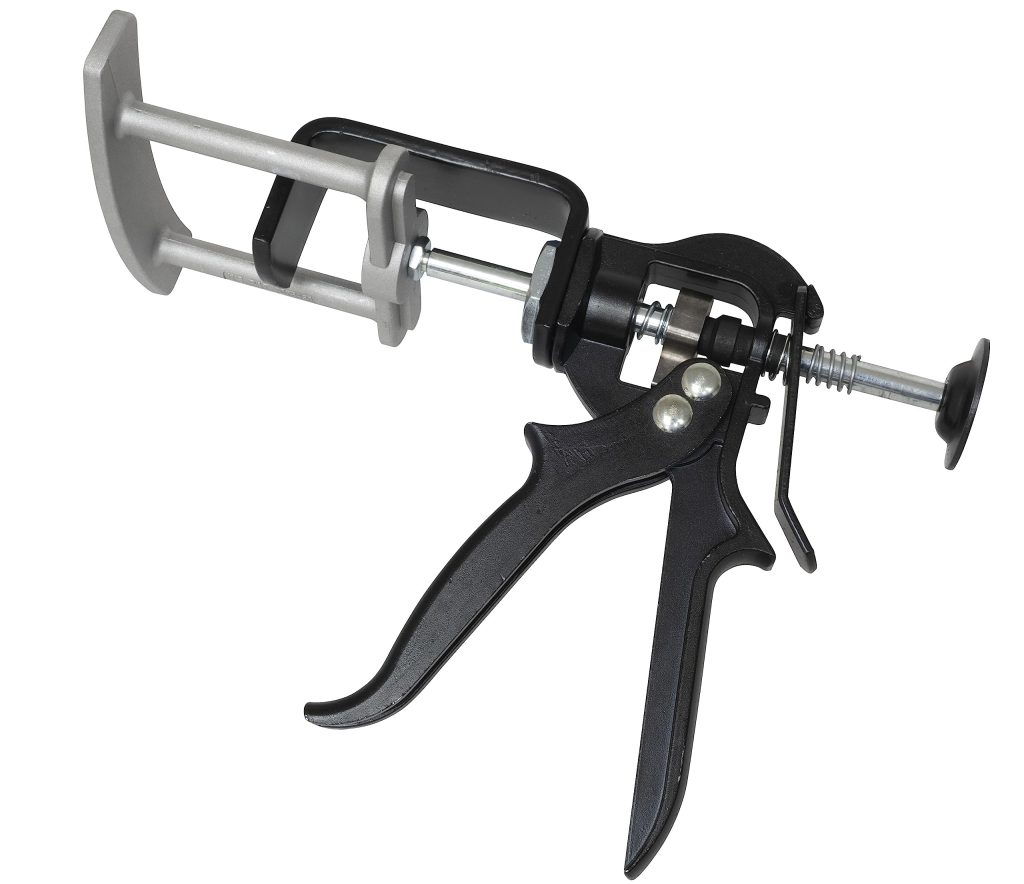
Obtain the application-specific brake procedure and read its completion steps before starting. Confirm the installed brake package, not just the vehicle model. An aftermarket caliper or a different factory option can change the tool and service requirements. Record any specified piston orientation, electronic preparation and reservoir handling instructions. Do not assume a previous successful pad change on another car establishes the method here. Select a reset tool appropriate to the piston arrangement and the manufacturer’s instructions. HELLA explains that a proper reset tool applies centred force and helps avoid piston, housing and boot damage. A tool must provide suitable contact and reaction surfaces as well as enough physical reach. Its ability to generate force is not the only requirement. For adapter and setup details, see caliper tool compatibility checks. Inspect the tool and its contact parts before use. Damaged threads, bent plates or unstable contact make controlled movement difficult. A pad or plate used to distribute force must be permitted and positioned appropriately for the actual assembly. Do not balance a narrow screw on an unsupported edge or use a fragile caliper feature as a reaction point. If the tool cannot be placed squarely, resolve the access problem rather than accepting side load.
- Prepare independent caliper support and safe vehicle lifting equipment if access requires removal from the mounting. The hose and wiring must not carry the assembly’s weight. Keep the tool clear of connections and protective parts as it moves. Plan how the piston and dust boot will remain visible. A working position that hides the component completely makes it harder to detect twisting, pinching or misalignment. Plan fluid handling according to the vehicle procedure. Moving a piston inward displaces fluid, and the reservoir level can rise. That can matter especially if fluid was added while the pads were worn. Do not assume opening the reservoir cap is the complete procedure for every system. Have the correct clean materials and containment ready for whatever handling is actually specified. If the instructions call for opening a bleed point or another hydraulic service step, include its full restoration and bleeding requirements in the plan. If they do not, do not open a fitting merely because the piston feels difficult. A hydraulic opening changes the job. Keep dirt and unsuitable chemicals out of the system, and never return contaminated recovered fluid to the reservoir.
Use controlled, aligned movement on a serviceable piston
Begin with the vehicle secured and the brake in its required service state. Let hot components cool before handling. Remove or reposition parts only as the procedure directs and support the caliper independently where necessary. Do not operate the pedal or parking brake while the assembly is in a condition where activation could eject or damage components. Coordinate the work so another person does not use those controls unexpectedly. Inspect the accessible piston area and boot before applying the tool.
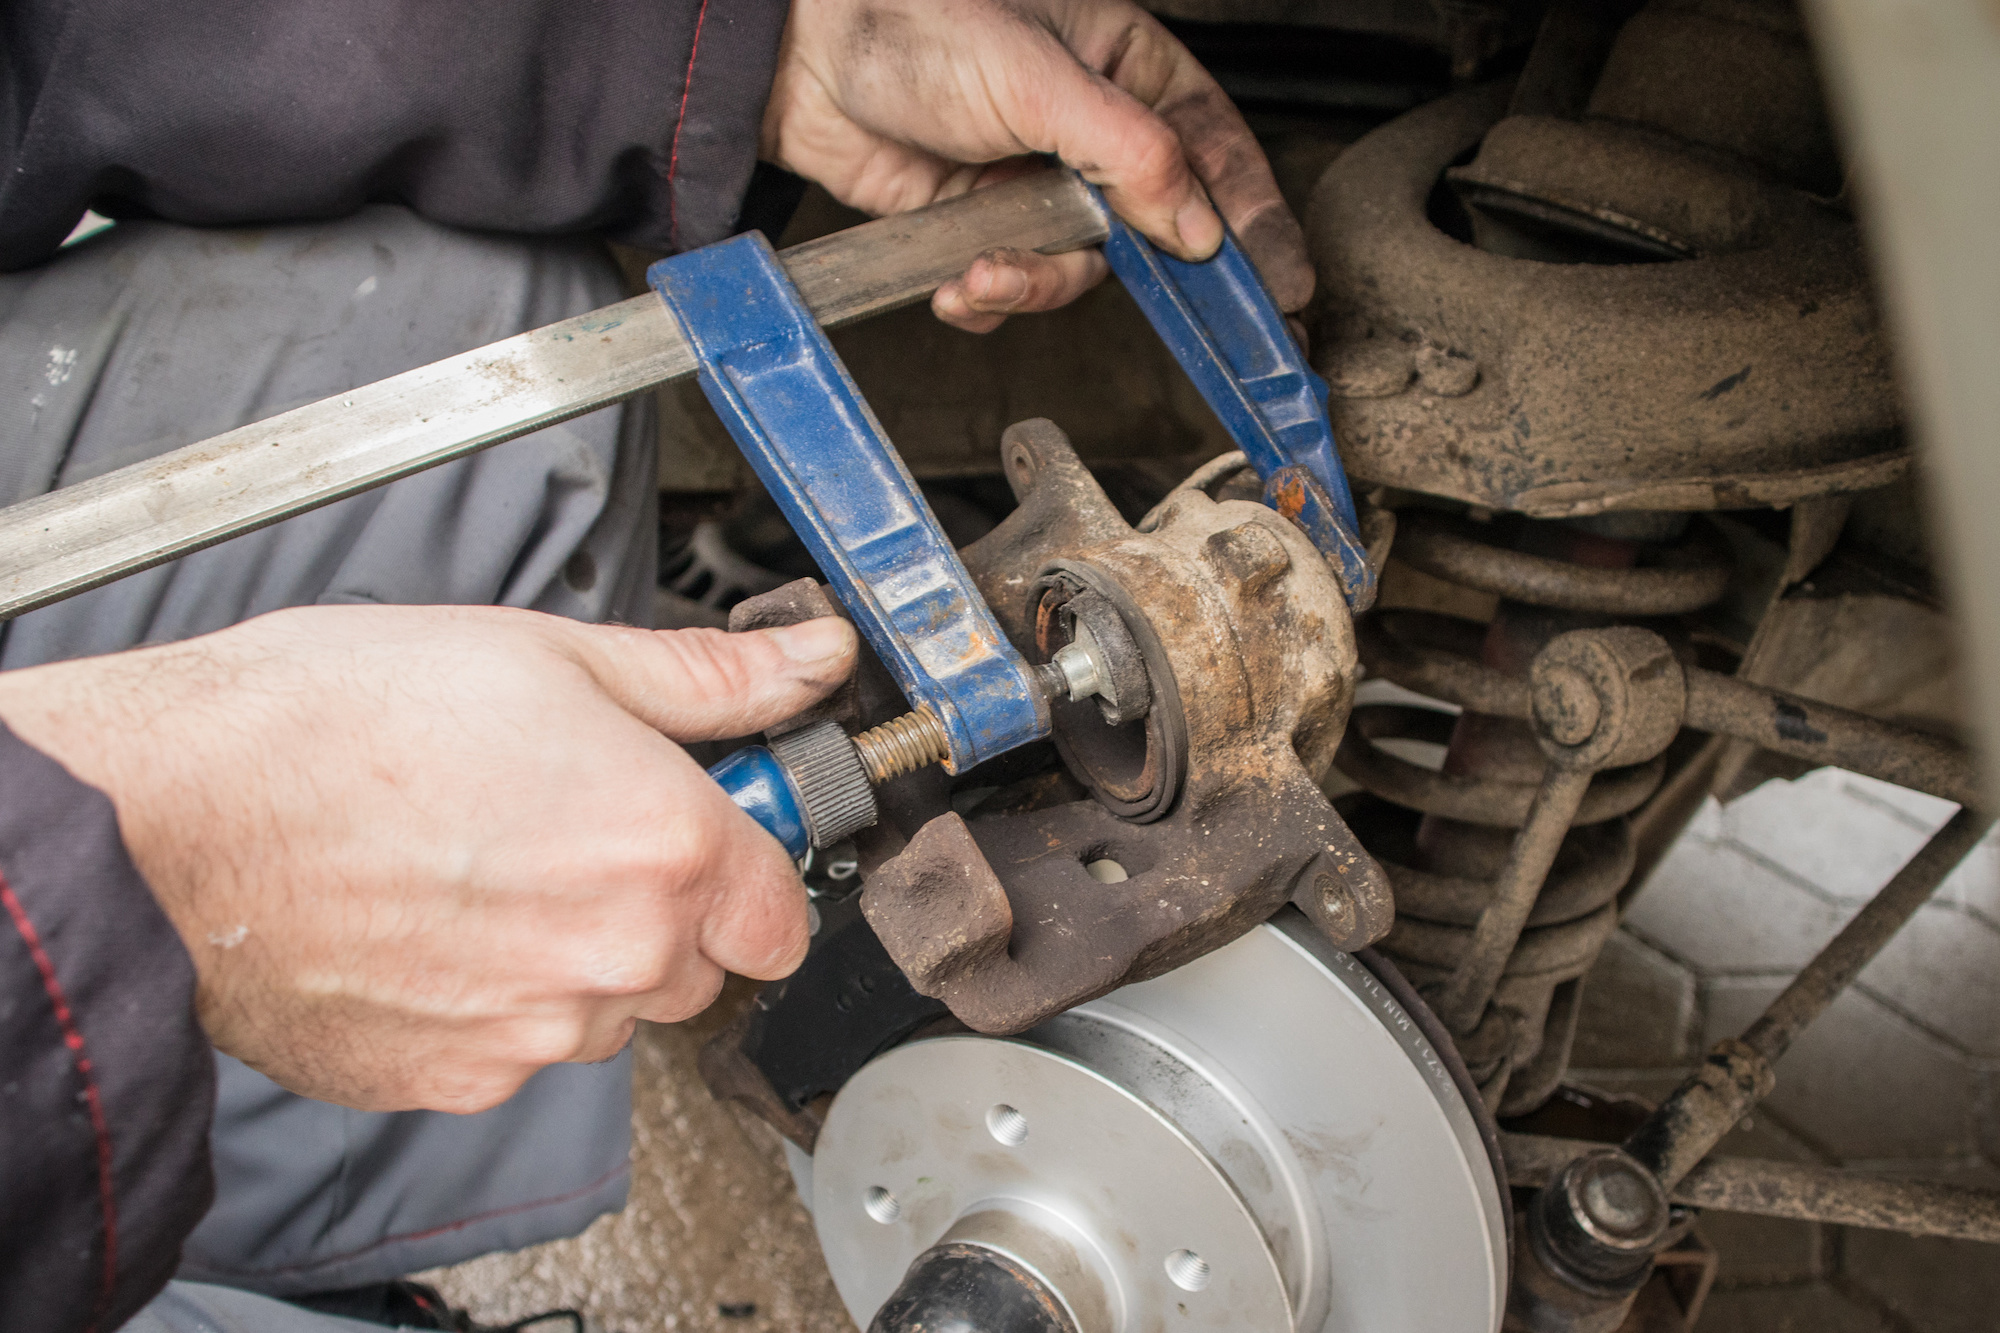
- Visible leakage, damaged rubber, significant corrosion or an obviously displaced component deserves assessment. A tool should not be used to hide that condition by pushing the piston out of sight. If the original complaint was sticking, establish whether the job is still routine pad service or a fault investigation. Those are different operations with different evidence requirements. Fit the tool so its intended contact surfaces are stable and its force acts in the required direction. Confirm that the protective boot is not trapped beneath a plate or tool edge.
- Take up free clearance carefully and check alignment again as the load begins. A setup that looks centred without load can shift as the tool contacts the piston. Stop and reposition if that happens. Proceed with the controlled movement prescribed for the application and tool. Watch whether the piston enters evenly and whether the boot follows without twisting or becoming caught. Do not interpret a sudden increase in resistance as a request for more leverage.
- Check the setup, the procedure and the component’s condition first. There is no universal compression torque or pressure that can be supplied for every caliper. Keep fluid behavior under observation throughout. Follow the required reservoir-level precautions and stop before overflow or another unexpected condition develops. Do not introduce an improvised seal at the reservoir to prevent a spill or pinch the hose to control displaced fluid. Those shortcuts can create a different problem while obscuring what the system is doing.
- The correct fluid path and handling method belong to the vehicle instructions. For a multiple-piston arrangement, use the specified method to control the relevant pistons together or in the required sequence. Pressing one can move fluid toward another piston, so focusing on a single face can leave another uncontrolled. Do not let an opposing piston extend unexpectedly while trying to gain space at the first one. The suitable tool arrangement may differ from a single-piston caliper. If your equipment cannot provide that control, stop and obtain it.
- An inward movement that frees space is not proof that the caliper will release normally on the road. A piston may move under substantial tool force while guides, pad supports or another part of the system remain faulty. Wagner’s inspection guidance distinguishes hose restriction from internal caliper binding. Such diagnosis requires its own controlled checks, not a conclusion drawn from one compression attempt. If the piston does not behave as expected after the correct setup and service preparation are confirmed, stop the reset operation. Do not add an impact drive, hammer the tool or apply heat to the assembly as a general solution.
- The reason may be a component fault, hydraulic condition or an unresolved procedural mismatch. See assessing a resistant or stuck piston for that separate decision. Continuing until something moves can damage an otherwise repairable assembly. Move the piston only to the position required by the applicable service procedure. Do not keep tightening against an assumed bottom merely to be certain it is far enough in. Release tool pressure and remove the tool as directed, then inspect the boot and surrounding parts again.
- Where a particular piston orientation is required for a pad feature, establish it through the proper method. New pads must fit through correct parts and setup, not force. If the new pad-and-disc combination still cannot be assembled after the prescribed reset, revisit component identification and seating. An incorrect pad thickness, misplaced clip or wrong part is not solved by compressing the piston harder. Compare the parts with the exact application and inspect the hardware placement. Do not grind away material or omit hardware simply to gain the missing space.
Complete the brake service and verify it before movement
Reassemble the caliper and pads using the specified hardware, lubrication locations and tightening instructions. Keep all lubricants away from pad friction material and the rotor’s working surface. Restore hose and wiring routing and remove temporary supports without straining connections. The reset operation has not eliminated any of these ordinary assembly responsibilities. HELLA’s front-brake service example includes restoring the pads and pistons to their working position after assembly.
- Use the procedure for the actual vehicle rather than copying a generic pedal count or travel instruction. The required stationary checks must establish appropriate pedal response before movement. Do not attempt to use a first road stop as the way to discover whether the pads are correctly positioned. If the hydraulic circuit was opened, complete the specified bleeding and leak checks. If an electronic or mechanical parking-brake process was part of the work, complete its required adjustment or service exit separately.
- A firm pedal alone does not prove parking-brake function, and a successful parking-brake command does not prove hydraulic integrity. Brembo’s fitting guidance illustrates the need for post-assembly hydraulic verification. The exact application instructions govern the complete checks. Inspect the fluid level under the prescribed conditions and check for fresh leakage.
- Confirm secure fasteners, correct routing and proper brake release. An abnormal pedal, active fault, binding or fluid loss means the vehicle requires further assessment. Do not drive to make a questionable assembly settle or to distribute an improvised lubricant. Use appropriate recovery if the vehicle cannot be made ready for safe operation.
- Keep the reason for the work and any unusual resistance or corrective finding in the service record. If a later complaint occurs, that history helps distinguish normal pad service from a developing caliper fault. A note that the piston compressed is less useful than a record of the identified method, condition checks and completed verification. The tool movement should support the repair process, not become its only evidence.
Successful straight compression therefore has clear boundaries. The piston design and service state must permit it, the tool must apply controlled centred force, fluid movement must be managed correctly and the assembly must pass the required checks afterward. If any boundary is uncertain, stop and resolve it. That approach preserves the distinction between resetting a serviceable piston for new pads and forcing an unexplained fault back into the caliper.


Automotive reference information. Confirm specifications in the manual for your exact vehicle. Original replacement guides link to their research sources. About us