Disconnect a fuel line from a fuel pump only after completing the vehicle's specified pressure-relief and isolation procedure, then use the release method for that exact connector. Some fittings have tabs, others use a removable retainer or an internal spring released by a correctly sized tool. Threaded connections require a different approach. Pulling harder is not a substitute for identifying the mechanism, and a stopped engine does not guarantee an unpressurized line.
This guide concerns planning and handling accessible low-pressure fuel connections under the applicable service procedure. It is not a method for opening gasoline direct-injection or common-rail diesel high-pressure lines. Those systems require their own precautions, tools and replacement rules. If you cannot identify the connection and its pressure category, stop before loosening it.
The objective is to separate the connection without damaging the fitting, sealing surfaces or line, then restore a verified leak-free joint. Taking a hose off is only half the work. Knowing whether its retainer or seal can be reused is just as important as knowing which release tool fits.

Credit: www.earls.com.au
Establish the safe service state
Obtain the procedure for the vehicle's exact engine and fuel system. Complete pressure relief in the stated order, accounting for any steps that require electrical power before final isolation. Removing a filler cap addresses the tank opening; it does not by itself establish that the delivery line is safe.
Never release pressure by casually cracking a fitting and waiting for fuel to escape. Work on a cool vehicle with suitable ventilation, containment and control of ignition sources. Use the protective equipment required for fuel service.
Prevent accidental starting and secure the vehicle properly. If access requires lifting, use approved support rather than relying on a jack. A suspected leak or strong fuel odor changes the task from routine disconnection to hazard assessment; do not continue creating potential ignition sources around it.
Choose tools after identifying the connector
Inspect the fitting and consult its diagram before buying or inserting a tool. Lisle: 37160 pliers for tab-release fuel connectors describes pliers for certain tab-release connectors, while Performance Tool: W83148 disconnect-tool instructions describes a different release-tool approach. These are examples of distinct mechanisms, not interchangeable instructions.
Match the tool's application and size to the verified connection. Have suitable caps, containment and any required replacement seals or retainers ready before separation. Do not plan to discover afterward that a one-use clip is unavailable.
Ordinary pliers, screwdrivers or improvised strips can damage a connector that needs a dedicated tool. If access is too restricted for the correct tool, follow the service procedure for gaining access rather than distorting the line to create room.
Confirm that the line is the one you intend to remove
Trace and label the connection using the fuel-system diagram. A module can have delivery, return or vapor connections, plus an electrical connector. A hose's size or proximity to the pump does not prove its function. Photograph the original arrangement and label multiple connections so reassembly does not depend on memory.
If the pump is accessed through a factory opening, follow that access procedure. If tank removal is required, plan support and draining as specified. Do not cut an access hole above the tank to make the connector easier to reach. A clear view of the fitting and its release mechanism is essential; working blindly encourages broken locks and damaged seals.
Clean around the joint before opening it
Remove loose dirt from the outside of the connection using the method permitted by the service information. The aim is to keep contamination out when the joint separates. Do not spray an unapproved solvent into a fitting or direct debris toward an open line. A clean exterior also makes retaining tabs and secondary locks easier to identify. Position suitable containment for residual fuel before releasing the joint.
Even after proper depressurization, fuel can remain in the line. Keep absorbent materials and waste handling appropriate to the job. Do not use a household drinking container or leave fuel-soaked materials near heaters or electrical equipment. Preparation should make the separation controlled rather than surprising.
Keep electrical isolation separate from pressure relief
Follow the specified battery or circuit isolation process once any powered pressure-relief steps are complete. An unplugged pump can still leave trapped fuel in the system. Conversely, a pressure-relieved system is not automatically protected against accidental pump activation.
Treat these as separate requirements and verify both before proceeding. On vehicles with automatic engine-start behavior or more complex electrical systems, follow the additional precautions in the manual. Do not assume removing the key establishes every safe state.
If the work involves a hybrid system or unfamiliar isolation requirements, use a qualified technician. The small size of the fuel fitting does not reduce the consequences of unexpected energizing while it is open.
Credit: www.youtube.com
Release the lock instead of forcing the line
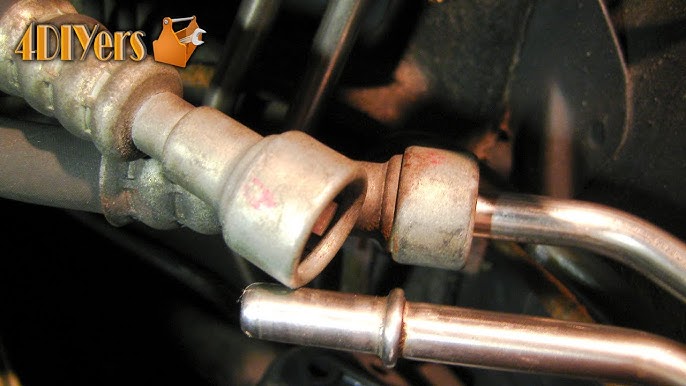
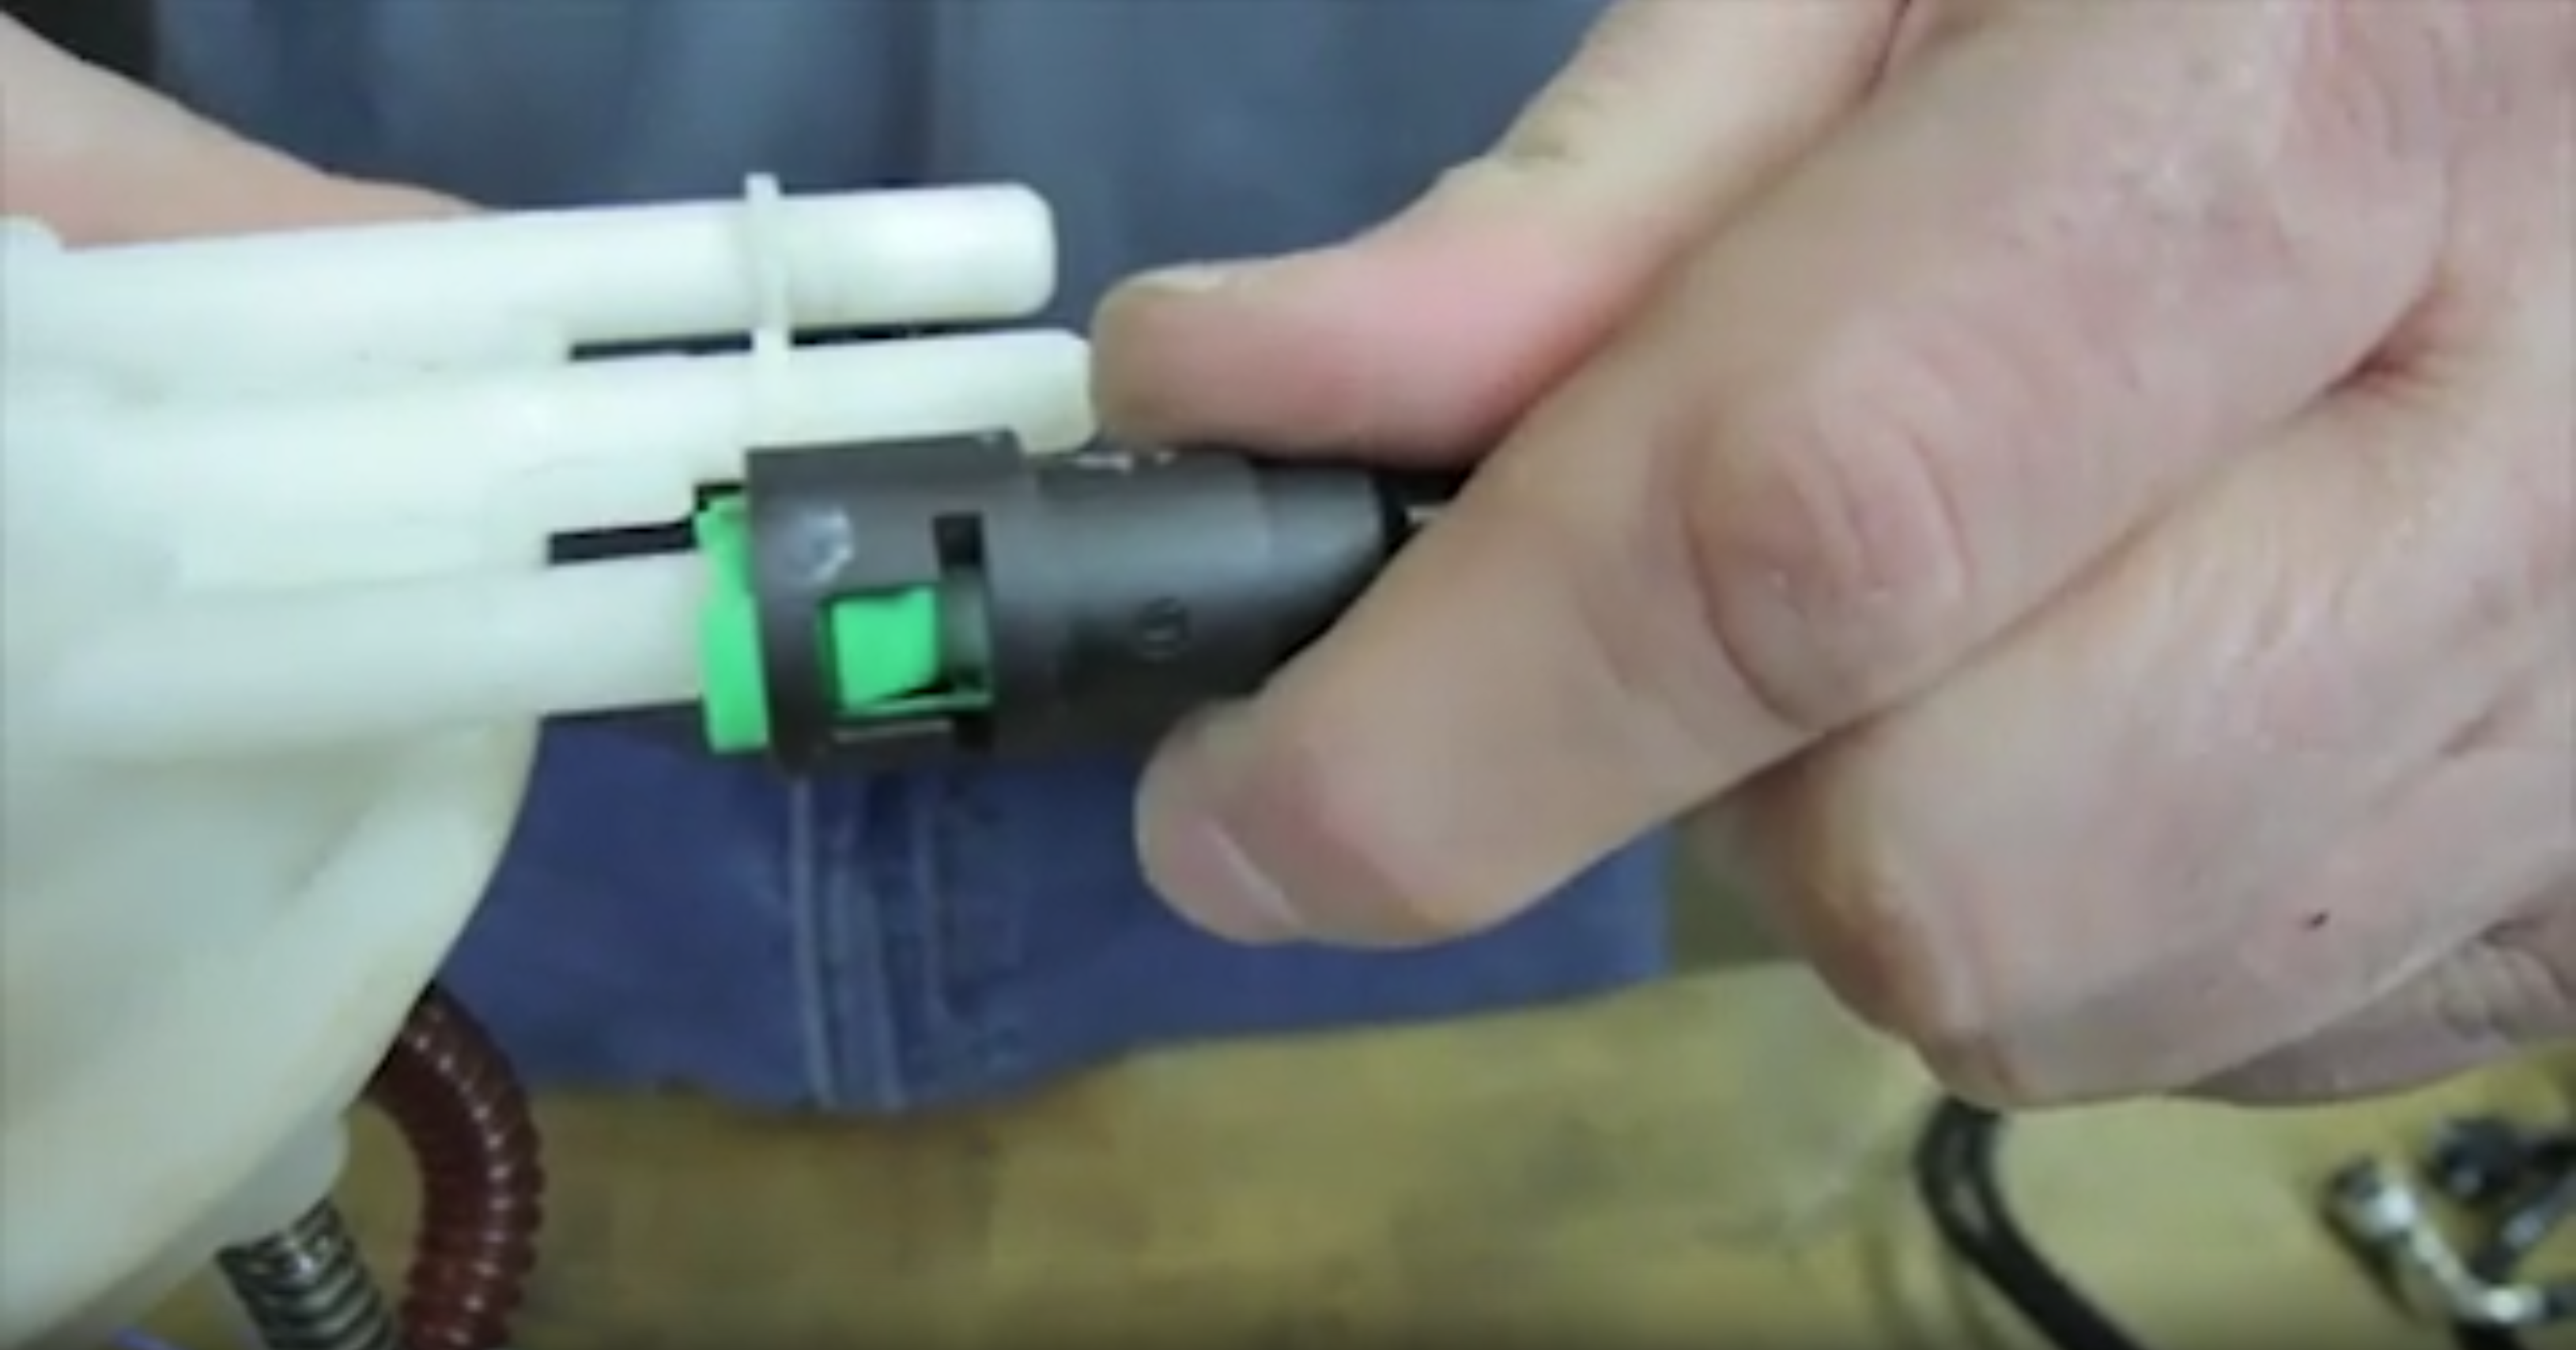
Operate the verified retaining mechanism exactly as its instructions describe. A secondary clip may need removal or repositioning before the primary release works. An internal spring connector may need a specific disconnect tool seated in the proper direction. Do not assume that every colored plastic piece is intended to be pulled out completely. Support the connection and line so the release force does not bend a tube or stress the pump outlet. If it does not separate with the expected technique, stop and recheck the mechanism, tool size and remaining lock.
Corrosion, dirt or a damaged retainer can require a different service response. Twisting aggressively, heating the joint or levering against a plastic module can turn a reusable connection into a leak source. Once separated, protect the openings with suitable fuel-system caps. Keep loose fibers and dirt out. Do not leave a line hanging where its weight stresses another connection. Preserve any removed retainer for inspection, but do not assume it is reusable simply because it survived removal.
Inspect the sealing and retaining parts
Look for cracked plastic, damaged tabs, distorted retainers and corrosion or scoring on the mating tube. Follow the manual's replacement rules for seals and single-use hardware. A fitting can appear to click together while a damaged seal still permits leakage. Retention and sealing are different functions, and both must be satisfactory. Dorman: 800-081 fuel connector specifications illustrates that replacement connectors have specific tube, material and seal details.
That example is not a recommendation to install that part on any vehicle. If a connector is damaged, use the approved repair or replacement assembly for the actual application. Do not replace a broken lock with a cable tie, glue or an arbitrary hose-and-clamp arrangement. A fuel-line repair needs documented suitability, not just a connection that feels tight by hand.
Credit: www.autozone.com
Reconnect with the specified parts and method
Clean and prepare the mating surfaces as instructed, using only any lubricant explicitly permitted for the seal. Align the parts without bending or pulling the line sideways. Seat the connection and engage its required retainer or secondary lock. Perform the manufacturer's specified retention check rather than relying only on an audible click. Reinstall the line supports and routing protection.
A connector should not carry loads that the clips and brackets were designed to support. Check clearance from exhaust components, sharp edges and moving parts with the vehicle assembled. Delphi: in-tank fuel pump replacement instructions reinforces the need to follow the actual replacement-part instructions. If a new module changes a connection or includes revised hardware, resolve those instructions before restarting.
Pressurize and inspect according to the procedure
Restore the system using the specified priming or activation method only after all connections are complete. Check for leaks as directed before normal operation. Do not use fingers to search for a pressurized leak, and do not continue running if fuel appears. Stop, return the system to the appropriate safe state and correct the defect.
A leak-free first check does not excuse an uncertain retainer or damaged line. Verify the assembly mechanically and operationally. If the work was part of pump replacement, also confirm the original complaint is resolved and that no new level-sender or related fault has appeared. Keep the part and repair details so a future inspection can distinguish an approved connector repair from an improvised modification.
Know when to stop and replace the connection
Stop if the release mechanism cannot be identified, the correct tool will not fit, the fitting is severely corroded or the plastic begins to distort. These are reasons to obtain the proper service information or professional help, not to apply more force. A damaged pump outlet can require a larger repair than the line you intended to remove, so preserving the assembly matters.
If the line or module is being returned under warranty, retain the damaged connection and photographs where the supplier requests them. Avoid destructive experiments that erase the evidence needed to determine whether the fault was in the component, installation or removal process. Successful disconnection means more than getting the line apart.
It includes pressure control, accurate identification, clean handling, intact sealing and retention, and a verified leak-free return to operation. Following that sequence avoids turning a routine access task into an unnecessary fuel-system failure. When any step remains uncertain, resolve it before energizing the pump.


Automotive reference information. Confirm specifications in the manual for your exact vehicle. Original replacement guides link to their research sources. About us