
A leaking brake caliper needs its actual leak source identified and the defective connection or component repaired. Adding fluid, applying sealant outside the casting or tightening every visible fitting is not a reliable fix. If brake fluid is leaking, the pedal is abnormal or braking is reduced, do not drive the vehicle to test whether it will hold. Arrange professional assessment and recovery when necessary. The fact that one wheel appears affected does not make the remaining brakes a safe substitute.
The repair may involve a hydraulic connection, a bleeder, an approved caliper rebuild or an application-correct replacement. Which option is appropriate depends on where fluid originates and the inspected condition of the parts. This article explains those decisions and the evidence a repair should include. It does not give a universal tightening torque, seal size or bleeding sequence because those details depend on the vehicle and fitted brake assembly.
Distinguish a caliper leak from fluid arriving nearby
Fluid can travel across a caliper before dripping from its lowest point. A drop at the bottom therefore does not identify the failed component by itself. The inspection must establish the origin, including the hose or pipe connection, bleeder area, piston sealing area and any other hydraulic features of the particular assembly. A nearby damaged hose can wet an otherwise sound caliper. Residue left during recent bleeding or fluid handling can also confuse the first visual impression. That possibility calls for a controlled inspection, not an assumption that all visible moisture is harmless residue. Do not identify an unknown liquid by tasting it or relying on colour alone. Keep it off skin, painted surfaces and brake friction material, and avoid crawling beneath a vehicle supported only by a jack.
Tell the repairer which wheel is wet, when it was first noticed and whether any brake work preceded it. Photographs taken without disturbing the assembly can preserve useful evidence. Include any warning light, change in pedal travel or repeated need to add fluid in the history. A reservoir reading can provide context, but a level above the minimum mark cannot rule out a developing leak. The distinction between the dust boot and the hydraulic seal is important. A protective boot helps keep contamination away from the piston area; it is not a substitute for the seal that contains operating fluid. Merely fitting or gluing an outer boot cannot be assumed to correct hydraulic leakage. If fluid appears around that area, the repairer must establish its origin and assess the relevant internal parts under the manufacturer's procedure.
Wagner’s explanation of soft-pedal causes includes leaking calipers among several possible hydraulic faults and describes how leakage can accompany a low pedal or pulling. It supports prompt diagnosis, but a low pedal alone does not prove that the caliper is the cause. If the leak appeared immediately after a hose or caliper change, begin with the work history. Confirm that the installed parts and sealing arrangement match the application and that the required new sealing components were used. If it appeared after pad replacement, record whether the piston was retracted, whether a boot was damaged and whether fluid was spilled. These observations help target the inspection. They are not proof that the last person to work on the vehicle caused the fault.
What a useful inspection should establish
Ask for the exact leaking location to be shown or documented before parts are ordered. A wet hose fitting and a leaking piston seal lead to different repair decisions. The fitting inspection should consider the correct connection type, sealing surfaces, associated hardware and condition of the mating parts. A fastener that accepts more tightening is not necessarily the solution; incorrect parts or damaged sealing surfaces may remain. Excessive force can create a second problem without correcting the first. Use the exact service instruction to decide whether adjustment, replacement of sealing parts or replacement of a larger component is required. A bleeder-area leak likewise needs its cause established rather than an improvised external patch. Confirm whether the fluid is fresh leakage or trapped residue from earlier service under the appropriate inspection conditions. If the sealing components or caliper are damaged, the repair must address that damage through an approved method. Do not apply thread tape or an unapproved sealant because the wet area happens to be near a threaded part. The way a connection seals is determined by its design, not by the appearance of the threads.
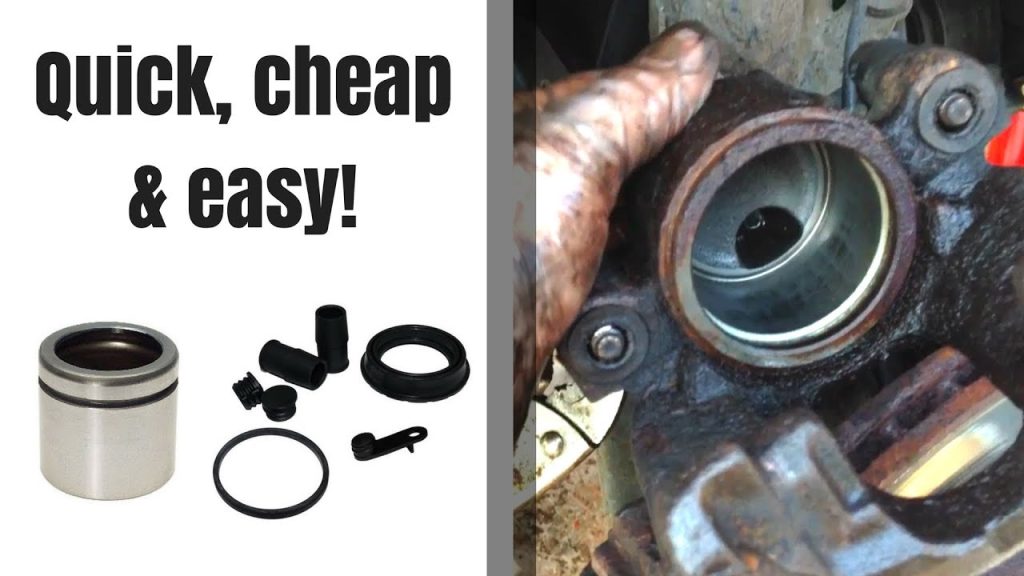
For suspected piston-area leakage, the inspection must decide whether the assembly is serviceable and whether an applicable rebuild procedure and parts exist. Brembo’s repair-kit guidance describes replacing supported components or the complete caliper with qualified assistance. It emphasizes the importance of materials that are compatible with the hydraulic fluid. That does not mean a generic rubber ring is an acceptable replacement, or that all corroded and damaged assemblies can be saved with a kit. Identification and component condition come before the repair choice. The inspection should extend to consequences of the leak. Brake fluid on friction material is a different issue from fluid on an exterior painted surface, and the remedy must follow the applicable brake-component instructions. Do not assume that a quick spray leaves a contaminated pad suitable for reuse. Ask whether the disc, pads, hose, mounting parts or parking-brake components also require attention. If the brake was dragging or overheating before leakage was noticed, the original cause needs investigation too. Replacing a leaking part without addressing another fault can leave an incomplete repair.
Choose the repair and verify the complete system
For a connection fault, the repair should restore the correct specified connection using the appropriate undamaged parts and sealing components. For a caliper fault, the choice is a supported rebuild that passes inspection or an application-correct replacement. Neither route should be selected solely because it is the cheapest item in a catalogue. A rebuild estimate should explain the parts included, inspection limits and what happens if the core is unsuitable. A replacement estimate should identify the correct brake package, axle position and package contents. A rear assembly may also require parking-brake setup or an electronic service procedure. Ask whether the quoted price includes fluid work, required hardware and final checks. A bare component price is not the same as the cost of a completed brake repair.
If only one caliper has been diagnosed as leaking, inspect the opposite assembly and follow the applicable manufacturer's replacement guidance rather than assuming that every vehicle requires the same pair-replacement decision. Requirements for replacing pads as an axle set are a separate question. Keep these items distinct so that the estimate explains what is necessary and what is an optional preventative recommendation. No external patch, stop-leak additive or clamp placed on the hose is an acceptable substitute for restoring a functioning hydraulic brake. Do not disable the affected wheel to keep driving. Nor should a test drive be used to discover whether a visible leak is serious. A vehicle can feel different as a hydraulic fault progresses, and temporary improvement after topping up or pumping the pedal is not verification of a repair.

Credit: mechanics.stackexchange.com
The useful endpoint is a properly repaired and checked system, not a temporarily dry-looking casting. After the work, the specified bleeding and commissioning process must be completed. That process can depend on which parts were opened and on the vehicle's hydraulic and electronic systems. Do not borrow a generic wheel order or assume that gravity bleeding alone meets every requirement. Brembo’s caliper fitting instructions include post-installation checks for leakage and abnormal hydraulic pressure loss within the procedure they describe. Use the vehicle's applicable instructions for the actual job rather than transferring every detail of that example to a different assembly. Before the vehicle returns to service, the repairer should verify the required pedal condition, correct fluid level, secure fittings and hardware, absence of leakage under the prescribed checks and any required parking-brake function.
Appropriate functional testing follows successful static checks; it does not replace them. An unresolved soft pedal, warning, fresh fluid or severe pulling requires further diagnosis. If the vehicle is being collected from a workshop, ask what was found and how the correction was verified. Retain the invoice showing the repaired location and fitted part numbers. Consider two common scenarios. If an otherwise serviceable caliper is wet because its hose connection was assembled incorrectly, replacing the piston seals would not address the demonstrated fault. If fluid originates at the piston sealing area and the relevant surface is outside repair limits, replacing only a hose washer would be equally ineffective.
The same visible drip can therefore lead to different work once its origin is known. A clear diagnosis prevents both unnecessary parts replacement and an incomplete repair. For a recurring leak, bring the previous repair record and note whether it is the same location. Ask the workshop to compare the current evidence with the earlier diagnosis instead of repeating the same repair automatically. The supplied part, connection, installation and surrounding system may each need consideration. Our guide to caliper hydraulic connections explains why identifying the connection type matters, while the piston-removal guide discusses the limits of rebuilding. The decision on this page remains simple: locate the source, repair the confirmed defect and verify the complete brake system before use.


Automotive reference information. Confirm specifications in the manual for your exact vehicle. Original replacement guides link to their research sources. About us