Do not assume glazed brake pads can be made safe by sanding the surface. First assess braking performance, pad condition, rotor condition and the reason for overheating. Heavy glazing or damaged friction material can require replacement, along with correction of the cause.
A shiny surface alone does not establish the complete diagnosis. If braking is reduced, the car pulls strongly, there is smoke or a hot smell, or the pedal is abnormal, stop using the vehicle and arrange inspection. Do not perform repeated hard stops as a cure.
What glazing describes
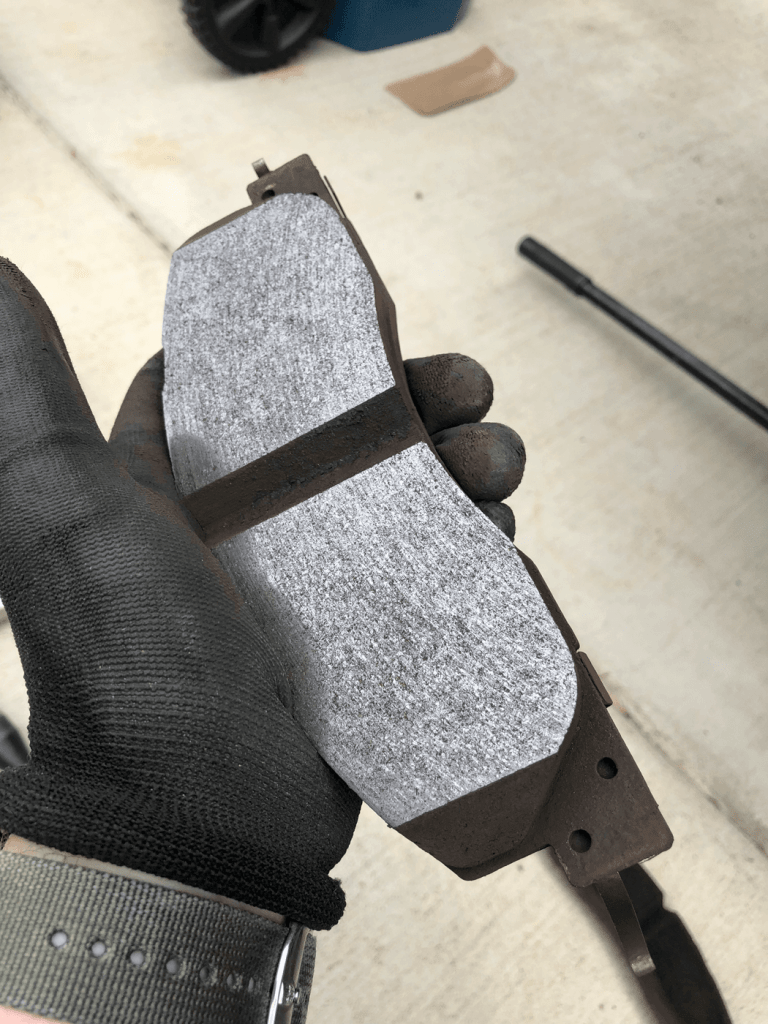
Glazing refers to a smooth, polished-looking friction surface associated with changed surface condition. It is different from simply having a clean rotor or seeing a reflection in a photograph. Proper assessment may require removing the pads and comparing the friction material with manufacturer guidance.
Ferodo’s trouble tracer distinguishes light glazing from heavy glazing, recommending pad-set replacement for the latter and a rotor check. This is not a guarantee that every mildly shiny pad is harmless; the condition and braking complaint still need to be assessed together.
Look for heat damage beyond the surface
Credit: www.treadmagazine.com
Inspect for cracks, crumbling edges, separation from the backing plate and other deterioration. A surface treatment cannot restore a damaged bond or repair broken friction material. Measure remaining material and compare with the product and vehicle limits.
HELLA’s failure-mode guide describes thermal overload and its effects on friction material. That supports a broader inspection instead of treating appearance as a cosmetic issue. If damage is present, follow the specified replacement requirements.
Find out why the brake overheated
Review whether the condition followed demanding use, an incorrect running-in procedure or a brake that is not releasing properly. Inspect relevant caliper, guide, pad-fit and parking-brake functions. Replacing glazed pads without resolving drag can damage the next set.
Do not infer the cause solely from color or one hot wheel measurement. The pattern across the axle, operating conditions and mechanical checks help establish what happened. Avoid touching brake parts to compare temperature; they can cause burns after ordinary driving as well as after a fault.
Why sanding is not a universal repair
Removing a visible surface layer does not prove the remaining friction material is sound or restore the correct relationship with a damaged rotor. It can also change flatness and generate brake dust. Do not use compressed air to disperse that dust.
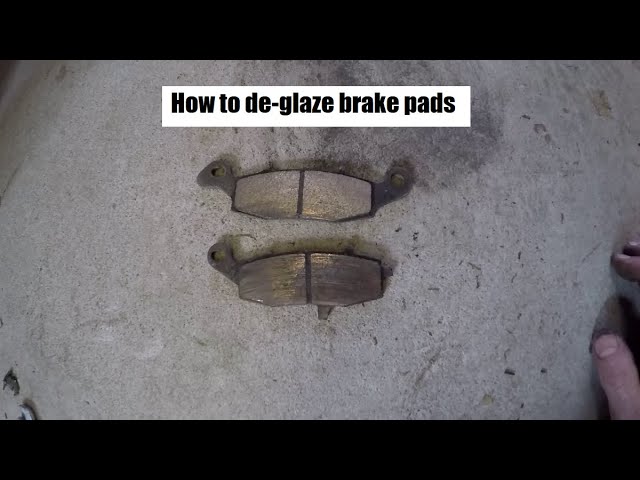
Follow a pad manufacturer’s specific service instruction if one exists for the product. In its absence, do not invent a grit, removal depth or reuse limit. A low-cost surface treatment is not evidence that braking performance and durability have been restored.
Assess contamination separately
Oil, grease or brake fluid on a pad is not merely glazing. Identify and repair the source of contamination and follow the pad manufacturer’s replacement guidance. Spraying solvent onto a contaminated friction surface is not proof that the absorbed material has been removed.
Credit: www.youtube.com
Do not put a general lubricant on the pad to prevent noise, and do not confuse specified lubricant on non-friction contact points with treatment of the friction material. These are different surfaces with different functions.
Repair the cause and inspect the rotor
Check the rotor against its applicable thickness and condition requirements. Follow the manufacturer’s limits on reuse or machining rather than assuming the shiny surface can simply be resurfaced. When pads are replaced, use the prescribed axle-set practice and suitable hardware.
If fitting or retention is implicated, review how pads should fit in the carrier. If one pad has taken most of the damage, use the unequal-wear diagnostic path rather than treating all heat marks as a driving-style issue.
Return to service with the correct running-in method
Verify normal release, pedal behavior and brake function before beginning any specified running-in process. Use the instructions for the installed pad and vehicle, not a generic high-speed bedding routine. A mechanical or hydraulic fault must be corrected first.
Keep the repair findings, especially any confirmed drag or hardware problem. The useful outcome is a sound friction pair operating in a healthy brake assembly. A pad that looks less shiny after a home treatment does not by itself establish that result.


Automotive reference information. Confirm specifications in the manual for your exact vehicle. Original replacement guides link to their research sources. About us