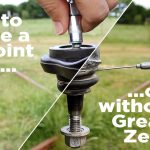
Grease a tie rod end only when its design provides a serviceable lubrication fitting. Clean the fitting, connect the correct coupler and add the specified lubricant slowly while watching the boot. Stop at the manufacturer’s fill indication; a fixed number of pumps is unreliable.
Greasing cannot remove mechanical clearance from a worn joint. If steering has become loose or the car clunks, arrange an inspection before treating fresh lubricant as the repair.
Identify the service point
Credit: www.suspension.com
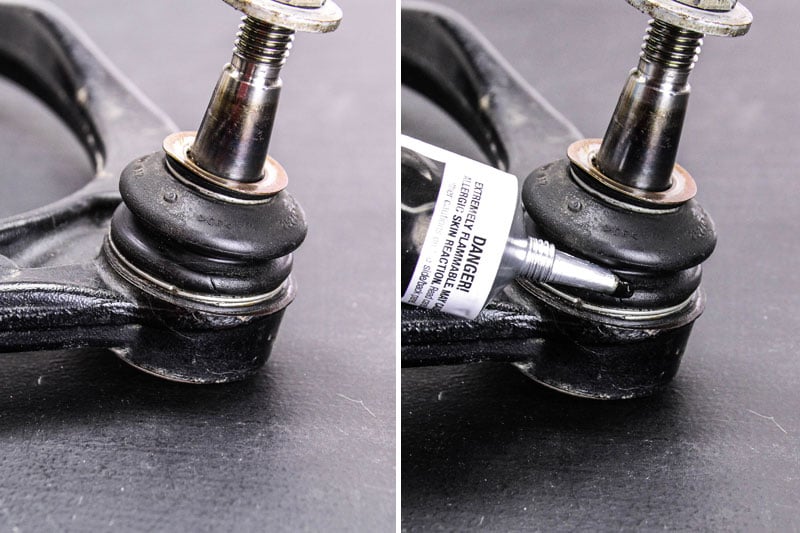
A conventional zerk has a nipple for a grease-gun coupler. MOOG’s maintenance bulletin identifies fittings on its serviceable parts and explains that some low-profile fittings need a special attachment. A needle adapter intended for a fitting is not permission to puncture a boot.
Confirm the part instructions if the fitting is difficult to identify. Do not drill a sealed housing. See serviceable versus sealed tie rod ends before buying tools.

Credit: www.moog-suspension-parts.com
Prepare access and inspect
Park on firm, level ground and follow the vehicle’s access and support instructions. Never reach beneath a vehicle supported only by a jack. Keep the coupler and boot visible; an awkward angle encourages a poor connection and hides overfilling.
Wipe dirt off the fitting. Inspect for boot splits, displacement and contamination. A damaged seal or confirmed wear needs assessment rather than repeated lubrication. Keep grease away from tread and brake friction surfaces.
Add lubricant gradually
Use the lubricant specified for the installed part. For its covered chassis parts, MOOG prefers a hand gun and specifies premium NLGI No. 2 lithium or synthetic grease. Other manufacturers may differ, so do not apply that recommendation universally.
Seat the coupler squarely and pump slowly. MOOG describes flushing through the intended relief point; if grease does not emerge, stop as the boot begins to swell rather than overfill. Follow the actual part instructions instead of trying to make every boot purge.
If grease escapes around the coupler, improve the connection rather than pumping faster. If resistance rises sharply with no flow, stop and investigate the fitting and service procedure. More force can damage the boot without delivering lubricant where needed.
Finish and record the service

Credit: www.agcoauto.com
Release the coupler according to its design, wipe excess away and inspect again. Check the fitting is intact and the boot remains seated. Record the joints serviced and product used so the next visit has a clear starting point.
Set the interval from the manufacturer and vehicle use. Water, salt and severe operation matter; another car’s schedule may not suit yours. For a new joint, check whether factory grease completes the installation requirement. A quieter joint still needs examination if there is play or unstable steering.


Automotive reference information. Confirm specifications in the manual for your exact vehicle. Original replacement guides link to their research sources. About us