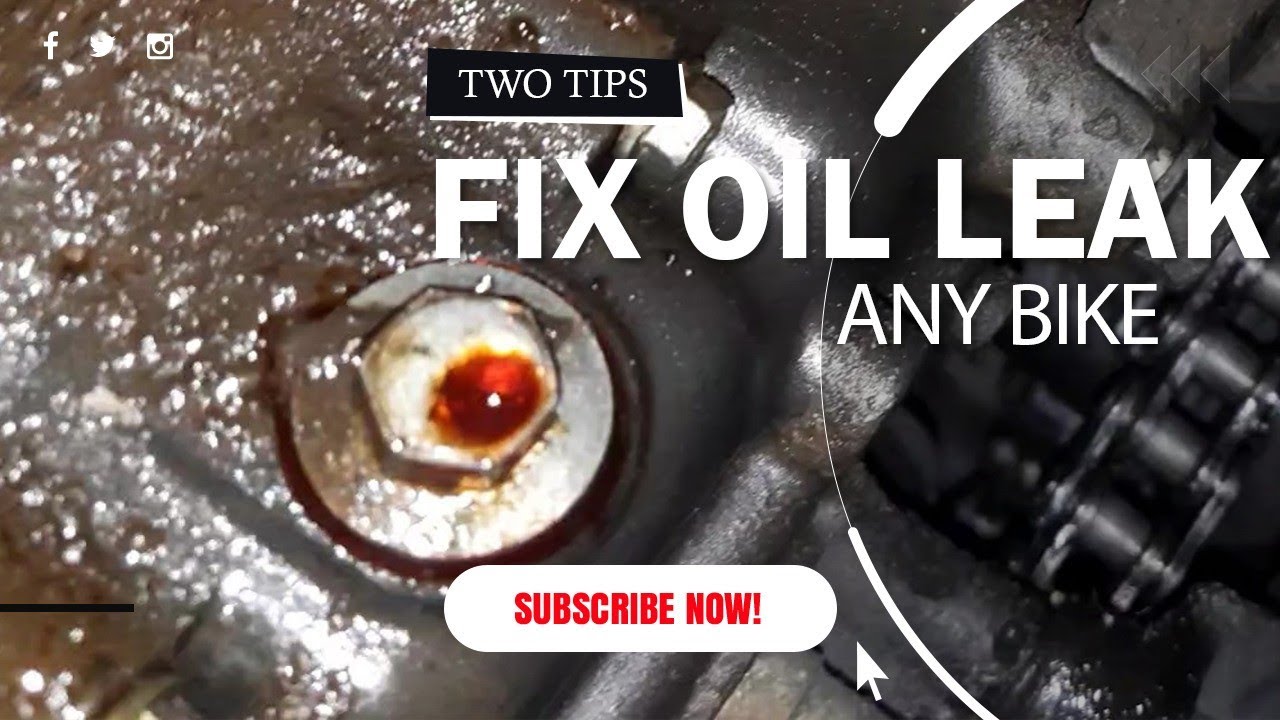

To stop an engine-oil leak on a motorcycle, identify the actual source and repair the failed seal, connection or component using that model's procedure. Do not start by adding a stop-leak product or tightening every visible bolt. First check whether oil has reached a tire, brake or hot exhaust and whether the engine has a low-pressure warning or abnormal oil level.
Those conditions can make riding unsafe even when the puddle looks small. Stop the engine and arrange assistance if there is active leakage, contaminated safety equipment or uncertainty about safe operation. This guide concerns a motorcycle's engine-oil leak; fork oil, brake fluid, fuel and chain lubricant require different diagnosis.
A fluid's location beneath the bike does not establish where it originated. Record the symptom before cleaning away the evidence.
Confirm which fluid and system are involved
Start with the model, recent maintenance and the place where fluid first appeared. Oil can travel along a surface before dripping, so the lowest wet point may not be the source. Do not identify every dark deposit as engine oil. A workshop can distinguish an engine leak from another fluid or accumulated chain lubricant. If fuel or brake-fluid leakage is possible, treat that as a separate immediate concern rather than continuing with an engine-oil repair assumption.
Inspect recent service points without guessing torque
If the leak began after an oil change or related work, the serviced areas deserve prompt inspection. Possibilities include the filter or cover, drain sealing arrangement and filler connection, depending on the motorcycle. This is a diagnostic starting point, not proof that the last technician caused the problem.
Do not tighten a drain plug beyond its specification to see whether the drip stops. Damaged threads, a wrong seal or an incorrectly assembled cover require the correct repair. Record the service date and return to the workshop with photographs when appropriate.
Distinguish the failed seal from the reason it failed
An aged gasket, damaged sealing surface, loose or incorrectly fitted component and other conditions can produce different repairs. Replacing a visible seal does not automatically resolve every cause. Ask the technician what evidence identifies the source and whether anything else contributed.
The proposed work should match that finding. Do not cover a wet joint with external sealant and assume it restores the intended sealing design.
Do not use a thicker oil to conceal a leak without confirming that the oil remains appropriate. A repair should address the component and preserve the motorcycle's specified lubrication system.
Look for a fresh trace rather than only old dirt
Photograph the area before cleaning and note whether the deposit is dry residue or fresh wetness. Ducati: procedure for evaluating oil and coolant leaks, SRV-SRB-23-018 provides a manufacturer example of a structured leak-assessment process; it should not be treated as an all-brand repair specification. The practical principle is to establish where a fresh trace starts. A mechanic may clean and observe a suspected area using a controlled procedure. Do not run or ride a bike with an unsafe leak simply to create a clearer photograph.
Check where leaked oil has traveled
Inspect accessible areas around the tires, brakes, foot controls and exhaust without touching hot components. A small amount in the wrong place can matter more than a larger stain contained safely off the vehicle. If a tire or brake may be contaminated, have it assessed before riding. Wiping the visible surface is not proof that grip or braking performance has been restored. Tell the repairer about contamination, not only the suspected engine gasket.
Do not use engine behavior to dismiss a leak
A motorcycle may appear to run normally while losing oil or spreading it onto a safety-critical surface. Conversely, an engine symptom may have another cause. Check the actual oil level using the model's procedure and follow any warning instructions. Honda CMX1100: low-oil-pressure warning illustrates manufacturer guidance to stop for a low-pressure warning and investigate rapid level loss. Use your own manual's requirements rather than treating a normal idle as evidence that continued riding is safe.
Make the immediate decision about riding
Stop in a safe location, switch off and assess without exposing yourself to traffic or hot parts. Do not ride on an active leak that can reach a tire, brake or exhaust. If the pressure warning is present or the level is outside the safe range, follow the manual and arrange assistance where required. Topping up may correct quantity but does not repair the leak or remove contamination. Explain the condition to recovery personnel so the motorcycle can be transported appropriately.
Support the motorcycle safely for inspection
Use the support method specified for the bike and the task. Do not balance it precariously while trying to look underneath or ask someone to hold it at an unsafe angle. Let hot components cool before close inspection. Keep hands away from moving parts and do not work beneath an inadequately supported machine. If access requires lifting equipment you do not have, a workshop inspection is the appropriate next step.
A temporary containment measure is not a riding repair
A drip tray beneath a parked motorcycle can protect the ground while service is arranged, provided the setting is safe. It does not authorize starting or riding the bike. Do not tie absorbent material near the engine or exhaust to catch oil in motion. Do not seal a vent or breather to prevent visible leakage. The system must retain its designed functions. A roadside improvised patch cannot establish that the source, lubrication and safety contamination are resolved.
Gather the information a mechanic needs
Record the model, engine, mileage, recent work, oil used, approximate loss and whether the leak appears when parked or after operation. Include photographs showing both the broader area and the suspected starting point. Say when an observation is uncertain. Do not clean everything before documenting a new post-service leak if the workshop needs to see its initial condition. This information helps prioritize inspection without claiming a diagnosis you have not established.
Use the manual to choose tools and materials
- A proper repair may require model-specific access tools, a torque wrench, the correct seal or gasket and a defined assembly sequence. There is no universal drain-plug torque or cover-bolt pattern for every bike. Confirm the part identification before dismantling.
A generic seal that appears close in size may not be suitable. If the service instructions require replacement of a particular sealing item, include it in the repair rather than reusing it to save a small amount. Keep the required oil and filter specifications with the work plan.
Inspect in a controlled sequence
Begin with a safe external observation and the correct oil-level check. Review recent service points and trace any fresh wetness toward its highest confirmed origin.
Distinguish that observed origin from areas merely coated by traveling oil. Document the result before disturbing the suspected joint.
If the source cannot be seen safely, stop and arrange access in a workshop. Do not remove multiple covers at random, because that can introduce new leaks and destroy the original evidence.
A technician can use the manufacturer's approved cleaning and tracing process if necessary.
After the source is identified, assess the sealing surface and related parts before selecting the repair.
Record any safety-equipment contamination separately so it is not overlooked when the engine leak is repaired.
Choose the repair that matches the confirmed defect
The repair may involve a sealing item, correctly installed service part, damaged thread, cover or another component. It should follow the actual finding rather than a general list of common leaks. Ask what will be replaced, what will be inspected and how the repair will be checked afterward. If the leak has recurred, review the previous repair record and investigate why. Repeating the same seal replacement without understanding a recurring cause may not solve the problem.
Replace seals without damaging the surrounding parts
Seal replacement can require controlled removal and installation depth, orientation or lubrication specified by the manufacturer. Do not assume every seal can be pulled out and pushed back by eye. Avoid scratching a sealing surface or shaft while removing an old part. If the required access or procedure is unfamiliar, have the work performed by a qualified technician. A new seal installed into damaged surrounding parts may leak again, so the inspection is part of the repair.
Use gasket and sealant instructions exactly
Some joints use a formed gasket, some use an O-ring and some require a specified liquid sealant and application pattern. These methods are not interchangeable. More sealant is not automatically a better seal. Follow the exact material, surface-preparation, assembly and cure instructions where applicable. Do not stack gaskets or coat every surface by habit. Keep sealant away from places where the procedure does not permit it, and restore the specified fastening sequence and torque.

Credit: www.carandbike.com
Verify before returning the bike to service
The repair should be checked under the manufacturer's appropriate conditions, with oil level and any warning behavior confirmed. Inspect for fresh leakage and ensure all removed parts are properly secured. Contaminated tires, brakes or other components need their own assessment and remedy. A dry repaired joint does not automatically resolve oil that already traveled elsewhere. Ask the workshop to document both the engine repair and the safety checks.
Make pre-ride checks consistent
Honda: motorcycle pre-ride checks includes basic motorcycle condition checks. Use your own model's pre-ride checklist and inspect for new leakage or abnormal level changes. Consistency helps identify a developing issue before it becomes a roadside failure.
A clean parking area or a documented overnight observation can help track recurrence, but it does not replace a proper inspection. If a new stain appears, investigate rather than assuming it is harmless residue from the old leak.
Choose oil for the motorcycle, not as a sealant
Use the viscosity and performance requirements in the motorcycle manual. Penrite: four-stroke motorcycle oil requirements explains that wet-clutch compatibility is a relevant consideration for applicable four-stroke motorcycles. Do not assume every passenger-car oil is an equivalent choice or that every motorcycle has the same clutch arrangement.
A stop-leak additive or viscosity change should not substitute for repairing a confirmed defect. If an incorrect product was added, obtain application-specific advice before further operation. Keep the product information with the service record.
Escalate when the source or condition is unclear
Use a qualified motorcycle workshop when the source is inaccessible, the leak is active, safety equipment is contaminated or the oil level changes rapidly. A pressure warning or abnormal engine noise also needs prompt attention. Explain whether the bike has been run since the leak appeared. This helps the technician plan the assessment. Do not conceal an attempted temporary repair, because added sealant or additives can affect what they find.
Discuss repeat leaks as a diagnostic problem
If a repaired area leaks again, provide the previous invoice and the time or distance to recurrence. Ask whether the original source was confirmed and whether the mating surfaces, installation and related system conditions were assessed. A repeated symptom does not automatically prove the new part was defective. A useful discussion identifies what evidence is still missing and what check will resolve it.
Choose a shop that can explain its procedure
Ask whether the workshop has the service information and equipment for your model. Request a clear description of diagnosis, parts and verification rather than a promise to stop any leak with one additive. Clarify the handling of contaminated tires or brakes if relevant. Keep photographs and the final findings with the invoice. That record helps you understand the repair and gives the next technician a reliable history.

Credit: www.youtube.com

Credit: www.carandbike.com
A stopped leak includes a safe motorcycle
The job is complete when the confirmed source has been repaired, the specified oil level and operation are verified, and any contamination of safety-critical components is addressed. Do not reduce the decision to whether a drip has disappeared for a few minutes. Preserve the correct oil specification, sealing method and fastener requirements.
If the condition cannot be established safely, arrange professional help before riding. A careful source-based repair is more dependable than blind tightening, external sealant or an additive intended to hide the symptom.


Automotive reference information. Confirm specifications in the manual for your exact vehicle. Original replacement guides link to their research sources. About us


