
Stopping a motor oil leak requires finding where engine oil escapes and repairing that source under the correct service procedure. A puddle's location is not enough to identify the failed gasket or seal, because oil can travel across engine surfaces and underbody panels before it drips. Check the oil level using the vehicle's instructions and assess any warning or active loss before deciding whether the car should move. If an oil-pressure warning appears, the engine runs abnormally or oil is reaching hot parts, stop safely and obtain appropriate help. Adding oil can correct a low level temporarily when the manual permits, but it does not repair the leak or prove the vehicle is safe to drive. Begin by confirming the fluid. Engine oil, transmission fluid and other liquids can look similar after use, and dirt can change their appearance. Do not identify the system by color alone. Record where fresh fluid first appears, which level is changing and what work was done recently.
A leak after an oil change deserves prompt inspection of the serviced areas, but it still needs a finding rather than an assumption. Preserve the invoice and tell the repairer when the spot appeared, whether it grows while parked and whether there is a smell or smoke during operation. Distinguish a light residue from active leakage without using that distinction to dismiss an unresolved problem. A damp surface may need cleaning and observation to locate its origin, while a rapidly developing puddle calls for a more urgent response. There is no universal safe number of drops or miles that applies to every engine. The risk depends on the rate of loss, the level, the location and the vehicle's warnings. Do not keep running the engine to make the leak easier to see if the condition makes continued operation inappropriate. Use safe observation only. Let hot parts cool where required, keep clear of fans and belts, and never work underneath a vehicle that lacks proper support.
A flashlight and photographs from an accessible position can help document the issue. Do not reach into a running engine compartment to feel for the wettest spot. If the source is hidden behind covers or underneath the vehicle, arrange the correct inspection setup. Access difficulty is a reason for proper equipment, not for crawling into an unsafe position. The aim of diagnosis is a confirmed first leak point. Ask the repairer to identify the evidence for the proposed gasket, seal, housing or other part. That is different from selecting the lowest oily component. Fel-Pro's leak checklist separates possible engine and drivetrain sources and records the reason for suspicion. The same discipline helps avoid replacing a low-mounted part that is only collecting oil from a leak above it.
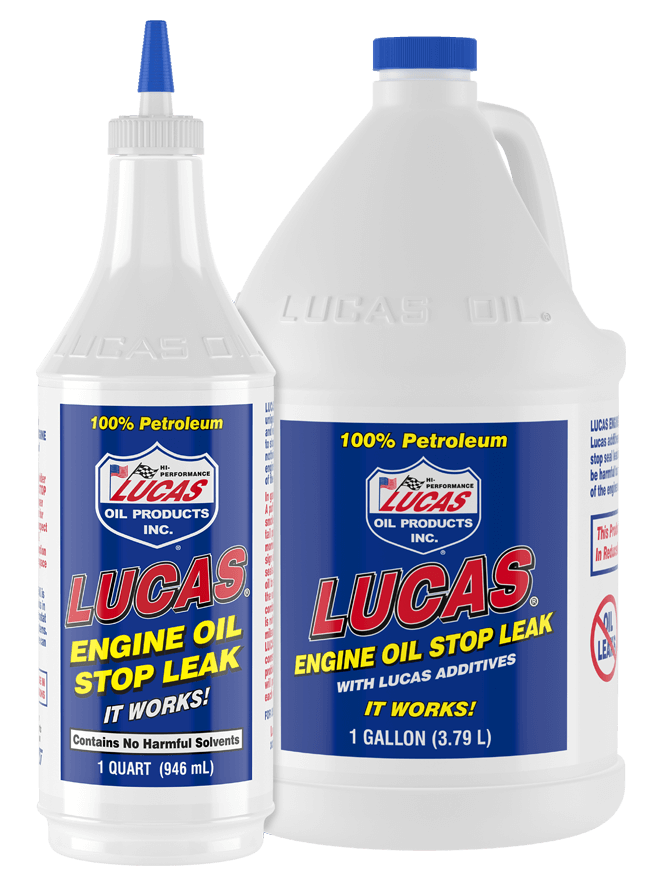
Credit: www.lucasoil.com
Trace the leak and repair the confirmed cause
A controlled cleaning and reinspection process can help separate old residue from fresh leakage. Use products and methods suitable for the engine area and protect electrical components and other sensitive surfaces. The engine should only be operated for diagnosis when it is safe to do so under the applicable procedure. If dye is used, it must be appropriate to the fluid and system and applied according to instructions. The purpose is to reveal the source, not to create a new contamination problem or assume that every fluorescent trace identifies the current leak. Common possible sources include the drain-plug sealing arrangement, filter or filter housing, valve-cover area, oil pan and crankshaft or camshaft seals, depending on the engine. This is a checklist of possibilities, not a ranking that identifies your fault. Fel-Pro discusses several oil-leak sources and warns that indiscriminately tightening a valve cover can worsen distortion and leakage. Check the specific assembly rather than assuming that more torque restores an aged gasket. Some covers or fasteners have design features that make that approach particularly inappropriate.
For a leak related to recent service, inspect the actual filter, seal and drain arrangement using the vehicle's procedure. The repair may be straightforward, but it must still account for damaged threads, an incorrect part or a sealing surface problem. Do not tighten until the leak stops by feel. Excessive force can strip a threaded connection or deform a component, increasing the repair scope. The correct torque, replacement sealing parts and installation conditions come from the applicable service information, not a universal value for all oil filters or drain plugs. A gasket replacement also requires checking what it seals against. A damaged or distorted cover may prevent a new gasket from working correctly. Surface preparation, sealant selection and any curing requirements depend on the specific design. Do not apply sealant everywhere as extra protection. Excess material or the wrong product can create further problems, while a gasket intended to be installed under defined conditions should be treated accordingly.
Ask whether the repair includes inspection of the mating parts and the correct preparation rather than only the cost of the gasket itself. A seal leak can have contributing conditions that deserve assessment. The technician may need to check the surrounding component, shaft surface or relevant ventilation system according to the vehicle procedure. Replacing the visible seal without addressing a confirmed contributor can lead to recurrence. Do not infer such a cause from the existence of a leak alone, however. The useful repair explanation identifies what was found and how it affects sealing. This keeps the work evidence-based instead of turning every leak into a blanket recommendation for unrelated parts. Stop-leak additives are not a universal repair for cracked housings, damaged threads, incorrect installation or a failed sealing interface. Before adding any product, check the vehicle manufacturer's instructions and the product's actual application.
An additive claim does not establish that it is suitable for your engine or the cause of your leak. A temporary change in the amount of visible oil also does not prove that the underlying condition has been corrected. Prefer a diagnosis that identifies the escape point and an appropriate mechanical repair over an experiment that makes later evidence harder to interpret. Do not change oil viscosity merely to hide leakage. The engine still requires the correct lubricant specification. A thicker product may alter visible symptoms while failing to repair the source and may be unsuitable for the application. Likewise, repeatedly topping up without tracking the amount can conceal an increasing loss. If the vehicle is awaiting repair and the manual allows a level correction, record the product and quantity added and follow the warning instructions. Hyundai's oil-pressure guidance illustrates why a pressure warning demands a response beyond simply assuming a top-up makes continued driving acceptable.
Keep external leaks separate from oil consumption. A falling level with no visible external source may require a different investigation. Oil can also be retained by an undertray, so the absence of a driveway spot does not prove there is no leak. Describe the actual observations and let inspection distinguish the possibilities. Do not authorize a major internal repair solely because no puddle is visible, and do not assume every low-level event is caused by the wettest exterior surface. When requesting an estimate, ask the shop to separate diagnosis, access labor, replacement parts and verification. A low-priced gasket can require substantial access work, while an easily reached service seal may be a different job. Comparing quotes without the confirmed source can therefore be misleading. If additional leakage is found during disassembly, request an explanation and updated scope before assuming the original estimate covered every oily area on the engine.

Credit: www.stp.com
Verify the repair and monitor the correct evidence
After the confirmed repair, the affected area should be cleaned appropriately so fresh leakage can be distinguished from old residue. Check the level through the specified procedure and complete the required verification under safe conditions. A brief look while parked may not reproduce a leak that occurred only after warming up or under another condition. Record what was checked and what remains to be observed. If old oil continues to drip from a panel, that needs to be distinguished from a new leak rather than used as automatic proof that the repair failed or succeeded.
Keep the repair description, parts and any photographs with the service record. If leakage returns, provide the timeline and level changes to the repairer. Ask whether the same source is active again or a different source has become visible. An engine can have more than one leak, but that should be demonstrated rather than assumed. Clear documentation helps compare the initial finding with the result and avoids repeating the same speculative replacement without checking why it did not resolve the complaint.
Handle collected oil and contaminated materials according to local rules. EPA's oil-handling guidance explains why oil should be kept out of drains and the environment. Prevent spills during inspection and do not wash residue into a street drain. The completed job should leave the correct oil level, a repaired source, clean enough surfaces for verification and a clear follow-up plan. That is a meaningful way to stop an oil leak; an unexplained temporary reduction in dripping is not the same result.


Automotive reference information. Confirm specifications in the manual for your exact vehicle. Original replacement guides link to their research sources. About us


