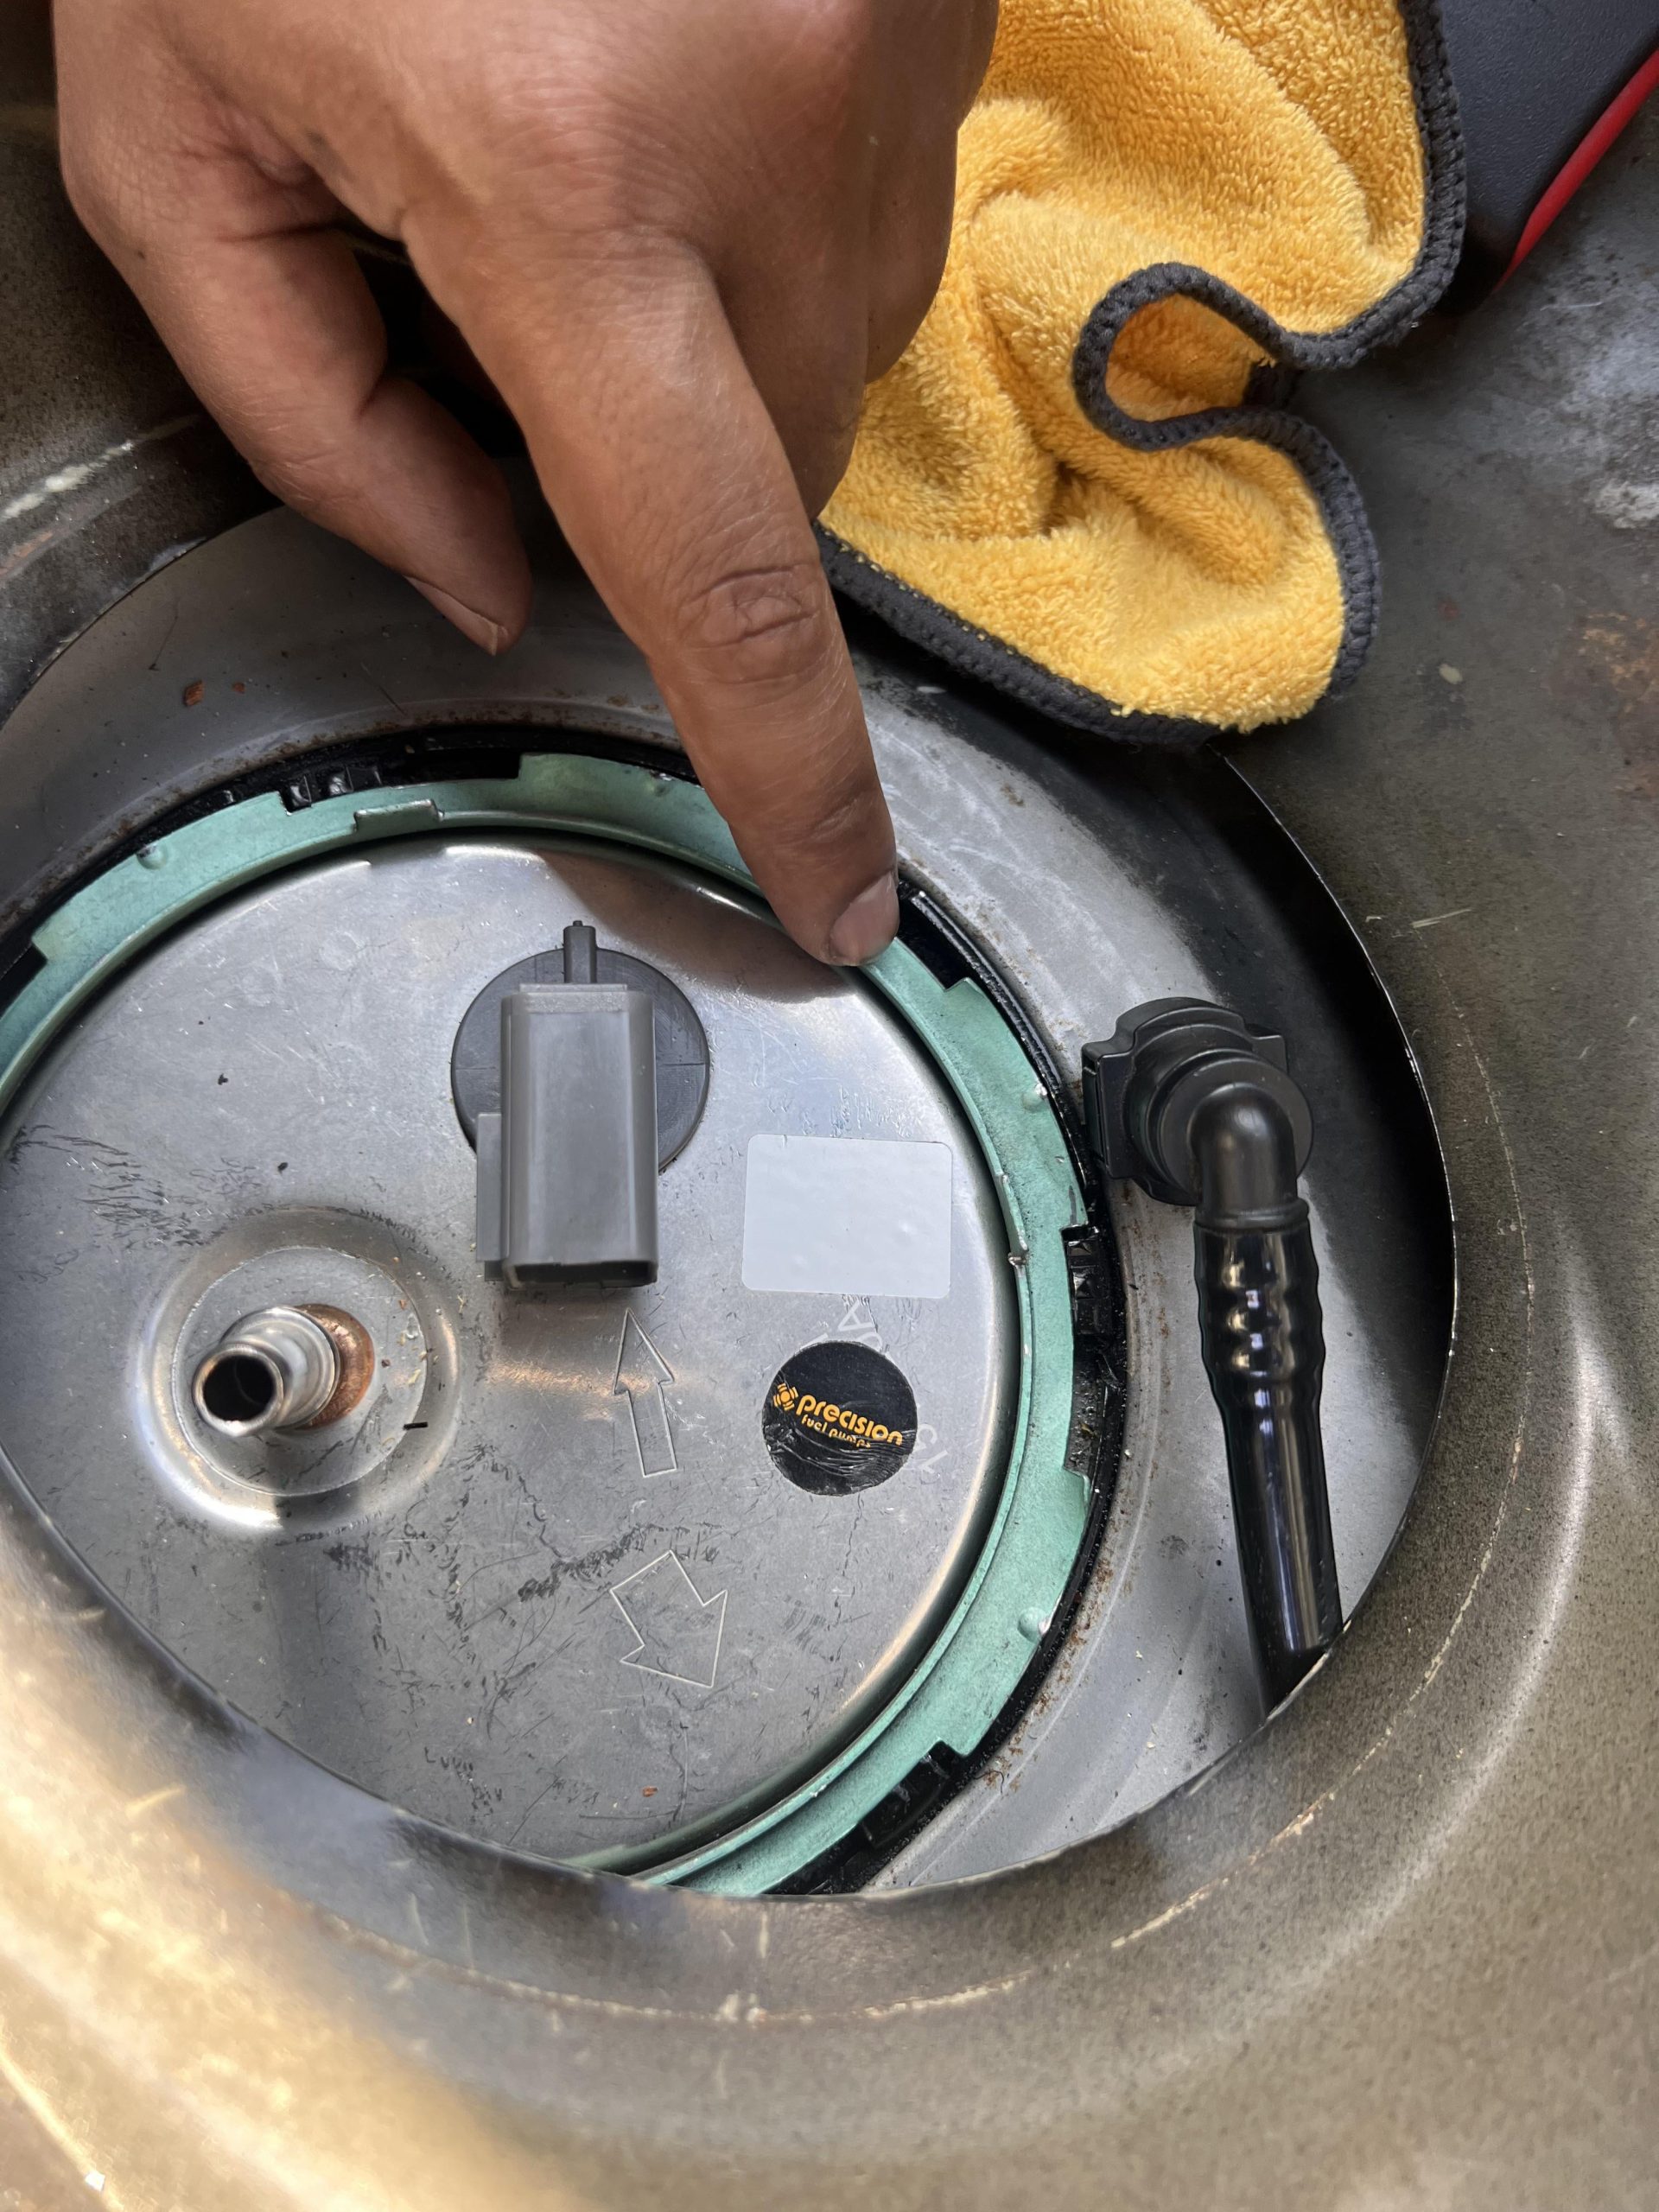

Tighten a fuel-pump retaining ring according to the exact tank and module design. Some assemblies use a threaded ring with a specified torque; others use a locking arrangement with a defined seated position. A generic instruction to hammer it tighter or keep turning until it feels secure can damage the ring, module or tank flange.
Before applying force, confirm that the replacement module and seal are correct, the sealing surfaces are clean and the assembly is aligned. If the ring becomes unusually difficult to engage, stop and check the fit rather than trying to overcome the resistance. This is a fuel-system sealing job, not merely a loose-fastener problem.
The procedure must also cover pressure relief, electrical isolation, vapor control and a final leak check. The information below helps you understand and review that procedure; it does not supply a torque value that could safely apply to every vehicle.
Credit: www.youtube.com
Identify the locking design and solve fit problems first
A retaining ring normally holds the pump module against the tank opening while the specified seal provides the actual sealing interface. Confusing those functions encourages overtightening: more force does not repair a pinched seal or a cracked flange. First identify the ring in the service drawing. Determine whether it threads onto the tank, rotates beneath locking tabs or uses another arrangement. Similar-looking parts can have different engagement requirements. A photograph from another model year should not override the instructions for the tank installed on your vehicle. The replacement module must also match the application. Compare the catalog information, module number and any supplied installation instructions before opening packaging that affects return eligibility. A small difference in flange height, orientation or spring arrangement can prevent proper seating even when the electrical connector looks familiar. The module is not confirmed correct merely because it fits through the tank opening.
DENSO: fuel pump types and applications describes application-specific pump products, which is a reason to verify the complete fitment rather than select by appearance alone. Use the specified new seal when the procedure requires one. Check that it is the correct profile and size, not just an O-ring that stretches around the opening. A seal can sit partly outside its groove and make the module appear too tall. Old seal material, dirt or corrosion can also prevent an even seat. Clean the area using the method permitted for the tank and fuel system. Keep removed contamination out of the opening. Do not use a lubricant, adhesive or sealant on the seal unless the applicable instructions expressly call for it. A module may need a particular orientation so its pipes, sender arm and electrical connector sit correctly.
Locate the alignment marks before pressing it into place. Forcing a misoriented assembly can stress a fitting or leave a float arm obstructed. A correct fuel-level reading after installation is a separate check from whether the engine starts. If the ring appears to fit only when the module is turned away from its required alignment, investigate the mismatch. Do not rotate the module simply to make the ring easier to engage. Some modules are spring-loaded and need controlled downward positioning during installation. The specified method should explain how to seat the assembly without trapping the seal or loading fragile fittings. Pressing on a plastic outlet or using a fuel line as a handle is not an acceptable substitute. A helper or the correct tool can make it easier to maintain even positioning where the procedure permits.
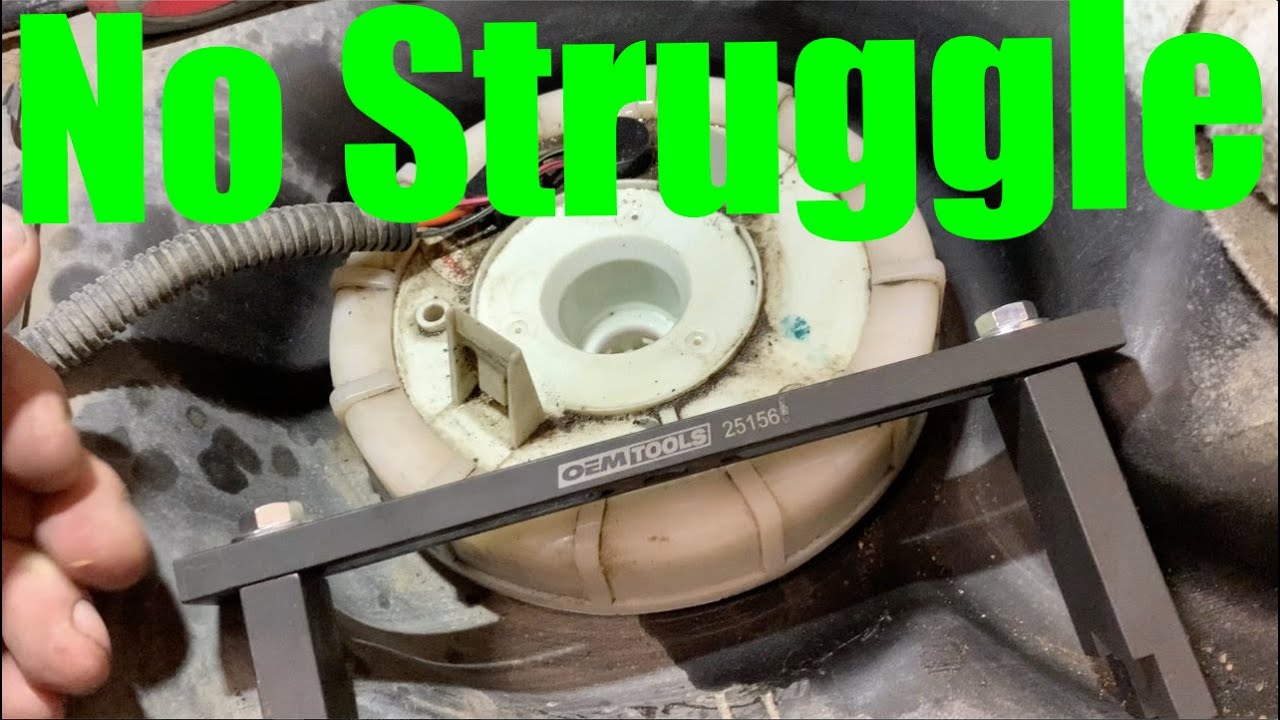
If excessive force seems necessary, withdraw and inspect the seal and alignment instead of using the ring to pull a crooked module into place. A threaded ring should engage as intended before final tightening. Resistance at the beginning can indicate cross-threading, contamination or a mismatched part. A locking-tab ring likewise needs all engagement features positioned correctly; partial engagement can look secure from one angle while leaving another section unseated. Carefully inspect the entire accessible ring circumference to the extent the access permits. If visibility is poor, improve the approved access rather than assuming that the side you can see represents the entire ring. The appropriate service tool applies force to the ring's intended features. It is selected for the ring design and access arrangement, not merely for maximum leverage. Improvised striking tools can deform tabs, damage plastic or create an ignition hazard around fuel vapor.
Do not apply heat to free or seat a retaining ring. If corrosion or damage prevents correct engagement, replacement of the affected component may be required. A ring with broken or bent features should not be treated as reusable simply because it can still be turned. The tank flange matters as much as the removable ring. Cracks, severe corrosion or distorted locking features can defeat a new ring and seal. If the flange is damaged, establish the approved repair or tank replacement path. Adhesive around the outside is not proof of a fuel-tight, vapor-tight repair. Similarly, an evaporative-emissions fault after pump work should not be dismissed just because no liquid fuel is dripping. The sealing system must perform under its designed operating conditions, including conditions that are not reproduced by an empty tank in the workshop.

Credit: www.reddit.com
Tighten to the documented endpoint and verify the seal
Obtain the tightening specification before starting the final installation. For a torque-controlled ring, use the specified tool and account for any adapter arrangement as the tool instructions require. For a positional lock, identify the manufacturer's seated or locked reference. Do not substitute a torque number from another model for a design that is verified by engagement position. Conversely, do not use a paint mark from the old installation as the sole endpoint where a torque procedure is specified. The old assembly may have been incorrectly installed. DENSO: fuel pump installation and troubleshooting describes using a new tank seal and checking fuel-line connections and leakage during installation. Its instructions support careful sealing and verification, but the actual retaining-ring procedure still comes from the vehicle application. This distinction prevents a general installation guide from being mistaken for a universal specification. Keep the relevant service page available during the work so that the ring, seal and module are installed as one system rather than as separate guesses. Before energizing the system, confirm that all disconnected lines and connectors have been restored correctly. Quick-connect fittings need their specified engagement checks and any required new retaining components. A secure ring cannot compensate for a poorly connected outlet line. Restore tank mounting, shields and insulation according to the removal procedure.
A hose trapped between the tank and body can create a problem that is not visible from the access opening. Check the route before tightening the surrounding structure. Perform the prescribed leak test in the proper sequence, using the intended priming or activation method. Stop immediately if fuel appears or a strong abnormal odor develops. Do not continue cycling the pump to see whether a leak will seal itself. Depressurize and isolate the system again before correcting the fault. The inspection should distinguish leakage at the ring seal from leakage at a pipe fitting, module flange or adjacent hose. Those locations require different remedies, and tightening the ring further may make the wrong problem worse. If the vehicle uses an interior access cover, reinstall its seal and fasteners as specified. That cover is not a substitute for a sealed module, and it should not be used to hide a persistent odor. A smell entering the cabin after pump replacement needs prompt investigation. Report whether it changes after refueling or when the vehicle is parked at an angle, but do not deliberately overfill the tank to reproduce it. Give the workshop the observation and let the documented leak-testing method determine the next step.
A module that was replaced because of contamination also needs the underlying cause addressed. Delphi: analysis of failed fuel pumps shows why pump failures can involve the tank, lines or electrical connections rather than only the removed pump. For this retaining-ring task, the useful consequence is to inspect and document the condition encountered while access is available. It is inefficient to seal a new assembly into an unresolved contamination problem and then repeat the same work. Do not, however, turn inspection into unsupported disassembly of a sealed new module. When reviewing a workshop invoice, look for the module application, new seal, any replacement ring and the leak-verification result. Ask for clarification if the explanation is only that the ring was tightened more. A persistent leak needs a location and cause. If the tank flange was damaged, the repair record should explain how that was resolved. These details make the repair understandable without requiring you to know a universal torque figure that does not exist. The right endpoint is a correctly matched and aligned module, an undamaged specified seal, full ring engagement or the required torque, and successful post-installation verification. If any of those conditions is missing, additional force is not the answer. Stop, identify the fit or sealing defect and correct it before returning the vehicle to service.


Automotive reference information. Confirm specifications in the manual for your exact vehicle. Original replacement guides link to their research sources. About us


