Some tie rod adjustment connections use left-hand threads, but not all tie rod ends are reverse threaded. Identify the particular threaded connection before turning it. The side of the vehicle alone is not a dependable way to determine thread direction.
Also distinguish the adjustment thread from the nut on the tapered stud. They are separate features. Learning that one connection is left-hand threaded does not prove that every fastener on the same part uses that direction.
Right-hand and left-hand describe the thread helix
For a conventional right-hand threaded nut viewed from its accessible face, counterclockwise rotation loosens it. A left-hand thread reverses that relationship. The viewpoint matters when describing rotation from the opposite end of a rod.

Credit: us.amazon.com
Before applying force, make sure everyone describing the procedure means the same connection and viewing direction. “Turn it left” can be ambiguous when one person is looking at the nut and another is looking along the rod from the other side.
Why opposite thread directions are used
Some linkage adjusters have opposing thread directions so rotating an adjuster changes the overall assembly length. Other designs use a different adjustment arrangement. A general illustration of one system cannot establish the threads on another.
MOOG’s bulletin25522 for specified older GM applications identifies a left-hand threaded end on its particular adjusting stud. That is evidence of a specific design, not a rule that every GM tie rod or every inner end is left-hand threaded.
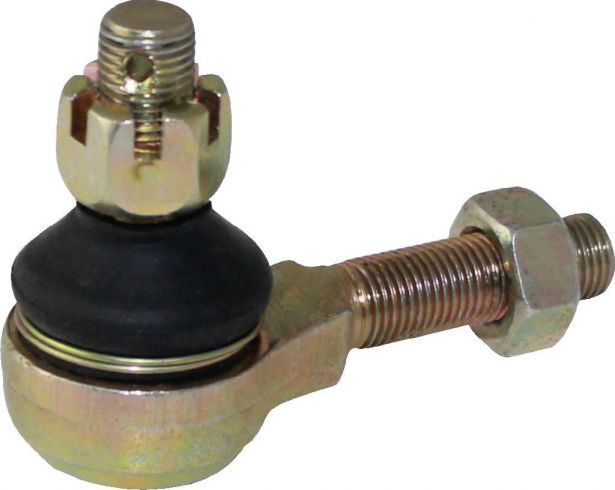
Credit: www.multinationalparts.com
Confirm using the actual application information
Use the vehicle repair procedure and the replacement-part catalogue. MOOG’s catalogue glossary distinguishes right-hand and left-hand thread descriptions, showing why thread hand is an explicit specification rather than an assumption based on a photograph.
A part number’s L or R suffix may describe vehicle position, thread hand or another catalogue convention. Read the manufacturer’s definition instead of guessing. A groove or marking can identify a feature on one design but may not have the same meaning on a different product.
If a connection will not move, stop guessing
Resistance can come from corrosion, a locking device, damage or an incorrect turning direction. Applying a longer bar without resolving those possibilities can damage the threads or load other steering parts. A seized connection is not proof of reverse threading.
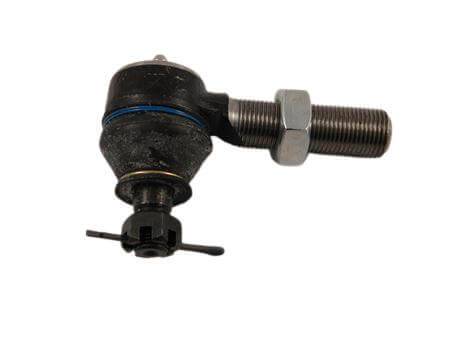
Credit: www.wfoconcepts.com
Identify any locknut or clamp that must first be released and follow the specified holding method. Avoid transmitting adjustment force through a vulnerable joint or rack. The stuck tie rod guide covers controlled diagnosis of a resistant connection.
Do not force a replacement to prove the thread direction
A correct-looking replacement can still have the wrong thread diameter, pitch or hand. If it does not engage correctly, stop and verify the catalogue application and part identity. Cross-threading is not an acceptable way to discover a mismatch.
Keep the old component available for comparison, but do not assume it is correct simply because it was fitted previously. If the vehicle has modified steering or a replacement rack, identify those changes before relying on an original-equipment listing.
Thread direction is only one part of the repair
Correctly loosening the part does not establish the final adjustment or tightening specification. Preserve a reference position only as an assembly aid and follow the required alignment procedure after replacement or adjustment.
Document the confirmed part and thread specification if the job required unusual identification work. For the wider process, see outer tie rod removal and replacement checks. That keeps a correct thread-direction answer from being mistaken for a complete steering repair.


Automotive reference information. Confirm specifications in the manual for your exact vehicle. Original replacement guides link to their research sources. About us