Fit a brake-pad retaining clip only after identifying its function and the correct installation diagram for the vehicle. There is no single clip orientation or fitting technique that applies to every caliper. If the piece does not seat as shown, stop and resolve the mismatch before driving.
This guide explains the checks that prevent common hardware mistakes. It does not replace the vehicle procedure for lifting, caliper removal, electronic parking-brake service mode, fasteners or final brake testing.
Identify the hardware before removing it
A carrier abutment clip, outer anti-rattle spring, pad-retaining pin lock and wear indicator are different parts. Compare the kit contents with its instructions. For identification, see the brake-clip identification guide.

Credit: www.reddit.com
Photographs of the original assembly can help, but compare them with the authoritative diagram. An earlier repair may already have placed a clip incorrectly or omitted hardware.
Prepare the vehicle and reference information
Use the vehicle service information, safe lifting points and appropriately rated supports. Allow the brakes to cool and follow any required parking-brake deactivation procedure. If you cannot safely expose the assembly or identify the correct hardware, use a qualified repairer.
The Brembo fitting sheet shows why the small components must be interpreted in relation to a specific assembly. Obtain the instructions matching your actual pad kit and caliper rather than copying a diagram from a similar-looking brake.
Inspect the supporting surfaces
Check the carrier or retaining features for corrosion, damage and remnants of old hardware. Do not stack new clips on old clips. Avoid uncontrolled dust removal; use the vehicle’s specified cleaning method and appropriate exposure precautions.
Corrosion under a clip can affect fit. Do not compensate by cutting away the clip or grinding a new pad until it slides. Determine whether cleaning, correct replacement hardware or component replacement is required.
Seat the correct piece in its specified position
Match any inner, outer, left or right distinction in the instructions. Ensure tabs enter their intended features and the clip sits fully home. A spring that appears to fit backwards may still apply force in the wrong direction.
Use only the manipulation described for that component. Do not flatten spring features to make installation easier. If the kit differs from the removed parts, verify the part number and design revision with the supplier.
Lubrication is a separate instruction
A retaining clip does not mean every surface needs grease. Follow the brake and pad manufacturer’s directions for the particular contact point. Keep lubricant away from the friction faces and rotor.
Wagner’s noise guidance includes pad designs with special insulator restrictions. For selecting a compound and avoiding over-application, see brake-pad lubricant selection and placement.
Check movement and clearance before final assembly
Confirm that the pads sit correctly and move as the design requires. Check that no unintended edge or tab can scrape the rotor. If the pad is jammed, a clip sits proud or a locking feature is missing, do not proceed on the assumption that driving will settle it.
Complete the entire service procedure with specified fasteners, torques and any one-time-use parts. Restore normal pedal operation before moving the vehicle where the procedure requires it.
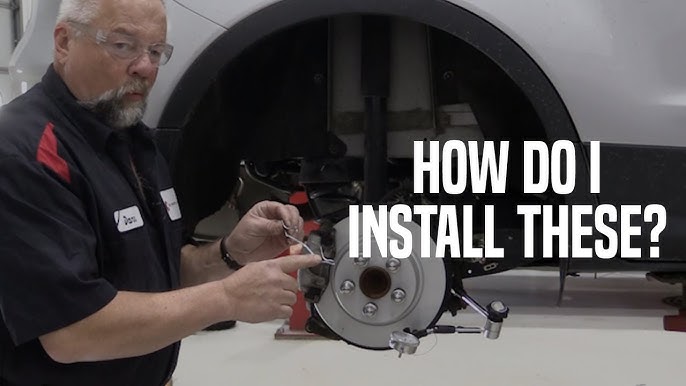
Credit: www.youtube.com
Investigate a new noise immediately
A fresh scraping sound, abnormal drag or unequal heat after the work calls for inspection. Do not bend an unidentified tab away merely to silence it: first determine whether it is misinstalled hardware or a correctly functioning wear indicator.
A successful installation is the correct hardware securely seated in the correct assembly, not simply the absence of spare parts on the bench. If any position remains uncertain, obtain technical confirmation before road use.


Automotive reference information. Confirm specifications in the manual for your exact vehicle. Original replacement guides link to their research sources. About us