
Why caliper lubrication needs a location-specific plan
Lubricating a brake caliper does not mean coating the assembly with grease. Certain sliding or contact points may require a specified product, while friction surfaces must remain uncontaminated and some designs have different or dry-running arrangements. The correct answer depends on the vehicle, the caliper design and the exact location being serviced. Read the vehicle and component instructions before choosing either the lubricant or the application point. A product advertised for brakes is not automatically suitable for every rubber bushing, metal contact or hydraulic component on the car.
This distinction matters because the caliper must both apply and release correctly. On a floating design, restricted guide movement can interfere with normal operation, but extra grease is not a universal cure. Corrosion, damaged boots, worn parts, incorrect assembly or hydraulic pressure that does not release may need separate diagnosis. HELLA’s guide-pin guidance explains the importance of free movement and compatible lubrication for the arrangement it describes. It also supports inspecting the parts rather than treating lubrication as a substitute for repair.
If a wheel is overheating, the vehicle pulls sharply, fluid is leaking or braking has changed significantly, stop using it and arrange assessment. Do not smear grease around a suspect brake and drive to see whether the symptom improves. For an owner planning maintenance, the useful questions are where the instructions call for lubricant, what specification is required and what condition checks come first. This article explains those decisions. It does not provide a universal torque, grease quantity or service sequence that fits every caliper.
Map the permitted contacts before applying anything
Begin by distinguishing the friction surfaces from the supporting components. The rotor’s braking faces and the pads’ friction material must remain free from grease or anti-seize. Lubricant there can impair braking, so never use it to silence contact between a pad and the rotor. If contamination occurs, follow the component maker’s assessment and replacement instructions. Do not assume that wiping a pad or spraying it once restores its friction characteristics. Brembo’s installation guidance specifically warns against lubricants reaching braking surfaces.
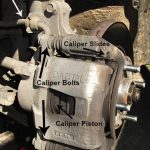
- Next identify the guides, where fitted. A floating caliper may slide on pins or another guided arrangement, and the materials can include protective boots, sleeves or damping bushings. The service instructions determine which surfaces receive lubricant and which product is compatible. A pin that looks metallic from the outside may work with a rubber component deeper in the assembly. That makes product compatibility more important than a general claim of high-temperature performance. Some arrangements have special lubrication restrictions, so copying the method used on a different vehicle is unreliable.
- Pad support or backing contacts are another category. Where instructions specify lubricant at these interfaces, apply only the named product at the named locations and in the specified amount. Do not coat the whole backing plate or fill hardware channels simply because a previous brake job used that approach. Shims and noise-control features can have their own installation requirements. A pad that binds because corrosion has changed its fit needs proper inspection and correction, not a thick layer of grease to force it into movement. Hardware must seat and operate as designed.
- Keep hydraulic seals and piston service separate from external lubrication. Ordinary guide grease is not a general-purpose fluid or assembly aid for the hydraulic circuit. Do not inject lubricant beneath a piston boot to treat a suspected seizure. That can conceal the condition and may introduce incompatible material. A damaged or sticking piston needs the approved inspection and repair process. Likewise, grease on a hose fitting does not repair a fluid leak or replace the correct sealing parts.
If a connection is wet with brake fluid, diagnose and repair it before considering routine lubrication. Threads deserve their own instruction. The tightening specification may assume a particular surface condition, and adding grease or anti-seize can change how the joint behaves during tightening. Do not lubricate caliper mounting bolts simply to make them easier to remove next time unless the applicable instructions require it. Use any specified new fasteners or locking treatment exactly as directed. A guide pin’s sliding surface and its bolt threads are not the same service location.
- Keeping that distinction clear prevents a valid lubrication instruction from being applied to the wrong part. Before dismantling, record the arrangement and obtain the correct service information. Pins, clips and boots that look similar may differ in position or function. Our guide to guide-pin position explains why an assumed top-and-bottom rule is not enough. If electronic parking-brake components are involved, follow their service-mode requirements before moving the assembly. Lubrication work does not justify bypassing those controls or using a motor as a makeshift retraction tool.
- During inspection, look for damaged boots, corrosion, worn surfaces and evidence of incorrect previous products. Clean only by methods compatible with the parts, keeping debris away from hydraulic openings and seals. Replace components that fail the applicable condition criteria rather than hiding defects under fresh grease. Where approved lubrication is required, use a controlled application instead of packing every available cavity. Excess material can migrate or interfere with components, while an unsuitable product can damage protection even if the first movement feels smooth. HELLA’s caliper guidance is one manufacturer resource for checking installation and compatibility considerations; the specific vehicle procedure remains essential.
- After reassembly, verify the intended movement and correct seating of protection and hardware. A twisted boot, trapped seal or incorrectly located guide can undermine the work despite the correct lubricant. Support the caliper appropriately during service so its hose does not carry the assembly’s weight. Do not press the brake pedal against an unsupported piston or incomplete assembly. If the hydraulic circuit was opened, the job also needs the specified fluid, bleeding and leak checks. Keep the scope clear: a grease service alone does not certify the complete brake system.
Check the result and avoid repeating the wrong repair
A successful service addresses the reason lubrication was considered in the first place. If routine maintenance revealed sound parts and the instructions called for a controlled application, document the product and locations. If there was dragging or uneven wear, confirm the fault and verify that its correction resolved the complaint. New grease is not evidence that a hose restriction, piston defect or pad-fit problem has disappeared. Our sticking-caliper diagnostic guide explains why similar symptoms can have different causes. Repeating lubrication without that distinction can delay the actual repair.
Do not judge the result solely by the absence of noise. A brake can be quiet yet fail to release properly, and noise can have causes unrelated to inadequate grease. The workshop should assess attachment, routing, leakage, appropriate pedal behavior and application and release using the vehicle’s requirements. Any controlled road verification comes after the static checks establish that the vehicle is ready. If a wheel continues to overheat or the vehicle pulls, stop and seek reassessment. There is no normal bedding-in period that makes an unresolved severe drag acceptable.
For future maintenance, follow the vehicle’s inspection schedule and investigate symptoms promptly. There is no defensible universal rule to regrease all calipers every few thousand miles regardless of design and condition. Repeated dismantling is not automatically beneficial, especially if it introduces dirt or damages boots. Record the lubricant used so the next technician can check compatibility instead of mixing unknown products. If the existing material cannot be identified, the service procedure should establish an appropriate cleaning and replacement approach. Do not combine greases on the assumption that two brake-labeled products must be compatible.

Credit: www.amazon.com
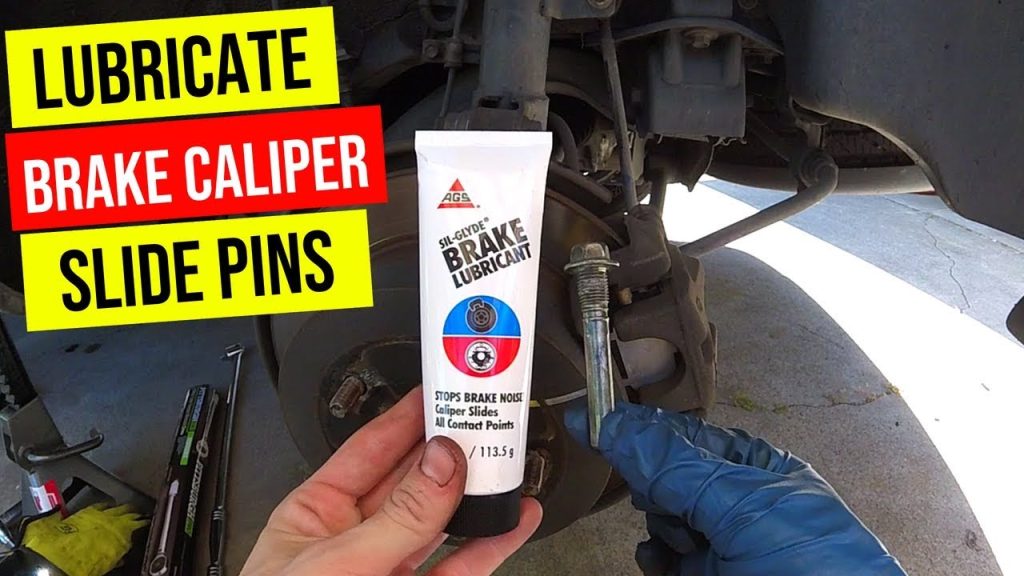
When purchasing a product, read the intended uses and exclusions rather than choosing by color. A ceramic label, silicone claim or extreme temperature figure does not by itself identify every approved application. Match the product to the manufacturer’s requirement for the actual contact and materials. If the documentation does not establish compatibility, ask the vehicle or component supplier for a suitable specification. Guessing is particularly unhelpful where a rubber sleeve or boot controls movement and protection. Our separate guide-pin lubricant guide focuses on product selection rather than the location map covered here.
If a shop recommends lubrication, ask which parts were inspected and whether anything needs replacement. A clear answer might identify serviceable guides and intact boots needing the specified maintenance, or damaged components that lubrication cannot restore. Ask whether the quoted work includes any required hardware and verification. The distinction protects you from both unnecessary replacement and incomplete servicing. It also makes later diagnosis easier if a symptom returns.
Keep the central rule practical: only the specified material goes on the specified contact, while braking friction faces remain clean and dry. Do not add lubricant to compensate for poor fit, corrosion, uncertain assembly or a leak. Correct inspection comes first, a controlled application follows where required, and verification establishes whether the original concern is resolved. That sequence is more useful than a generic instruction to grease the caliper, because it treats each part according to the job it actually performs. If you lack the service data or equipment to identify those locations confidently, have a qualified brake technician perform the work and explain the findings.


Automotive reference information. Confirm specifications in the manual for your exact vehicle. Original replacement guides link to their research sources. About us