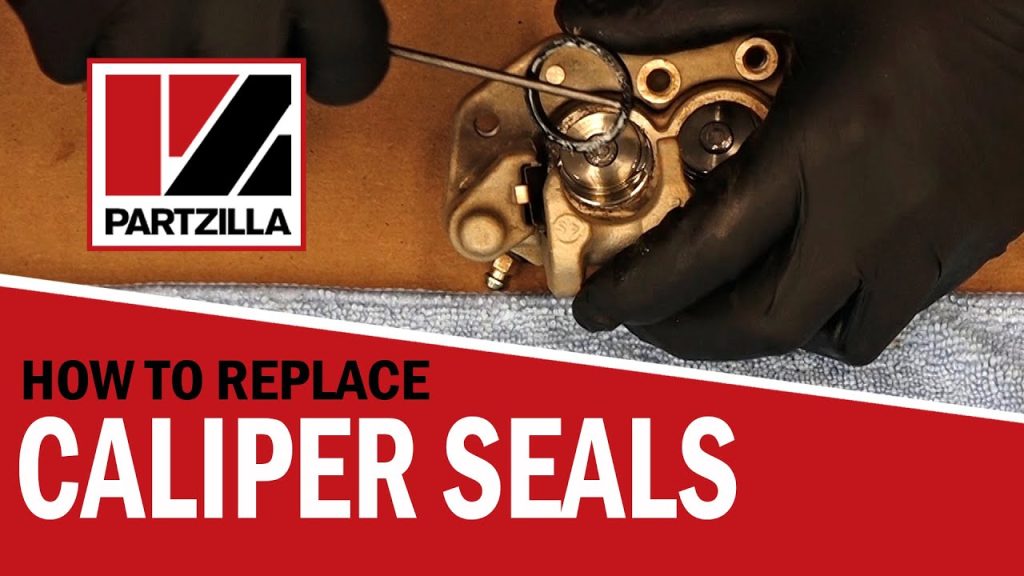

Replacing a brake-caliper piston seal is a hydraulic repair that requires the exact seal, an assembly approved for the proposed service and a verified repair process. It is not simply a matter of removing an old rubber ring and fitting one that looks the same. The piston, seal groove and surrounding parts must meet the manufacturer’s condition criteria, and the finished brake must pass the required checks.
A new seal cannot compensate for a damaged sealing surface or an incompatible component. First confirm that the leak or operating problem actually originates at the hydraulic piston seal. Fluid can appear around a caliper because of a hose connection, bleeder or another source, and a dragging brake may have a different cause entirely.
Do not dismantle the piston solely because the housing is wet or a wheel runs hot. If brake fluid is leaking or braking is compromised, stop using the vehicle and arrange safe repair or recovery. This guide explains the decisions and quality checks around seal replacement; the actual removal and assembly sequence must come from the identified caliper’s service instructions.
Hydraulic seals and protective boots perform different jobs
The pressure seal contains brake fluid while allowing the piston movement required by the caliper design. A dust boot or protective seal, where fitted, helps keep environmental contamination away from vulnerable areas. Those functions should not be confused when ordering parts or interpreting a defect. A torn boot does not automatically prove the hydraulic seal leaks, but it can justify further assessment of the protected surfaces.
Fluid emerging from the piston area is a different finding that needs its source confirmed. The term piston seal also does not describe one universal shape, size or material. Wilwood’s seal-kit catalog distinguishes piston and dust-seal products and includes application and fluid-related notes. Those distinctions show why diameter alone is not enough to establish compatibility.
Match the kit through the exact caliper identification and current manufacturer information. A seal from another model may appear similar while having an unsuitable section, material or intended operating environment. Brake-fluid compatibility matters at the assembly level. Do not choose a seal for one fluid type and change the vehicle’s fluid simply to make the purchase seem suitable.
The complete hydraulic system has its own required specification. Likewise, a product described as an O-ring is not automatically a substitute for a caliper’s specified piston seal. Hardware-store assortment boxes and approximate dimensional matches are not an appropriate parts source for this repair. Use documented components intended for the application.
Cleaning and assembly products also need to be compatible with the hydraulic materials. A grease approved for a guide pin does not automatically belong on a piston seal or in the fluid circuit. Some procedures specify an assembly fluid or paste at defined locations, while others give a different requirement. Follow the actual instructions rather than assuming any product labeled brake grease covers all uses.
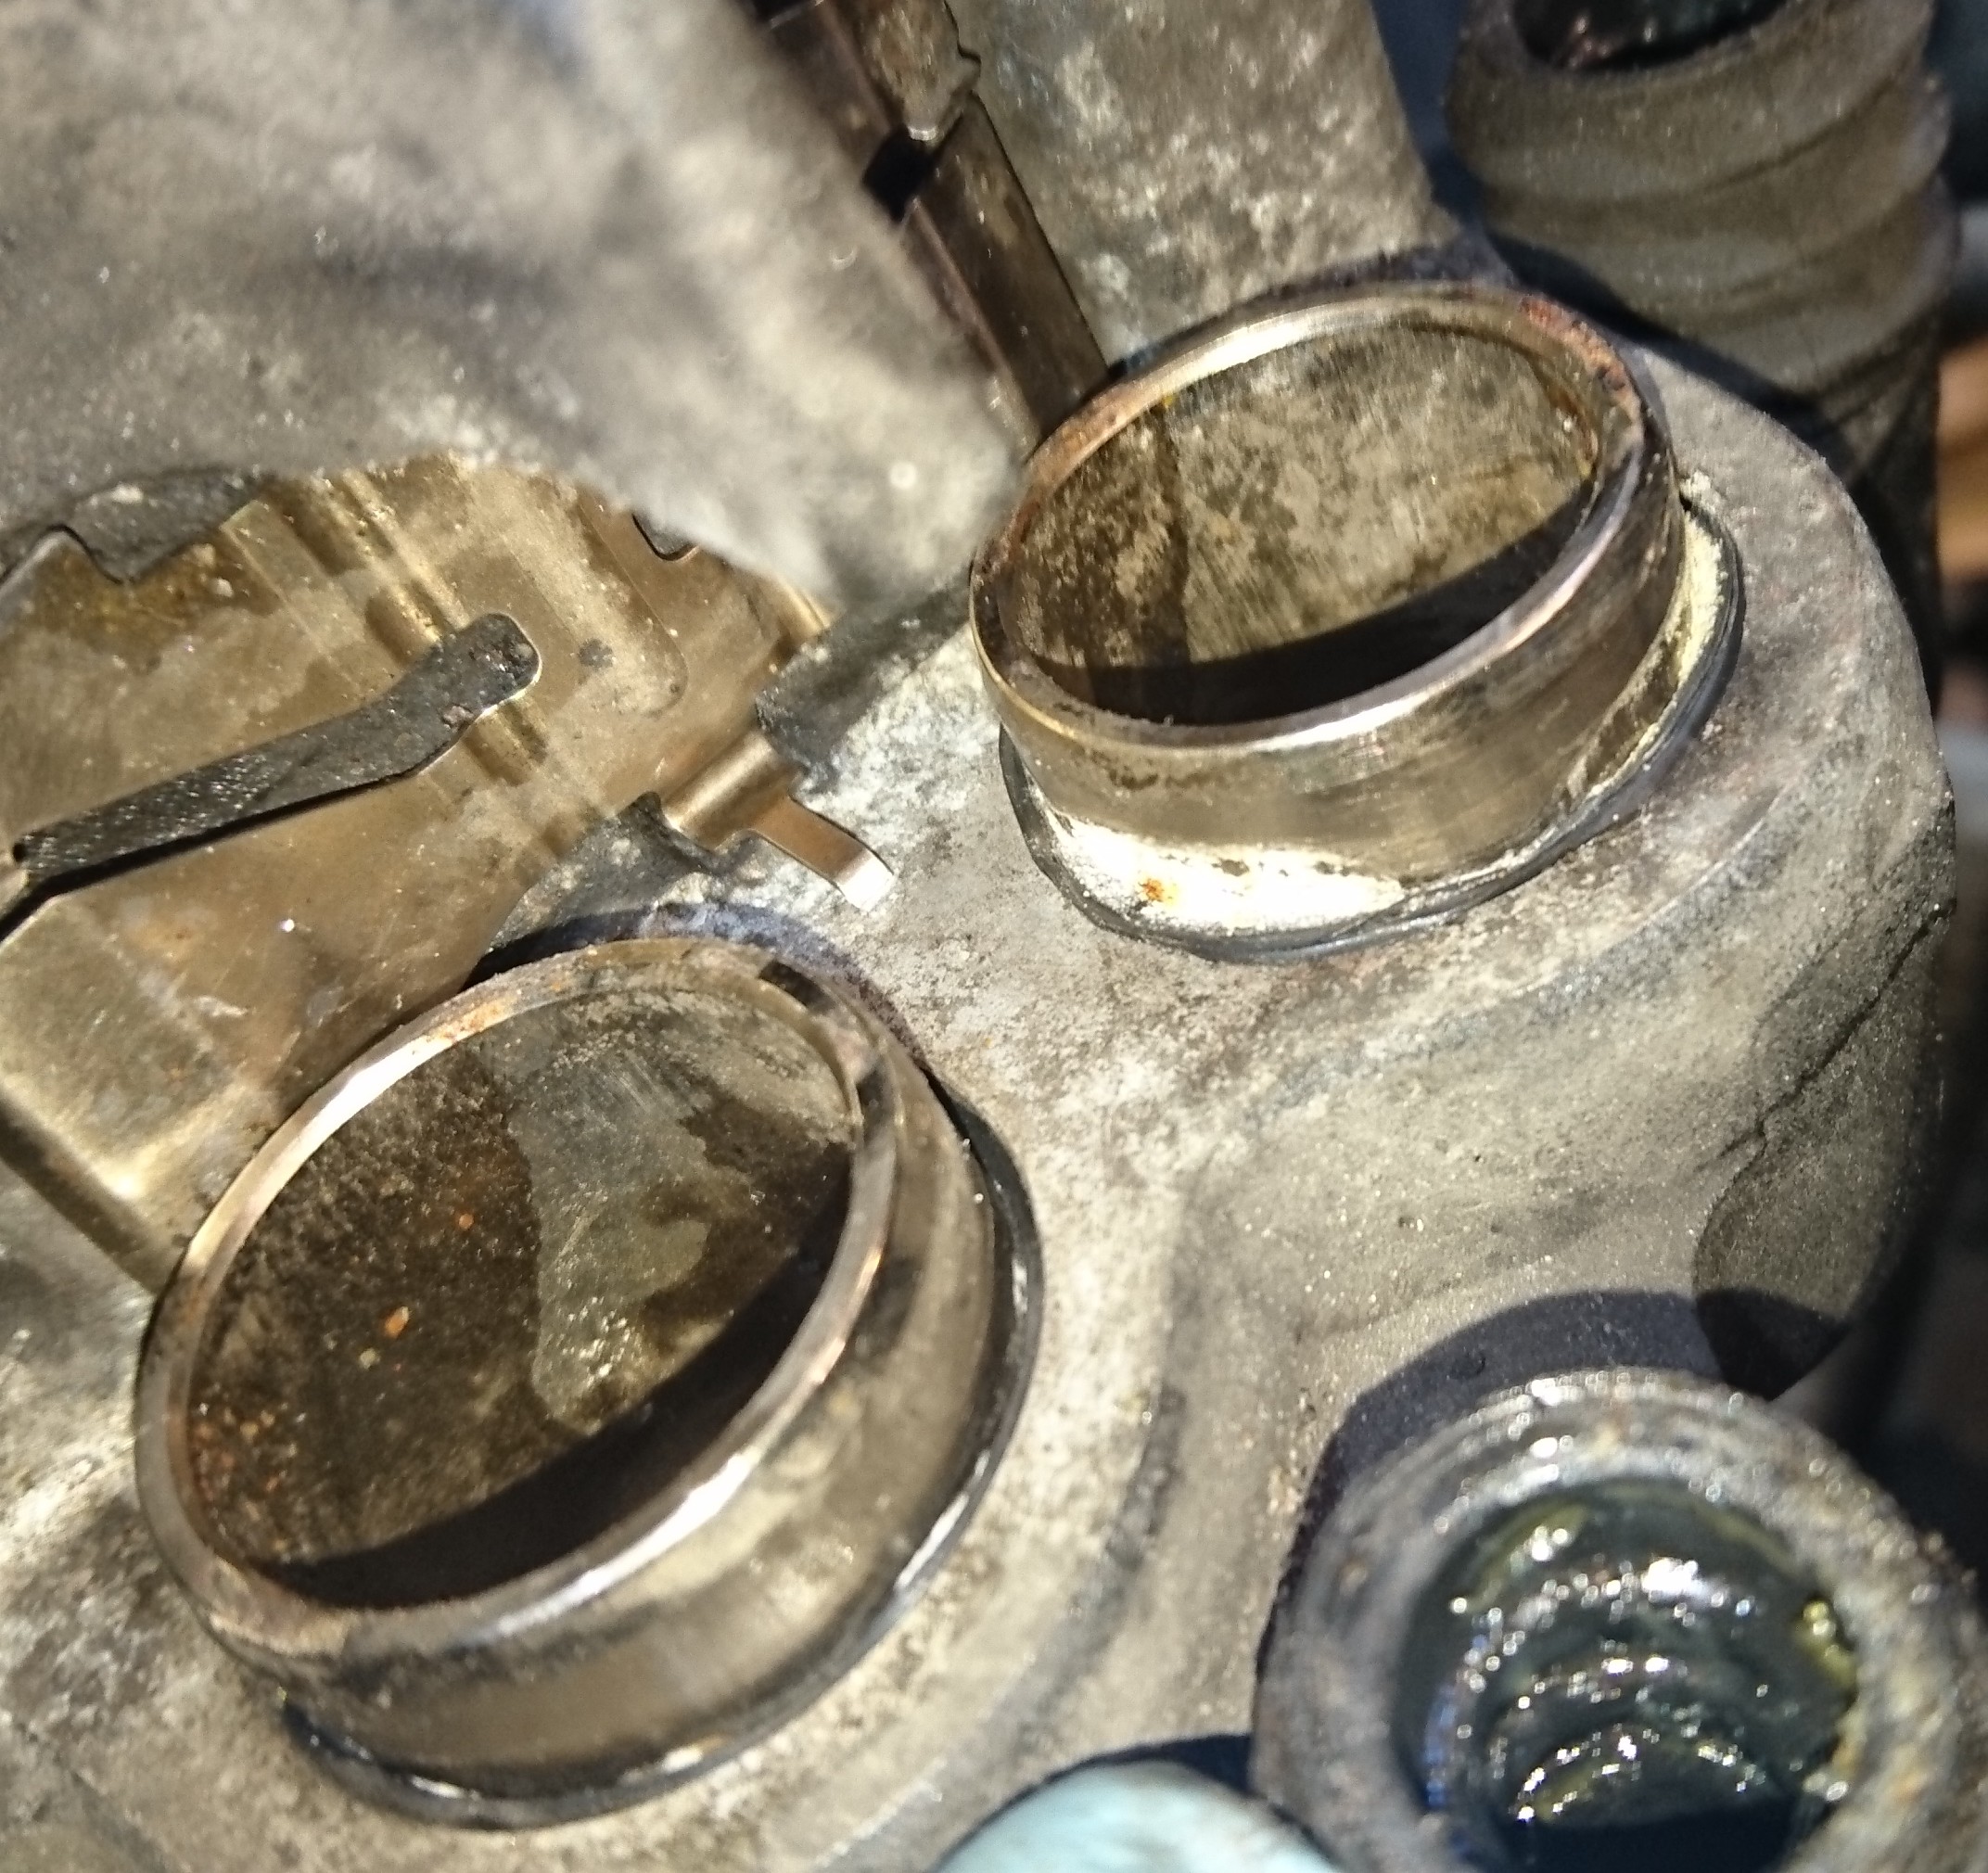
Our piston-lubrication guide explains the boundary between approved assembly treatment and an improvised attempt to free a sticking piston. The seal’s condition cannot be separated from the surfaces around it. Corrosion, scoring, damaged coating or debris in a groove may change whether a repair is possible.
| A new ring fitted over an unresolved defect may leak or operate incorrectly. Obtain the inspection criteria before disassembly so there is a clear decision point if the old parts fail. If the manufacturer does not support the proposed repair or the necessary limits are unavailable, consider a correctly specified replacement assembly instead of inventing an acceptable amount of damage. |
Confirm the fault and decide whether the remaining parts are reusable
Begin with an inspection that identifies the fluid source and the operating complaint. A hose fitting leak requires assessment of that connection; replacing a piston seal would not necessarily address it. A bleeder problem has its own sealing and service requirements. A caliper that does not release may involve guides, pad fit, parking actuation or retained pressure. Record the findings that specifically support a hydraulic seal repair rather than treating the kit as a diagnostic experiment. When the piston area requires service, the technician must identify the assembly and determine what disassembly is permitted. A casting mark may help locate the correct data without being the complete service part number. Vehicle options and previous conversions can make a simple model lookup incomplete. Multi-piston calipers may use different piston sizes within one body, so keep positions and matching components identified.
Do not transfer a procedure between similar-looking calipers without confirming that it applies. Wilwood’s published rebuild example identifies the caliper design being demonstrated and the related seal selection. Its guidance is useful as an example of a defined repair, not a universal compressed-air pressure or tool list for every assembly. Piston removal can release stored force, so unrestrained air and fingers in the travel path are unacceptable shortcuts. Use controlled equipment and the actual removal procedure. If that cannot be done safely with available tools and experience, have a brake specialist perform the work. Once the approved disassembly and cleaning stages expose the parts, inspect the piston, bore, grooves and protective interfaces against the applicable criteria. Do not assume sanding or honing is allowed for every surface and material. Making a damaged surface feel smooth can remove material or coating needed for correct operation.
A photograph or a finger test alone cannot replace required dimensional or condition checks. The inspection may reject the piston, the housing or another component even when a seal kit is available. Compare repair and replacement using that actual condition. Brembo’s repair-kit overview describes supported component repair options, but availability of a kit does not certify the old body for reuse. A rebuild estimate should explain which parts remain serviceable and which are renewed. If new damage is found after dismantling, update the repair plan rather than forcing the original kit to remain the answer. For broader package and cost questions, see the caliper rebuild-kit decision guide. This article concerns the sealing repair itself once its need and feasibility are established.
Control assembly, contamination and verification as one repair
Prepare a clean work area and keep the new seals protected until the prescribed assembly stage. Verify part identity again before installation, including any size or position differences within the caliper. Avoid contamination from general-purpose solvents, lubricants, dirty tools or drained fluid. The hydraulic opening and removed components should be protected using suitable clean equipment. The repair should not introduce material that was absent from the original fault. Install the seal using the specified orientation and method.
Do not twist, trim or stretch a component beyond what the procedure permits to make it fit. If a seal will not seat correctly, stop and recheck its identity, groove condition and installation method. Additional force is not proof of a correct match. Protect the sealing surfaces from sharp tools and avoid damage while positioning the piston. Any assembly lubricant or fluid must be the specified product in the specified amount and location.
The piston must enter and move as intended without compromising the new seal or protective components. Resistance can indicate an incorrect approach, mismatched part or remaining defect. Do not declare success simply because a clamp eventually drives it inward. A visibly pinched or damaged seal needs the appropriate corrective action before the assembly proceeds. The complete repair process should establish that the parts are correctly seated, not merely hidden from view after assembly.
Do not disturb body joints, bridge bolts or parking-brake mechanisms unless the approved procedure explicitly includes them. An external hydraulic seal repair does not authorize arbitrary splitting of a multi-piece body. Integrated parking mechanisms may require additional knowledge, components and checks beyond the piston seal itself. If the original complaint includes a parking fault, confirm whether the proposed repair addresses it. A pressure seal kit may not contain anything relevant to that mechanism.
Credit: www.aberdeenbikers.co.uk
Complete any bench checks required by the caliper manufacturer or qualified rebuilder. A clean exterior and a piston that moves by hand are not a full functional assessment. Ask what inspection or test establishes the assembly’s readiness for refitting. Document rejected parts and replacement identifiers. That record provides more useful evidence than a general description that the caliper was rebuilt.
Refit using the correct mounting hardware, hydraulic sealing components, routing and tightening instructions. Brembo’s fitting guidance separates those installation responsibilities from bleeding and final checks. Use the actual vehicle procedure where it differs or adds electronic requirements. Do not let the hose carry the caliper’s weight during installation, and verify that neither hose nor wiring is strained or twisted afterward. A rebuilt hydraulic unit can still be installed incorrectly.
Bleed and restore the system under the specified method, keeping the correct fluid supply and completing any required electronic routine. Then inspect for leakage under the prescribed stationary conditions and confirm appropriate pedal behavior. Verify application and release as well as any disturbed parking function. Do not use a road test to compensate for an unresolved leak or incomplete hydraulic service. The vehicle should remain out of use until the required checks pass.
If leakage or abnormal movement remains, revisit the source, component condition and assembly rather than adding sealant or tightening unrelated fasteners. A repeated symptom is evidence that the repair has not been validated. If overheating occurred before service, assess affected friction parts and nearby components too. The final result must address both the original seal fault and any relevant consequences. Correct piston-seal replacement ends with a documented, serviceable assembly and verified brake operation, not just a newly installed ring.


Automotive reference information. Confirm specifications in the manual for your exact vehicle. Original replacement guides link to their research sources. About us