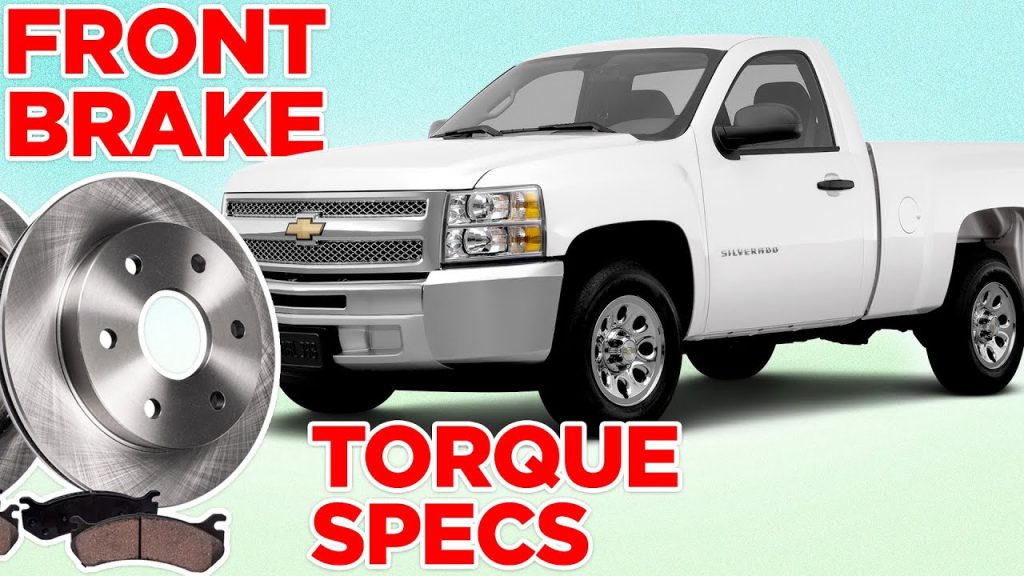

There is no universal torque specification for brake caliper bracket bolts. Use the vehicle or brake-system manufacturer's instruction for the exact bracket mounting joint, including any bolt replacement, thread preparation and additional tightening stages. A guide-pin torque, wheel-nut torque or generic chart based on bolt diameter is not a substitute.
The bracket fixes the brake assembly's location relative to the disc, so a guessed number is not a reasonable way to complete the repair. The information needed is more specific than the model name.
Identify the model year, axle, fitted brake package and the particular connection being tightened. If the brakes have been modified, identify the conversion kit and its bracket as well.
This guide focuses on the carrier or bracket attachment, rather than every fastener someone might call a caliper bolt. It explains how to find a defensible specification, resolve conflicting numbers and recognize when the joint needs repair before any torque wrench is used.
Identify the bracket attachment on the actual assembly
A floating caliper often slides on guides while a separate bracket is secured to the vehicle. The fasteners that retain the sliding portion do not necessarily have the same specification as the bracket mounting bolts. A fixed-caliper arrangement may attach differently or use a kit-specific adapter bracket. Start with the service drawing and physically identify both ends of the joint. Do not select a specification simply because its heading includes the word caliper.
The bracket may be called a carrier, anchor, support or another manufacturer-specific term. Search the service procedure using that terminology and confirm the illustration. The relevant instruction should describe the attachment being assembled, not just list a familiar bolt-head size. Our caliper fastener identification guide separates guide bolts, bracket bolts and hydraulic fittings. Getting that distinction right prevents a correct number for one connection from becoming an incorrect number on another.
Record the vehicle identification and installed brake option before opening a generic online table. Different axle assemblies or brake packages can appear under the same model and year. A previous modification can also make a factory parts lookup incomplete. If an aftermarket bracket is installed, find its part number and the supplier's application-specific instructions. Where the kit retains a factory attachment, determine which instruction governs that retained joint and which applies to new kit hardware.
| Resolve discrepancies with the responsible manufacturer or a qualified repairer rather than choosing the larger value. Brembo’s bracket fitting instructions direct installers to follow the vehicle and brake-system instructions and identify the bracket fastening operation separately from guide components. The document includes reference values, but its application warnings matter: a general reference table should not overrule the exact vehicle requirement. Copying one of those values without establishing that it applies defeats the purpose of identifying the joint. Keep the complete instruction available, including notes above or below the torque line. |
A useful work note identifies the bracket location, brake option, fastener part number and source of the specification. It should also say whether the bolts are new or reused as permitted. If any of those points remains uncertain, the job is not ready for final tightening. Finding a number is easy; demonstrating that the number describes your installed joint is the important part.
Read torque as a complete assembly instruction
A torque specification includes its units and may belong to a sequence rather than a single action. Check whether the procedure specifies a torque only, a torque followed by an angle or another defined method. Do not drop an additional stage because the first number looks familiar. Do not replace an angle stage with an estimated higher torque. If the instruction is unclear or incomplete, obtain the correct version before assembly. Keep newton-metres, pound-feet and pound-inches distinct.
A unit conversion error can be substantial even when the displayed number looks plausible. Prefer using a suitable torque wrench in the specified units where possible, or verify any necessary conversion before work. Record the original value and unit rather than copying a number alone into a phone note. Ensure the wrench's working range and operating instructions suit the task. A tool's ability to display a setting does not by itself establish that the setup is appropriate. Thread preparation also belongs to the specification.
Instructions may identify clean dry threads, a supplied locking treatment or another stated condition. Do not add oil, anti-seize or extra threadlocker by habit. These are not interchangeable improvements, and the intended joint condition affects how tightening is applied. If the replacement bolt arrives with a coating, identify whether it is part of the required installation condition rather than scraping or supplementing it automatically. Follow the supplied parts instructions alongside the vehicle procedure, resolving any conflict before proceeding. Bolt renewal requirements need their own check.
Do not assume every bracket bolt is reusable, and do not assume that every bolt tightened through an angle has exactly the same replacement rule. Read the explicit instruction for the application. A visually intact fastener may still be designated for replacement after removal. Conversely, a damaged fastener should not be reused merely because the procedure permits reuse of a serviceable one. Obtain the correct specified hardware rather than choosing a general bolt with a similar thread. The mating threads and seating surfaces must be serviceable before torque can mean what the procedure intends.
Binding, cross-threading, damaged seats or a bolt that bottoms before clamping cannot be corrected by achieving a wrench reading. Stop when engagement is abnormal and determine why. Do not use a longer bolt, loose washers or additional locking compound to compensate for a damaged mounting point. Any thread repair needs authorization for that component and joint. A bracket that appears secure by hand has not passed those requirements automatically.
Access affects tool selection too. Use the appropriate socket or bit and a setup that keeps it seated and aligned. If an adapter changes the effective wrench geometry, follow the torque-tool manufacturer's instructions for that configuration rather than assuming the displayed setting remains applicable. Do not infer installation torque from the force required to remove a corroded bolt. Removal resistance can reflect factors that are absent from the specified assembly condition.
Resolve conflicting values and verify the finished joint
When two references disagree, first check whether they describe the same vehicle, axle and brake option. Then compare the actual fastener location, units, hardware revision and tightening stages. One listing may describe a guide screw while another describes the carrier attachment. A service bulletin or revised component kit may also change the applicable instruction. Do not average the values or use the number that matches the wrench already available. Establish the authoritative current procedure for the actual assembly.
Consider a bracket removed during disc replacement. The owner finds a short torque table headed front caliper and a longer procedure that separately names guide and carrier fasteners. The correct response is to identify the carrier line in the full applicable procedure, not guess that the short table refers to the larger bolts. Another situation involves a replacement bracket supplied with new hardware. Compare the supplied part instructions with the vehicle application and determine whether the new hardware changes any installation requirement.
Credit: www.reddit.com
These checks are quicker before reassembly than after a damaged or loose attachment is discovered. Ask a repairer to explain the source when an estimate or invoice says only tightened to specification. A useful answer names the vehicle-specific information and confirms the hardware and thread condition. The purpose is traceability, not collecting a photograph of a torque wrench as a substitute for sound work. A wrench can be correctly set and still used on the wrong fastener.
Keep the identified joint and instruction together in the service record. After tightening, restore all other disturbed parts according to their own procedures. Confirm the bracket and caliper arrangement, pad hardware, hose routing and any wiring or parking-brake connections. Brembo’s caliper fitting guidance illustrates why mounting is one part of a complete brake service. If only bracket work was intended, do not open the hydraulic circuit unnecessarily; if it was opened, its sealing and bleeding requirements must be completed.
Brake function must be verified before the vehicle returns to normal use. If a bracket bolt was already loose, missing or broken, investigate the joint and surrounding parts rather than simply installing another bolt. Determine whether the threads, bracket, mounting structure or adjacent components were damaged. Do not drive a vehicle with an insecure brake assembly to test whether retightening has helped. Arrange appropriate repair and recovery where needed.
The original fault may involve incorrect hardware, prior installation or damaged mating parts, and the evidence should determine the correction. The final answer to the torque question should therefore be a complete statement tied to the vehicle: the identified bracket fastener, applicable specification and units, required stages, hardware rule and preparation condition. This page intentionally does not offer a broad numerical range to use when those facts are missing. The separate caliper torque overview covers other fastener categories. For bracket bolts, accurate joint identification and the full manufacturer's instruction are what turn a number into a safe installation requirement.


Automotive reference information. Confirm specifications in the manual for your exact vehicle. Original replacement guides link to their research sources. About us