To change brake pads on a 2018 Honda Accord, first identify the axle, exact vehicle configuration and applicable Honda service procedure. Rear brake work must account for the electronic parking brake. Do not assume that releasing its switch is the complete preparation for retracting the rear caliper.
The safe route is to obtain the correct repair information before disassembly, confirm parts and equipment, inspect the cause of wear, and complete the specified post-service checks. This article identifies those decision points without inventing a universal torque value or piston-retraction sequence.
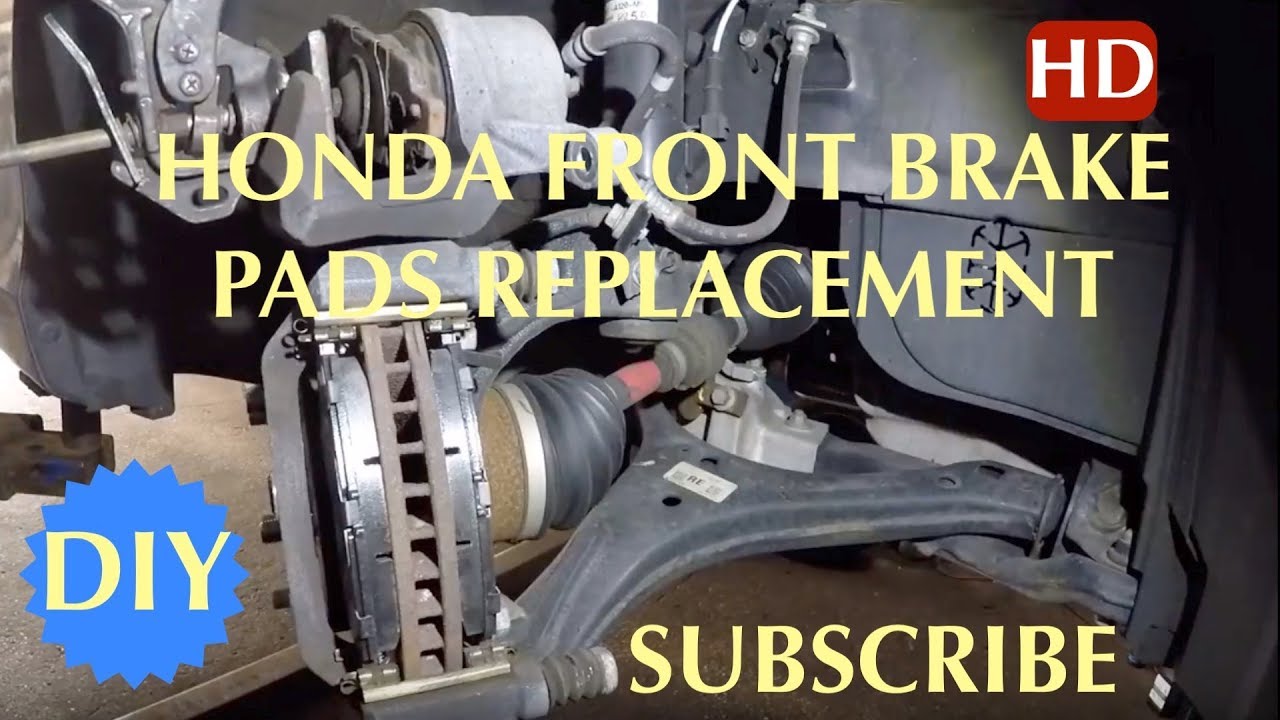
Credit: www.youtube.com
Confirm the vehicle and axle
Use the VIN and brake application when selecting pads and hardware. Record whether the Accord is a conventional or hybrid model and whether any brake components have been modified. Confirm the part supplier’s application rather than assuming that everything sold for a 2018 Accord fits every brake arrangement.
Front and rear work are separate procedures. A demonstration of front-pad replacement does not establish how the rear parking-brake mechanism should be prepared. Keep the correct service instructions with the parts so the procedure and the application remain aligned.
Understand the electronic parking-brake issue
Honda’s 2018 Accord feature guide confirms the electronic parking brake and automatic brake hold. These are driver functions with defined operating behavior. The existence of a dashboard release switch does not by itself tell a technician how to place the rear brake mechanism in the required state for maintenance.
Obtain Honda’s service requirements for the exact car, including any maintenance-mode, diagnostic-tool or initialization steps. Do not apply power directly to the actuator or force the piston because a method worked on a different generation. If the proper procedure or equipment is unavailable, stop before dismantling the caliper.
Prepare the work before lifting
Have the correct lifting and support equipment, replacement set and required hardware ready. Follow the vehicle’s approved support points and secure it against movement. A jack is a lifting device, not a substitute for appropriate support during brake work.
Use Honda service information for removal, installation and fastener specifications. Check whether any fasteners require replacement, how the caliper must be supported and how brake fluid is handled during retraction. Guessing these details after the vehicle is already apart adds unnecessary risk.
Inspect the assembly, not just the outer pad
Measure or inspect all relevant pads on the axle and compare their condition. Check the rotor and the components that allow the pads and caliper to move as intended. Significant uneven wear, a damaged boot, leakage or binding changes the job from routine friction replacement to fault diagnosis.
A new pad set cannot correct a sticking mechanism. For the general diagnostic distinction, see uneven pad wear. Apply Honda’s inspection limits and repair procedures rather than borrowing a minimum thickness or adjustment method from another car.
Install and restore the system as specified
Keep friction surfaces uncontaminated, place the correct hardware in its specified position and tighten the identified fasteners using the specified procedure. Do not remove material from a pad or clip to make an incorrectly matched part fit. Support the caliper so its hose is not carrying its weight.
If the hydraulic system is opened during additional work, follow the applicable bleeding requirements. That is a different scope from pad replacement with the hydraulic circuit left intact. Rear parking-brake service may also require a defined completion or initialization step; finish it before treating the repair as ready for use.
Verify the result before road use
The repair must leave a normal, verified pedal, no leakage and correctly functioning service and parking brakes. Investigate warnings or unexpected operation before driving. Do not assume that a red brake warning after service is only a reminder waiting to disappear.

Credit: autotechmobilemechanic.com

Credit: autotechmobilemechanic.com
Follow the applicable pad and vehicle bedding guidance after the assembly has passed its checks. Keep the axle, part numbers, inspection findings and service date on the repair record. Those details make future wear or warning concerns easier to evaluate than an unqualified “pads changed” entry.


Automotive reference information. Confirm specifications in the manual for your exact vehicle. Original replacement guides link to their research sources. About us