Before replacing rear brake pads on a 2018 Ford F-150, identify its rear brake and parking-brake configuration and obtain the matching Ford workshop procedure. If equipped with an electric parking brake, normal driver release is not the same as preparing the system for rear brake service.
Do not force a rear piston, apply power directly to a parking-brake motor or borrow a maintenance-mode sequence from an unrelated model. Confirm the correct process and equipment before dismantling the assembly.
Why the parking-brake state matters
The 2018 F-150 owner’s manual identifies a Park Brake Maintenance Mode message and explains that this is a special state used for rear brake service. The same message table distinguishes maintenance mode from parking-brake faults.
That confirms the need to distinguish service preparation from simply releasing the brake with its switch. The owner’s manual message description does not provide a complete pad-replacement procedure or establish every tool and retraction step needed for your truck.
Gather the complete procedure first
Use the VIN and applicable brake configuration when obtaining the service information. Ford’s service-information access guide provides a route to its technical information. Have the pad-removal procedure, relevant parking-brake preparation, hardware requirements and final checks available together.

Credit: www.amazon.com
Do not combine a video’s piston method, another model’s bolt torque and a forum’s exit sequence into a supposed factory procedure. If the required diagnostic function or equipment is unavailable, arrange service before the vehicle is left partly dismantled.
Inspect the reason for the pad replacement
Compare the inner and outer rear pads on both sides, assess rotor condition and look for leakage, damaged boots or abnormal drag. A single badly worn pad calls for diagnosis in addition to new friction material.
The uneven-pad-wear guide explains why the pad position alone does not identify the failed component. Record the findings before replacing parts so the cause is not lost with the old set.
Keep the mechanical work within the correct scope
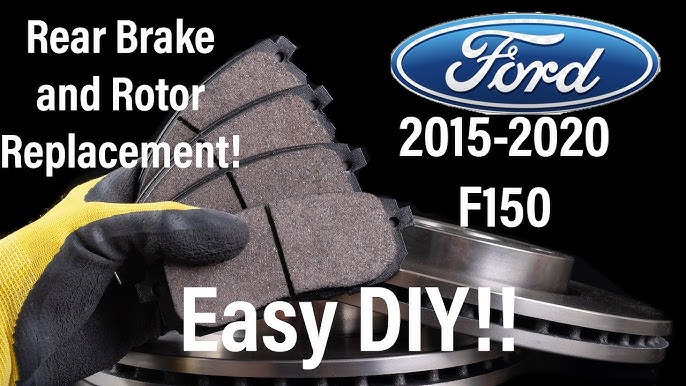
Credit: www.youtube.com
Secure and support the truck using approved lifting and support points. Support the caliper rather than allowing its weight to hang from the hose. Follow the specified piston and parking-brake steps, and protect brake fluid and friction surfaces from contamination.
A pad-only job and a repair that opens the hydraulic circuit have different completion requirements. If a hose, caliper or bleeder is opened, use the required bleeding process. Do not decide that bleeding is unnecessary simply because the original intention was only to change pads.
Install matching parts and hardware
Check the axle-specific pad set and all supplied clips or fasteners against the application. Follow the required preparation, lubrication and tightening instructions. A component that will not seat normally is a reason to stop and identify the mismatch.
Complete the specified work on the axle and do not mix an old pad with a new one to equalize apparent thickness. Rotor service should be based on the applicable inspection criteria, not an assumption that every new pad set either always requires or never requires new rotors.
Verify the system after service
Complete the prescribed exit or initialization process and verify a normal pedal, parking-brake operation and absence of relevant warnings. Read a remaining message accurately: maintenance mode and a malfunction message are not interchangeable.

Credit: www.amazon.com
Do not drive with uncertain braking or try to clear a warning by repeatedly cycling controls. A qualified technician should diagnose a system that will not return to its proper operating state. Once the repair is verified, follow the applicable pad running-in instructions and keep the service record.


Automotive reference information. Confirm specifications in the manual for your exact vehicle. Original replacement guides link to their research sources. About us