
A leaking brake line needs a repair that restores the specified hydraulic connection and sound tubing, followed by the correct bleeding and inspection procedure. Tape, sealant and a fluid top-up cannot do that.
Do not drive a vehicle with a confirmed hydraulic brake leak. Arrange recovery and have the complete affected circuit assessed.
This guide explains how a repairer distinguishes a line leak from a nearby component leak, chooses the repair scope and documents the result. It is not a substitute for the vehicle procedure or a universal instruction to cut and join every damaged pipe.

Credit: m.youtube.com
Separate the leak location from the failed component
A drip below a pipe does not establish that the pipe itself has failed. Fluid can travel along a hose, bracket or body surface before reaching the ground. The source might be a tube, flare connection, flexible hose, caliper or another hydraulic component.
Replacing the nearest visible pipe without tracing the source can leave the actual fault untouched. Describe the observed location accurately while keeping the diagnosis provisional.
Why an apparently small leak still matters
- Hydraulic braking depends on containing fluid under operating conditions. A small visible loss is evidence of a containment problem, not a reliable measure of remaining braking ability.
- A pedal that feels acceptable once does not prove the system will remain usable. Neither reservoir volume nor the distance to the repair shop establishes a safe driving allowance.
- Keep the vehicle out of service while the cause and repair are resolved.
Record useful symptoms without provoking a failure
Tell the repairer about warning lights, any change in pedal travel and when fluid was first noticed. Record whether recent brake, suspension or underbody work occurred. A photograph taken from a safe accessible position can help explain the location.
- Do not repeatedly operate the pedal to produce a larger puddle for a photograph. Do not crawl beneath an unsupported vehicle to obtain better evidence.
Trace the source on a safely prepared vehicle
Inspection requires the correct lifting and support arrangement and any vehicle-specific preparation for the braking system. Some systems can create pressure under conditions that differ from a conventional unpowered hydraulic layout. The repairer should identify those requirements before opening a connection.
Inspection should also distinguish fresh fluid from old repair residue. Cleanliness helps diagnosis, but cleaning must not conceal the initial evidence before its source has been recorded.
Follow the wet path back to its origin
- Look for the highest or earliest wet point along the affected assembly, while accounting for airflow and fluid tracking. Inspect adjacent components rather than assuming the lowest drop identifies the failure.
- A tube may be damaged at a clip or where it passes another component. A hose can be wet near an end fitting while the adjoining rigid pipe remains sound.
- The inspection needs enough access to distinguish these possibilities.
- HELLA’s line and hose guidance discusses damage and correct routing; its scope supports checking the assembly rather than judging a single exposed patch.
Inspect connections without treating tightening as diagnosis
- A wet union may involve a damaged flare, incompatible parts, corrosion or an installation problem. Applying extra force to the nut is not a reliable way to identify which fault exists.
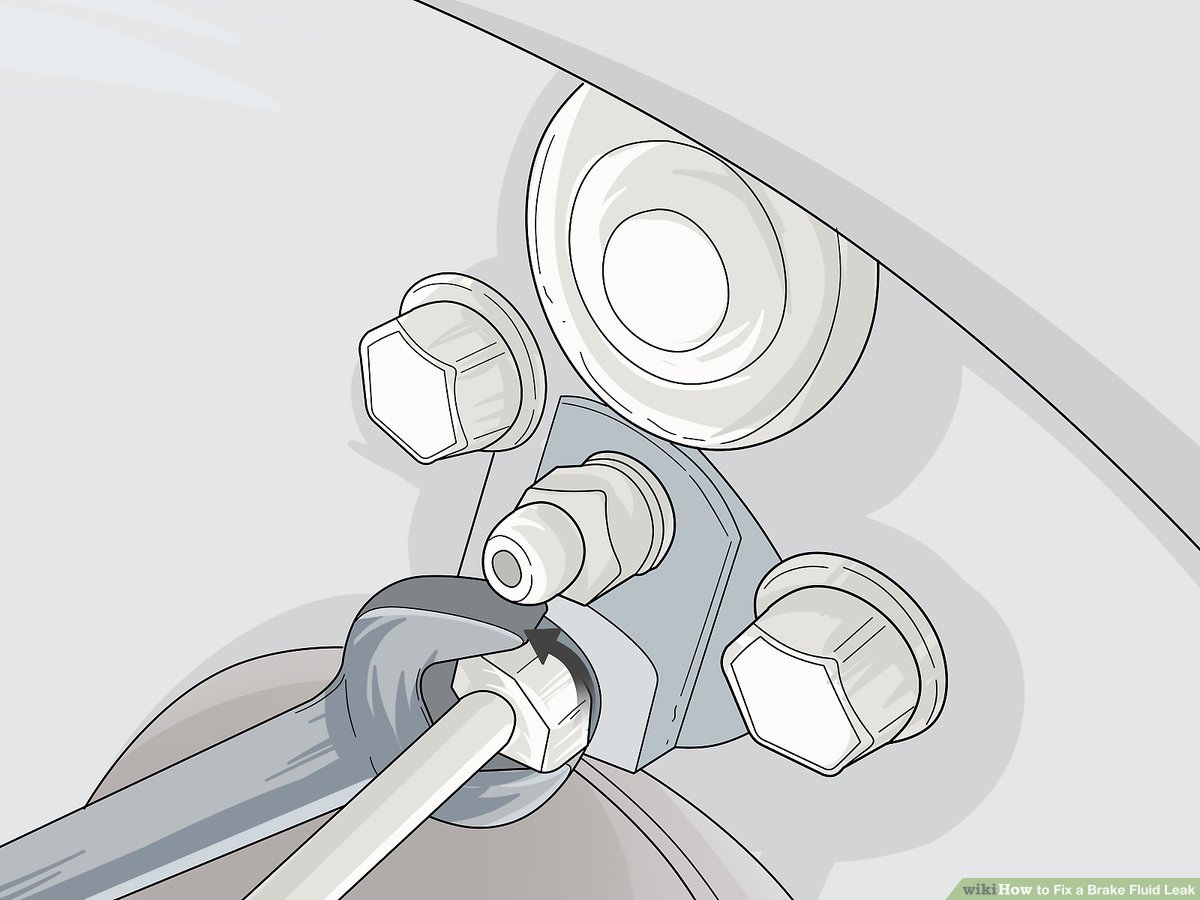
- Overtightening can damage the connection and make later repair harder. The repairer should evaluate the seat, tube end and fitting using the specified procedure.
- If the connection was recently disturbed, compare the installed parts with the required specification.
A connection that stops dripping temporarily still needs proper verification.
Define what must be replaced before ordering
The written repair scope should identify the leaking component and the condition of adjoining retained material. One local defect and widespread corrosion are different findings. Access limitations may make a complete formed assembly more appropriate than an attempted local repair.
Ask which sections were inspected and which were inaccessible. A decision based only on the visible hole leaves unanswered whether another weakened section remains nearby.
Match tubing and fitting specifications as a complete set
- Identify the required tube outside diameter and approved material. Confirm the fitting thread and mating flare type separately.
- Check the replacement assembly's application listing. Include any required clips or retainers in the parts plan.
- Do not assume the old nut can be reused if it is damaged.
- Keep the distinction between flexible hose and rigid pipe clear.
- Our brake-line sizing guide explains why a diameter alone cannot establish connection compatibility.
- These checks prevent a superficially similar part from becoming an improvised adapter.
Use equipment appropriate to the actual repair
- A manufactured replacement assembly and an approved fabricated section require different equipment. A repairer fabricating a section needs tools compatible with the tube material, diameter and required flare. Access, lifting equipment and the ability to restore the hydraulic system also matter. Owning a cutter and flare kit is not proof that the complete repair can be performed correctly on this vehicle.
Choose the permitted repair method
Consult the vehicle service information before deciding between full replacement and a section repair. Do not assume a flare union is allowed at every location or on every model. If a section repair is supported, the retained tubing must be suitable and the union must match the specified connection.
AGS’s fitting guidance distinguishes brake fittings from standard low-pressure brass compression unions. Hardware-store plumbing parts are not a substitute for an approved brake-line connection.
Prepare for opening the hydraulic circuit
Identify the specified fluid before starting. Prepare suitable clean caps where the procedure permits them.
Protect surrounding surfaces from spills. Keep dirt away from exposed ports and tubing.
- Use the required brake-system depressurization or service preparation.
- Plan the subsequent bleeding procedure in advance.
- Do not begin a repair that will require unavailable diagnostic equipment to finish.
- The aim is a controlled complete repair, not merely getting the damaged line off the car.
Restore the route as well as the connection
The replacement must follow the intended route and use the specified supports. It should not rub a moving component, contact a heat source or carry strain at its fittings. A tube that reaches both ports can still be badly installed.
Check clearance and attachment across the relevant movement of adjacent parts as the vehicle procedure requires. For fabrication planning, see brake-line bending and routing. Do not compensate for the wrong length by leaving unsupported loops.
Bleed according to the system, not a universal sequence
Opening a circuit introduces a need to restore the hydraulic system using the applicable instructions. The required sequence and any diagnostic-tool routines depend on the vehicle and what was opened or emptied.
- Use the specified fresh fluid and appropriate equipment. HELLA Gutmann’s equipment manual requires working pressure to follow manufacturer instructions; a generic pressure copied from another tool or car is not enough.
Bleeding is a separate completion step, not evidence that a poor connection has become acceptable.
Verify the repaired assembly before releasing the car
Completion checks should follow the service procedure and cover the repaired area as well as system operation. The repairer should confirm correct assembly, secure routing, fluid level and absence of leakage under the specified test conditions. A dry connection at rest is only one observation. Record any remaining warning or abnormal pedal behavior and resolve it before considering the vehicle ready for use.
Interpret the pedal check in context
A pedal check is useful but does not replace inspection of every disturbed connection. Pedal behavior depends on system design and operating state.
- Compare it with the vehicle procedure rather than applying one rule about how far every pedal should move. A pedal that changes, sinks unexpectedly or behaves abnormally after repair calls for further diagnosis.
Do not dismiss that result because new parts have already been installed.
Keep road testing as a final professional check
A road test must not be used to discover whether a visibly leaking repair will hold. Static checks and required system restoration come first.
- Any subsequent test should follow the repair facility's safe procedure and the vehicle requirements. If a problem appears, stop the test and investigate.
A short drive without an obvious symptom does not excuse a wet fitting or unresolved warning. Ask what checks were completed rather than accepting distance driven as the only proof.

Credit: www.wikihow.com
Inspect the rest of the system when corrosion is found
A corroded failure justifies inspecting other accessible lines and their supports. It does not automatically prove every line must be replaced, but it makes a one-hole-only assessment inadequate. Request specific findings: location, condition and why retained sections remain suitable. Separate necessary repairs from preventive recommendations so you can understand the scope without minimizing the confirmed defect.
Keep a useful repair record
Retain the invoice and parts identifiers. Record which line or circuit was repaired.
Note whether a complete assembly or an approved section was installed. Keep any fluid specification and bleeding details supplied by the shop.
- These records help a later technician distinguish original parts from repairs. They also make a repeat leak easier to investigate than an invoice that says only “fixed brakes.”
Ask for clarification while the vehicle is still at the facility.
Do not substitute an upgrade claim for compatibility
A material marketed as longer lasting still needs approval for the vehicle and connection. Better corrosion resistance does not compensate for an incorrect flare, unsupported route or damaged mating seat.
| Evaluate the installed assembly rather than the material name alone. |
Our stainless brake-line comparison distinguishes rigid tubing from braided hose, which are often confused when discussing replacements.

Credit: gandgautorepair.com
Common questions about a confirmed leak
What determines the repair price?
Access, line length, fitting condition, replacement availability and the required bleeding process affect the work. A quote should distinguish diagnosis, parts and hydraulic-system restoration. Nearby corrosion or a seized connection may expand the necessary scope. Ask the shop to obtain authorization before additional work rather than expecting one price to cover every possible discovery.
Is this a suitable first DIY repair?
The important question is whether you can identify the correct parts, perform the approved repair and verify the complete braking system. If any of those steps is beyond your equipment or experience, arrange professional repair. A safety-critical hydraulic connection is not a good place to learn through repeated leakage and trial fitting.
Can sealant stop the leak permanently?
External sealant does not replace damaged tubing or restore a damaged flare seat. Do not add products to the fluid to try to seal the system internally. The correct repair addresses the failed component and restores the specified connection. A seller's pressure claim for an unrelated product does not establish suitability here.
Can the car be driven after topping up?
No driving allowance follows from topping up a leaking system. The original defect remains.
The rate of loss can change.
Air or other faults may also need correction.
Arrange recovery rather than attempting to manage the reservoir on the journey.
Release the vehicle only after the repair and required checks are complete.


Automotive reference information. Confirm specifications in the manual for your exact vehicle. Original replacement guides link to their research sources. About us


