AdvertisementLeaderboard · 728×90 / 970×250 desktop · 320×50 mobilehouse_top_leaderboard
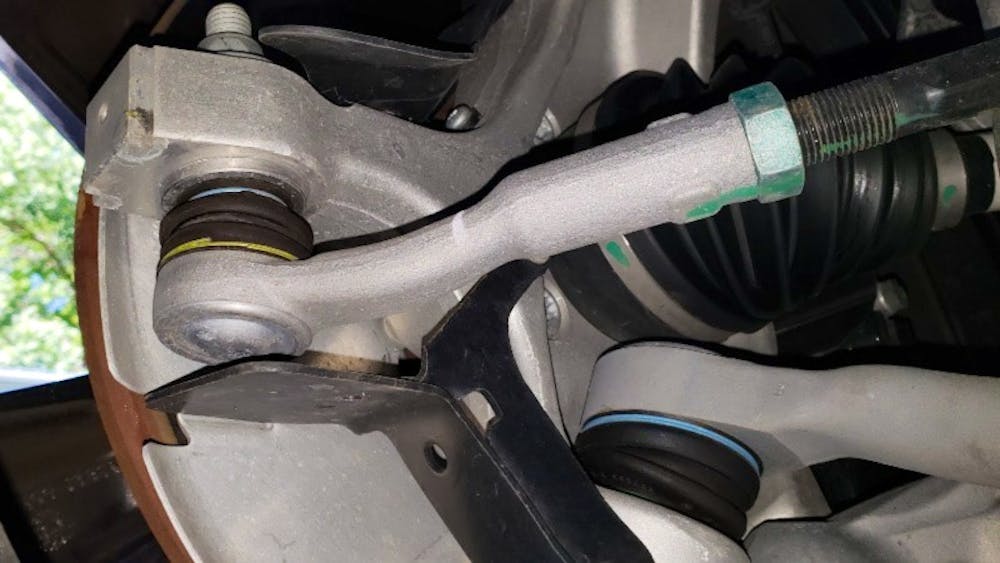
Ball Joints
Understand ball joint replacement quotes: parts, labor, arm assemblies, alignment, extra repairs and warranty terms, without misleading universal prices.
Plan ball-joint replacement from diagnosis and parts selection through removal, installation, alignment requirements and final safety checks.
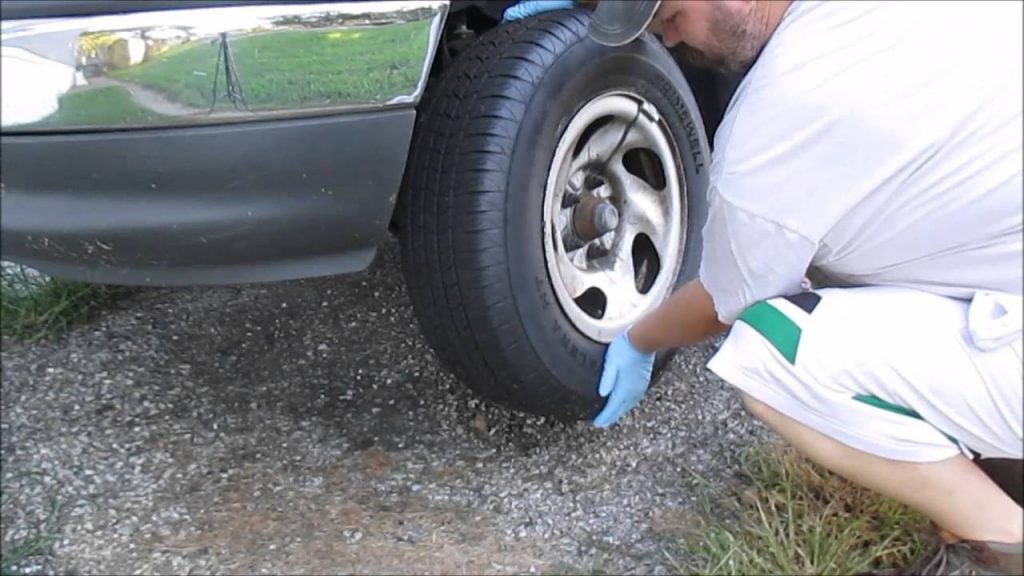
Choose the correct ball-joint inspection method, locate the movement and compare findings with the vehicle specification before replacing parts.
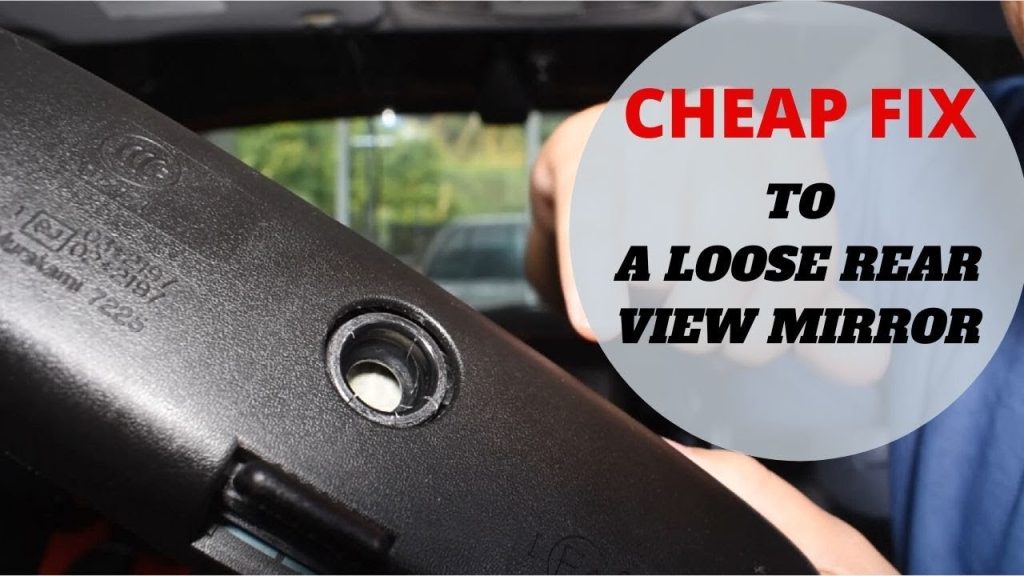
Locate mirror socket, mounting-foot or windshield looseness, check serviceability and choose a supported repair without improvised glue or shims.
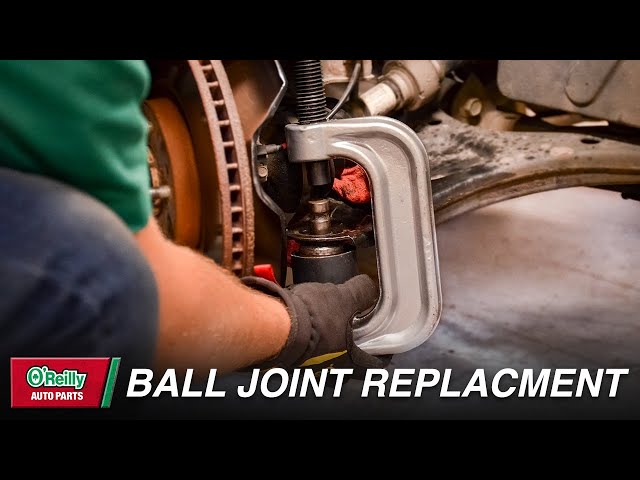
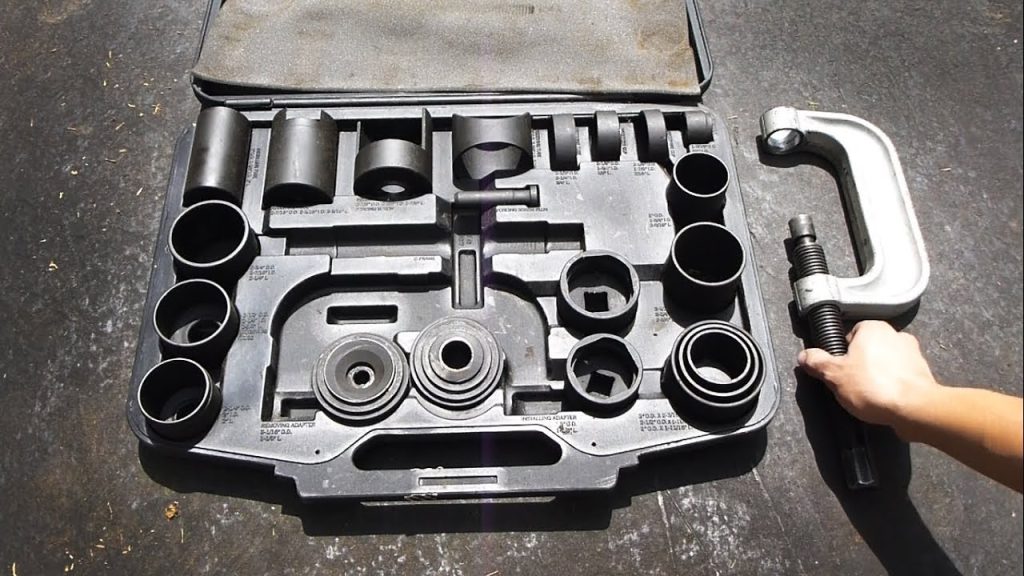
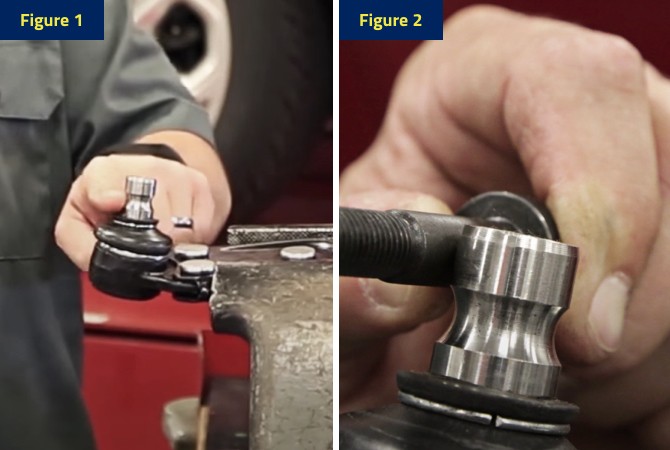
Identify whether you need to separate a stud, remove a housing or replace an arm before choosing ball-joint tools and a safe removal plan.
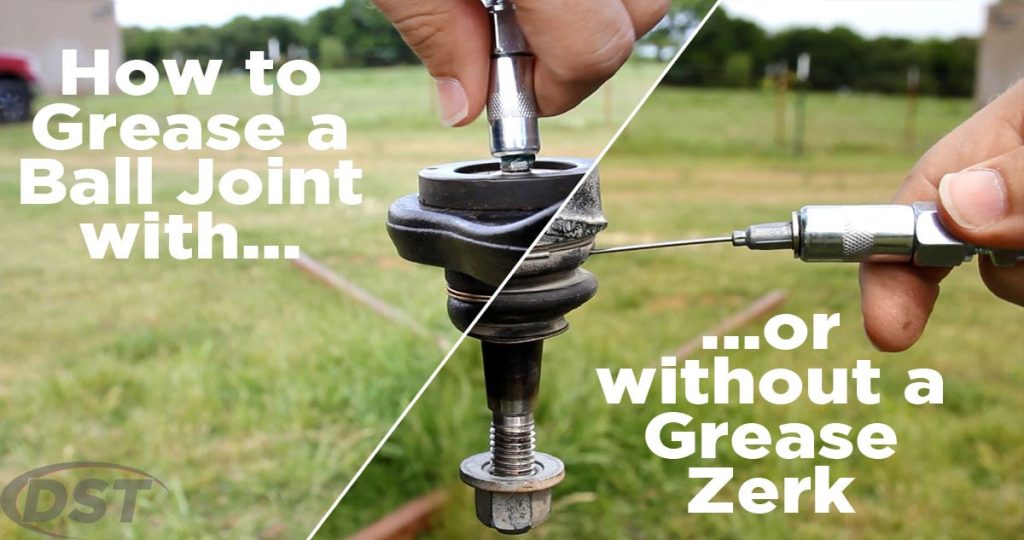
Identify greaseable ball joints, select the specified lubricant and recognize when lubrication is maintenance rather than a repair for wear.
Verify ball-joint fit, orientation, retainers, hardware, torque and protective boots before completing alignment and returning the vehicle to use.
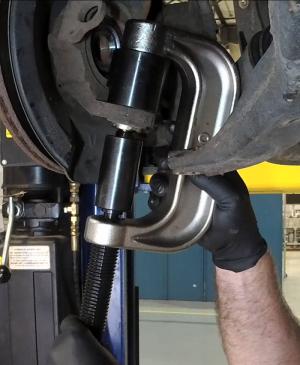
Plan a press-in ball joint installation around the correct load path, adapters, orientation, receiving bore and final seating checks.
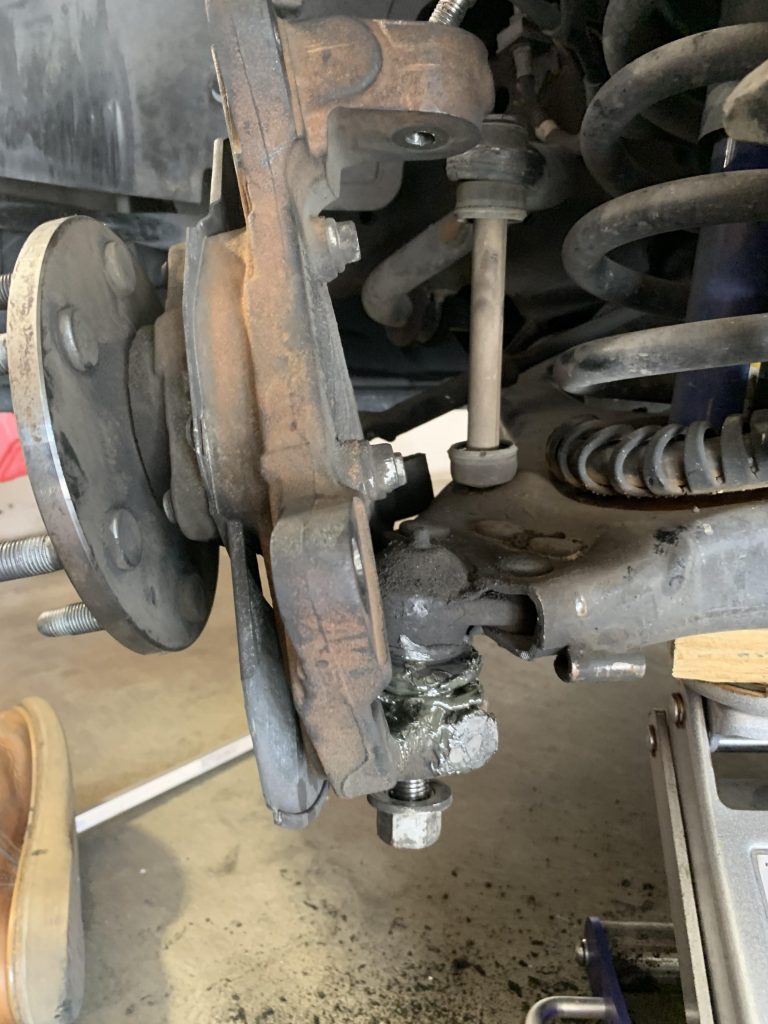
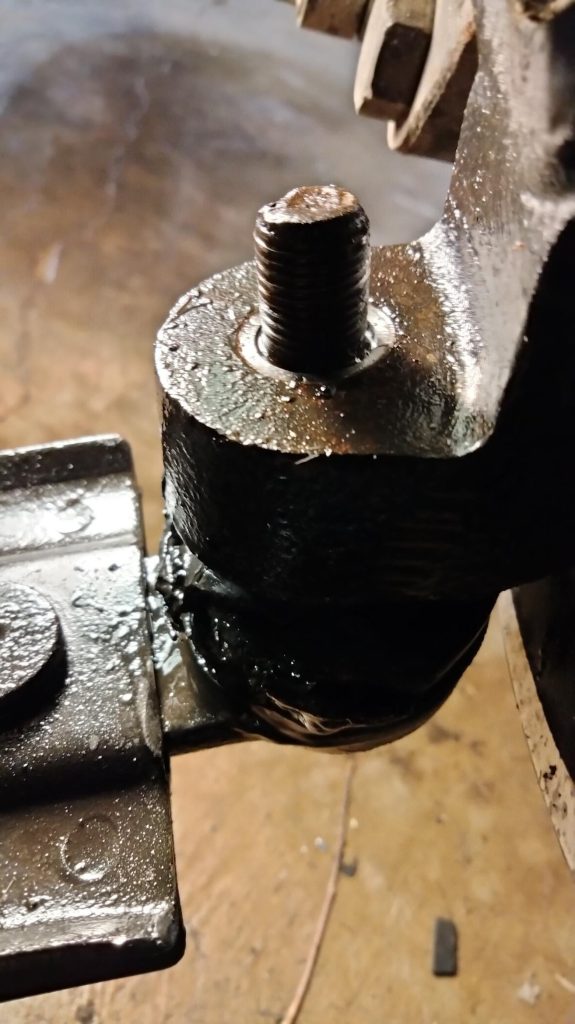
Identify the stud connection, inspect the knuckle and plan seating, fastening and verification without confusing the job with pressing in a housing.
Check support, access, retainers, tool fit and replacement readiness before removing a ball joint. Recognize conditions that require stopping.
Identify why a ball joint will not release: retained hardware, wrong direction, tool alignment, corrosion or damaged fit. Plan safe escalation.
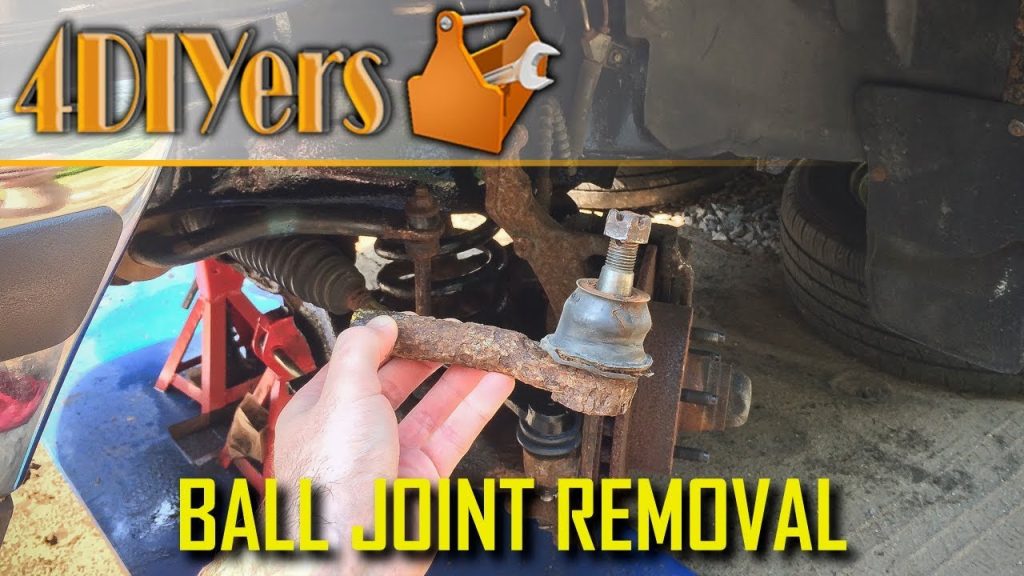
Plan stud-to-knuckle separation with the correct connection, support and tool. Protect nearby parts and inspect the receiving fit afterward.
AdvertisementIn-feed · 336×280 / 300×250 desktop · 300×250 mobilehouse_infeed
AdvertisementSidebar · 300×250 / 300×600house_sidebar
AdvertisementLeaderboard · 728×90 desktop · 320×50 mobilehouse_bottom